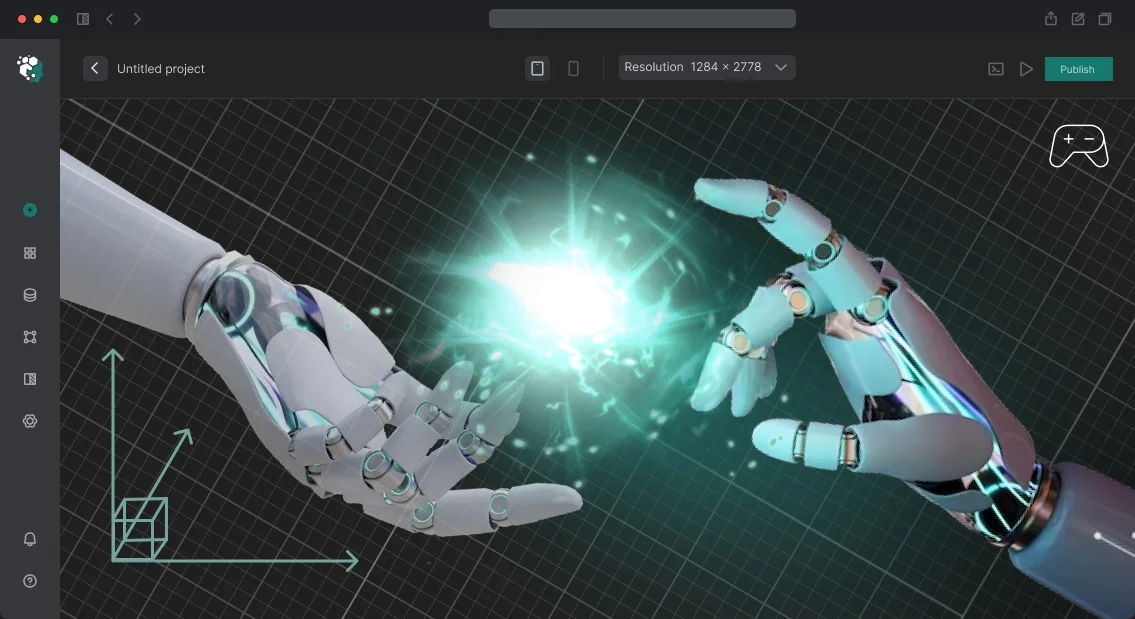
We encounter that the character is the most demanding object in the texture pipeline. Creating game textures for characters involves PBR textures that must satisfy both visual and technical requirements. The player looks at it constantly, up close, from different angles. Any mistake in the material is immediately visible: skin without proper scattering looks like plastic, fabric with wrong roughness like foil, metal without edge wear like store-bought. Character texturing is not 'make it pretty' — it's solving a set of specific technical tasks, from setting up Subsurface Scattering to optimizing draw calls via batching. With over 10 years of experience and 50+ characters delivered for AAA and indie projects, we offer a turnkey service: from UV analysis to final engine check. Our pipeline reduces time by 30% compared to standard methods. Using ID Map combined with Substance Painter speeds up work by 4 times compared to manual masking — ID Map is 4x faster than manual selection. Let's break down the key technical nuances we solve when texturing characters. Contact us for an evaluation of your project — we'll prepare an estimate and timeline. For example, texturing a simple NPC at $500 saves $150 compared to standard methods, and a hero character at $2000 saves $600.
How to Achieve Realistic Skin?
Human skin is a dielectric with Subsurface Scattering (SSS). Light doesn't reflect off the surface like metal — it penetrates inside, scatters, and comes back out with changed color. For correct skin in a PBR pipeline, you need at least three things:
- Correct Albedo: base color is darker than it appears under final lighting. Mistake: artists make albedo too light. With SSS enabled, skin blows out. Good skin: roughness 0.55–0.75, metallic 0, albedo 160–200 in RGB.
- Subsurface Scattering map: in Unity HDRP this is the Subsurface Mask in the Lit Shader. Ears, nose, fingers are brighter. In Unreal Engine 5 — Subsurface Profile asset with Scatter Radius parameters. We utilize skin SSS to achieve translucency.
- Detail Normal Map for pores: a separate tiling texture applied via Tiling UV (scale x10–x20). Without it, the face looks like plastic. Skin SSS is crucial for realism.
How to Add Edge Wear on Metal?
Metal on a character is almost never new. Edge wear on edges via Curvature Generator (metallic 0.95, roughness 0.2), scratch pattern via Anisotropy map, rust via AO Generator. Layered approach in Substance Painter: base metal → scratches → edge wear → rust/dirt → final adjustments. This gives realistic wear. Our pipeline applies wear 2x faster than manual painting. The microfacet model (Cook-Torrance) and Schlick approximation for Fresnel are used to ensure energy conservation and proper reflections.
Texturing Clothing and Armor
A character rarely consists of a single material. We use ID Map — a texture where each material is colored. In Substance Painter this allows assigning Fill Layers with ID masking. For fabric, Roughness range is important: wool 0.85–0.9, silk 0.3–0.45, denim 0.75–0.8. Without ID Map, the artist works with manual masks — slow and error-prone.
Working with Hair
Hair uses alpha-clipped planes (hair cards) with Anisotropic Specular. In Unity HDRP — Hair Shader with Azimuthal Roughness and Longitudinal Roughness parameters. In Unreal — Hair Shader with Backlit. Texture: Albedo with alpha, Normal Map, Root-to-Tip Gradient. Alpha in a separate channel, 16-bit for smoothness.
Our Work Includes
We provide a full character texturing cycle turnkey:
- UV layout and texel density analysis
- Baking Normal/AO/Curvature/ID Map
- Material creation (skin, fabric, metal, hair)
- Subsurface Scattering and Anisotropy setup
- Final check in Unity HDRP or Unreal Engine 5
- Texture export preparation (formats, compression)
- Material documentation
Cost is calculated individually, starting from $500 for simple NPCs (saving $150) and $2000 for heroes (saving $600), with budget savings up to 30% due to pipeline optimization. Contact us for a consultation.
Process
-
Analysis: mesh assessment, UV, requirements (1 day)
-
Design: material selection, ID Map preparation (1-2 days)
-
Implementation: zone-by-zone texturing (3-15 days)
-
Test: check under different lighting (1-2 days)
-
Deployment: export, engine integration (1 day)
| Task Scale |
Approximate Timeframe |
| NPC / background character |
4–8 days |
| Main character without face |
8–15 days |
| Hero character with facial setup |
15–25 days |
| Creature / monster |
10–20 days |
| Typical Roughness Values for Materials |
Roughness |
| Wool |
0.85–0.9 |
| Silk |
0.3–0.45 |
| Denim |
0.75–0.8 |
| Human skin |
0.55–0.75 |
| Metal (iron) |
0.2–0.4 |
Our team: 10+ years in game dev, more than 50 characters implemented. We guarantee quality meeting PBR standards. All work follows a linear workflow with sRGB gamma and OCIO color management for consistent results.
What's Included in Our Service
- UV analysis and layout optimization with proper texel density
- High-resolution texture maps: Albedo, Normal, Roughness, Metallic, AO, Subsurface, Anisotropy
- Engine-specific material setup for Unity HDRP (Lit Shader, Hair Shader) and Unreal Engine (Subsurface Profile, Hair Shader)
- Technical documentation: texture parameters, shader settings, material instances
- Export preparation: texture compression (BC5, BC7), atlasing, LOD support
- Post-delivery support: troubleshooting, adjustments, and optional training sessions
For Unity HDRP texturing, we ensure correct Subsurface Mask and Profile values. Unreal Engine textures are created with the appropriate shader models and material instances.
Material verification is a mandatory step before delivery. The character is run through HDR lighting, overcast outdoor, hard side light, night scene. A material that looks good only under one lighting is not ready.
Order character texturing — get a consultation on your project.
Unity HDRP Lit Shader documentation
More about Subsurface Scattering in Unity HDRP
In Unity HDRP, SSS parameters are set via Subsurface Mask and Subsurface Profile. Recommended values: Scatter Radius 0.5-1.0 mm for skin.
Texturing and Materials
An artist sends an asset to the engine — and it looks like a plastic toy. We've seen this dozens of times: correct geometry, good UV unwrapping, but the material doesn't "play". In 90% of cases, the reason is a misunderstanding of PBR channels. Over 10+ years working on mobile and PC projects, we've developed a pipeline that guarantees predictable results in any lighting. Texturing for modern games involves physically based materials, procedural systems, and a strict FPS budget. Our experience includes over 50 completed game projects — from indie to AAA. Contact us — let's discuss which texturing pipeline best suits your project with PBR materials for games.
Why are PBR materials the standard for modern games?
PBR (Physically Based Rendering) is not an artistic style but a set of rules that make materials behave physically predictably under any lighting. In Unity (URP/HDRP) and Unreal, this is the default standard. Using PBR reduces rework time by 30%: a material baked correctly does not require re-tuning when the environment changes. In contrast to legacy approaches, PBR provides consistency across the team — artists and engineers speak the same channel language.
What is included in the PBR pipeline: Metal/Roughness vs Specular/Glossiness
Two main workflows:
-
Metal/Roughness (used in Unity URP, Unreal): Base Color — diffuse color without lighting information. Metallic — binary map: 0 (dielectric) or 1 (metal). Roughness — 0 mirror surface, 1 matte. Normal Map — relief simulation. AO (Ambient Occlusion) — darkening in crevices.
- Specular/Glossiness — older workflow, used less often, mainly in legacy projects or when converting from Photoshop.
Boundary values for dielectrics: base color not darker than #383838 and not lighter than #E0E0E0 — otherwise the material starts to "glow" or "sink" into darkness under HDR lighting. For metals, base color = reflection color (gold — warm, chrome — neutral).
— from Unreal Engine documentation: "PBR is the only way to get predictable reflections on all platforms."
How does Substance Designer speed up the creation of tiling materials?
If Substance Painter is manual painting on finished geometry, Substance Designer is programming a material. The node graph outputs a set of texture maps that are generated algorithmically. Designer is 5 times faster than manual texturing when reused: one graph with parameters — stone size, gap, mossiness, wetness — gives hundreds of variations. Instead of painting a 2K texture by hand, the artist builds a graph that can:
- Be parameterized — one "stone wall" graph with sliders: stone size, gap, mossiness, wetness.
- Be scaled without quality loss — rendering at any resolution (2K → 4K for cinematic).
Building blocks of the Designer graph:
- Shape nodes — geometric primitives (rectangle, circle, polygon). Basis for tiling patterns.
- Noise nodes (Perlin, Gaussian, Cells, Voronoi) — organic irregularities.
- Tile Generator / Splatter — key nodes for creating patterns with control over offset, rotation, scale.
- Warp nodes — deformation by normal map or gradient (drips, shifts, cracks).
- Blend — layer blending with masking (final compositing).
- Normal Map nodes — synthesis of normals from height data.
Typical graph for "industrial metal" material:
[Shape: rectangular panel]
    ↓
[Tile Generator: grid of panels with small offset]
    ↓
[Warp: micro-dents from Gaussian noise]
    ↓
[Blend: add curvature mask → rust on edges]
    ↓
[Blend: drips by Directional Warp]
    ↓
[Export: BaseColor / Metallic / Roughness / Normal / AO]
Such a graph is reused across different projects without rework when resolution changes. One graph saves up to 40% of time on repetitive textures.
How to avoid performance loss when working with textures?
The main mistake is overestimated texture resolution and wrong compression format. Comparison table by platform:
| Platform |
Max texture for hero asset |
Compression format |
Size relative to PNG |
| Mobile (mid-range) |
1K–2K |
ETC2 / ASTC |
4–8 times smaller |
| PC / Console |
2K–4K |
BC1–BC7 |
4 times smaller |
| VR |
1K–2K |
ASTC (mandatory) |
4–8 times smaller |
Never export PNG to production without compression — it's a direct memory waste. BC7 for RGBA gives good quality at 8 bpp. ASTC for mobile is adjustable by quality/size ratio. Additional tool comparison table:
| Tool |
Speed |
Flexibility |
Reusability |
| Substance Designer |
3-5 days per tile |
Maximum (parameters) |
100% for different projects |
| Substance Painter |
2-3 days per hero asset |
Medium (manual touch-up) |
~70% via Smart Materials |
| Quixel Mixer |
1-2 days |
Limited by Megascans library |
Depends on project |
Work process: from reference to integration
- Analysis of references and reference geometry — determine PBR channels, style, platform constraints.
- UV unwrapping and baking — bake AO, Normal, Curvature, Thickness considering texel density.
- Texturing — Painter for hero, Designer for tiles, hand-painted if needed.
- Export and optimization — compress to target format, atlas, LOD textures, test on target platform.
- Support during integration — set up materials in engine, debug lighting issues.
Checklist of common mistakes
- Base Color contains fake shadows → breaks dynamic lighting.
- Normal Map in sRGB space → inverted normals.
- AO and Curvature not baked → Smart Materials work incorrectly.
- Texture resolution higher than necessary → FPS drop and extra VRAM.
- Compression format chosen without considering alpha channel (BC1 vs BC7).
What is included in our work and quality guarantees?
- Deliverables: PBR texture sets (Base Color, Metallic, Roughness, Normal, AO) for Metal/Roughness workflow, parametric Substance Designer graph (if required), full documentation for material setup in Unity/Unreal, support during integration with testing on target platform.
- Guarantee: every material is tested in the engine under three different lighting conditions. Our experience — 10+ years, 50+ projects, including projects with AR Foundation and XR Interaction Toolkit.
- Timeframe: 3 to 14 days depending on complexity (one tiling material in Designer — 3–5 days, hero asset with UDIM — up to 14 days). Cost is calculated individually.
Order texturing of your asset — we guarantee predictable results without rework. Get a consultation on the right pipeline today.