

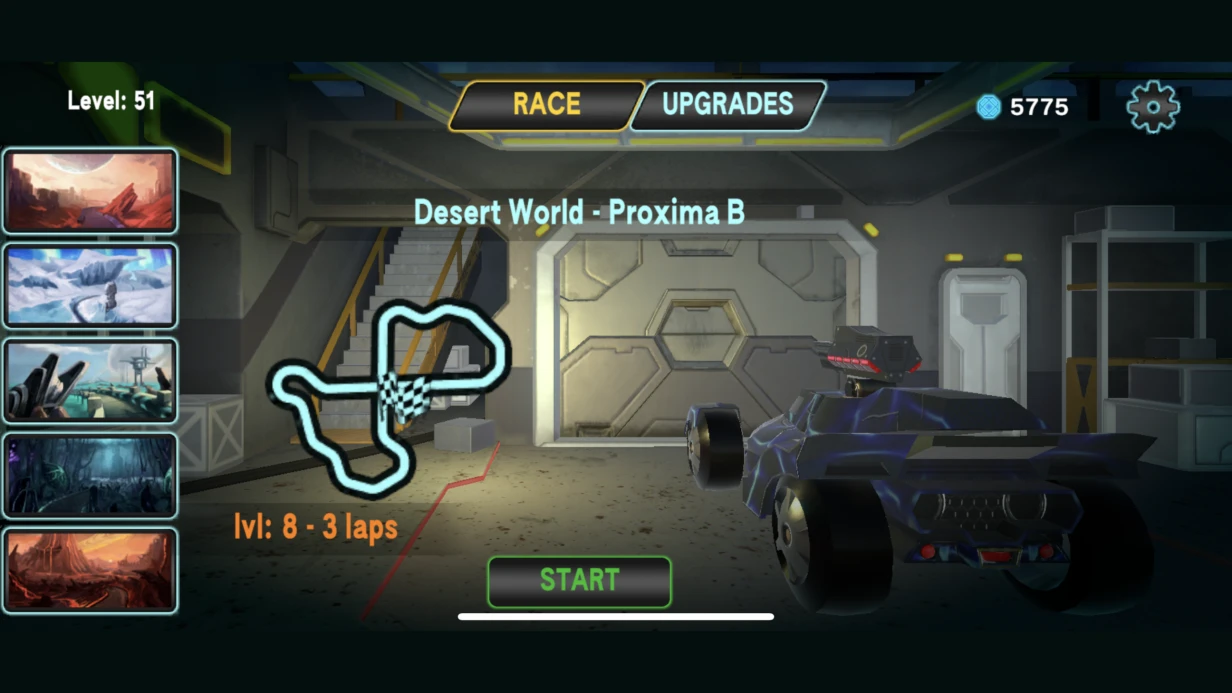
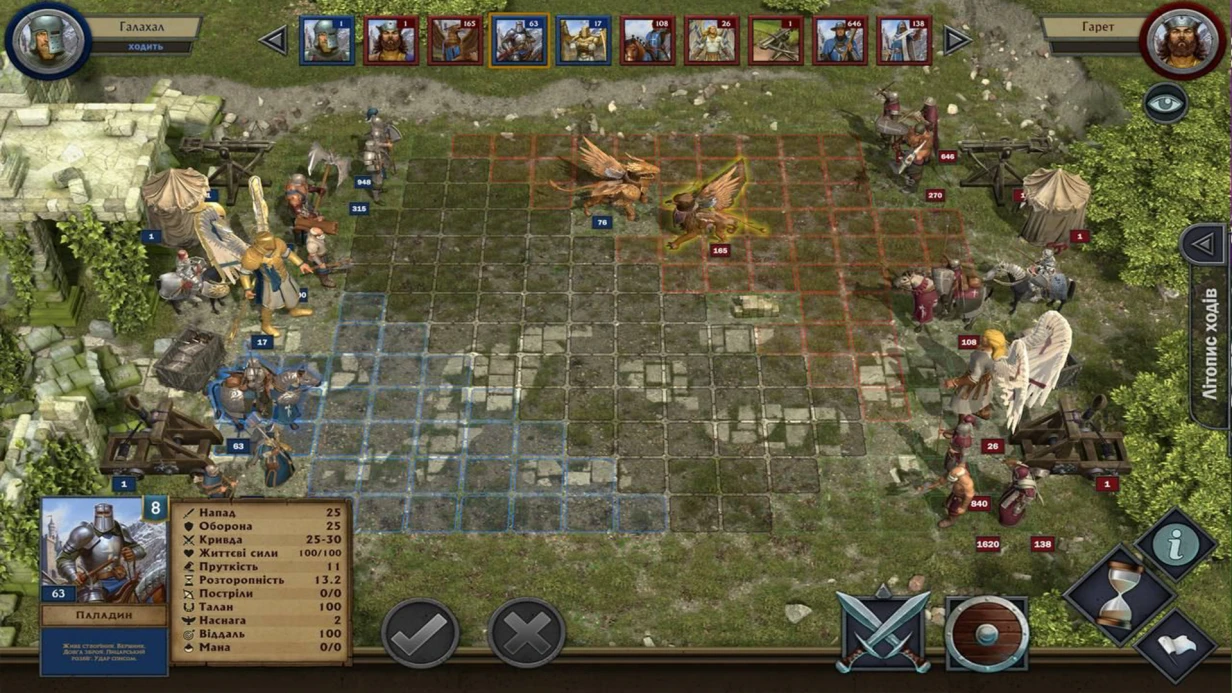
In an RPG, a poorly drawn sword icon breaks immersion — the player sees it hundreds of times per session. Low-quality UI kills immersion. Hence, rendering 2D elements for games is an engineering task: fit within the engine's technical constraints, formats, resolutions, and maintain readability on any screen.
Our team has 8+ years of experience in game UI graphics and has completed over 50 projects for mobile, PC, and consoles. Atlas packing reduces draw calls by 10x compared to individual textures — each atlas equals one batch.
Why plan atlases before rendering?
A sprite atlas is the basic tool for packing UI graphics in Unity. All icons and interface elements are packed into one or several atlases to minimize draw calls when rendering the Canvas. One atlas = one batch. If icons are scattered across individual textures, each icon on screen becomes a separate draw call.
This imposes limits on atlas size and quantity: typically 2048×2048 pixels maximum for mobile, 4096×4096 for PC. All UI of one screen goes into one atlas. That means the designer must know in advance: do all inventory icons fit into 2048×2048? At 64×64 pixels per icon — 1024 icons. At 128×128 — 256. Atlas planning starts at the technical specification stage, not after final rendering.
Export formats: PNG without compression for sources; inside Unity, textures are converted depending on the platform. According to Unity documentation, we use ETC2 for Android, ASTC for iOS, and DXT5 for PC. Alpha channel — separate PNG or through RGBA in one file, depending on project settings. Transparency through a separate mask channel sometimes gives better quality under compression.
| Format |
Platform |
Comment |
| ETC2 |
Android |
Suitable for most devices |
| ASTC |
iOS |
Best quality under compression |
| DXT5 |
PC |
Supports alpha channel |
Layers and overrides in Figma are the standard for UI graphics preparation. Each element is a separate component with state variants (normal, hover, pressed, disabled). During final export, all variants are sliced automatically via Figma plugins like Spriter Pro or manually through Assets → Export.
How to ensure icon readability on any background?
An icon must be tested not only on a neutral gray background in Figma. In-game, it appears on an inventory panel background, on a dynamic scene through a semi-transparent HUD, on dark and light theme variants if the game supports multiple color schemes. An icon that reads perfectly on a dark background can get completely lost on a light one.
A standard technique is an outline with a contrasting color. For dark icons — a light outline of 1–2 pixels. For light icons — a dark outline. However, using the standard Outline component in uGUI generates additional mesh copies and works poorly with TextMeshPro. For icons, it's better to bake the outline directly into the texture or use an SDF approach via ShaderGraph: the icon is rendered as an SDF texture, and the outline is added through a shader parameter without modifying the mesh.
Another technique is a drop shadow under the icon. A soft shadow with a 4–6 pixel diameter separates the icon from any background. This is one of the most reliable methods for UI with a dynamic background (when HUD icons are overlaid on the game environment).
Rendering in Figma vs. in-game screen — the difference can be up to 30% contrast loss due to engine post-effects. Our experience shows the best way is to test on the target platform with real camera settings.
What does rendering UI elements include?
Icons — the most labor-intensive type. RPGs often have 200–500+ item icons. Standard pipeline: style guide with 10–20 reference icons → approval → batch rendering following a template. Each batch icon takes 30–60 minutes, a unique "showcase" icon takes 2–4 hours.
Frames and panels — decorative borders for windows, dialogs, inventory. Critical: support for 9-slice (NineSlicedSprite in Unity): the frame must scale correctly without stretching corner decorative elements. When rendering, corners and edges must occupy exactly the pixel count required for the 9-slice rule — this is documented in the delivery materials.
HUD elements — health bar, mana bar, timers, markers. Readability during animation is crucial: a filling health bar must be visible even during fast motion. We test on the actual resolution of the target platform, not on Figma preview.
Buttons and navigation elements — all states (normal/hover/pressed/disabled/focused for gamepad). The focused state is often forgotten when rendering for mobile and remembered only when porting to console.
Case: inventory redesign with 300 icons
From our practice: on one project, we redesigned the item system for an action-RPG — changing the visual style from realistic to stylized. 312 icons, deadline 6 weeks. Solution through templating: developed 8 basic silhouette shapes (sword, shield, bow, potion, armor, accessory, resource, quest item) and a style guide with rules for color application, highlights, and shadows. Each icon was built on a base silhouette with variations in details. This reduced the average rendering time from 45 to 25 minutes while maintaining stylistic unity.
Interaction with programmers and artists
UI graphics are always done in close contact with the programmer who implements the interface. Before starting, we agree on: atlas sizes, file naming conventions (for automatic Sprite Atlas packing), whether multi-resolution support is needed (x1/x2/x3), and the source delivery format.
Changes to element sizes or shapes after implementation has started are costly to fix. Therefore, the final specification document (pixel dimensions, 9-slice rules, color codes) is approved before export, not after.
Work stages for UI graphics
- Requirements analysis — determine platforms, style, number of elements.
- Style guide creation — 10–20 reference icons.
- Element rendering according to the approved pipeline.
- In-engine verification — readability test, 9-slice, animations.
- Packing into atlases and delivery to the programmer.
| Scope |
Timeline |
| 20–50 icons (batch rendering per style) |
1–2 weeks |
| Full UI kit: buttons, frames, icons (up to 100 elements) |
3–5 weeks |
| 200–400 item icons |
6–12 weeks |
| Redesign of existing UI with new style |
4–8 weeks |
Cost is calculated individually based on the number of elements, uniqueness of each, and quality requirements. We guarantee stylistic unity and readability on any screen. Contact us for a project assessment — we'll find the optimal pipeline for your budget and timeline. Get a consultation on your UI right now.
Prototyping and UX/UI for Games: Architecture, Performance, Localization
You open someone else's Unity project — and see: one Canvas for the whole game, hundreds of nested panels, Layout Groups inside Layout Groups, the profiler showing 4 ms just for UI recalc every frame. This is not uncommon. With over 10 years of experience, we've analyzed hundreds of UI systems — almost all suffered from a lack of architecture from the start. As a result, by mid-development, UI becomes a bottleneck: each new screen introduces bugs, performance drops, and fixes take hours. We design and implement game UI: from wireframes to ready engine components, with a focus on performance and maintainability. Our game interface prototyping approach identifies 80% of UX issues before writing code. Contact us for a consultation — we'll evaluate your project.
Prototyping and Design
Any UI begins with understanding information flows: what the player should see at each moment, what actions are available, how to navigate between screens. Without this, development turns into a series of "made — wrong — redo" iterations. Our prototyping tool is Figma. The choice is not about trends but specific capabilities:
- Component system with variants — test button states (Normal/Hover/Pressed/Disabled)
- Auto Layout — honest simulation of UI behavior under different text sizes (critical for multilingual games)
- Prototypes with transitions — test navigation flow before the first line of code
At the prototype stage, most UX problems are uncovered: non-obvious transitions, overloaded screens, incorrect information hierarchy. Fixing them in Figma takes 15 minutes. Fixing them in a finished project takes half a day. We ensure that each prototype is accompanied by a technical specification for developers — this eliminates ambiguity when transferring to the engine.
uGUI vs UI Toolkit: What to Choose for a New Project
Unity currently has two UI frameworks, and the choice between them is not obvious. uGUI (Canvas-based) is a mature system, present since early versions of Unity. It works with RectTransform and has a rich asset ecosystem. Virtually all existing game UI is built on uGUI.
UI Toolkit is a system based on XML (UXML) and CSS-like styles (USS). Originally created for editor tools, it has been officially supported for runtime UI since Unity 2021. Architecturally, it's closer to web development.
UI Toolkit is suitable for the following scenarios:
- New project, team ready to learn
- Need a complex theme and skin system
- Actively developing custom editor tools
uGUI remains preferable if:
- Supporting an existing project
- Need maximum compatibility with Asset Store assets
- Team already knows uGUI, tight deadlines
How to Achieve Performant UI in Unity?
This is where game UI differs drastically from UI in regular applications. In games, UI updates every frame, and an inefficient implementation can eat 3–5 ms from the frame budget — directly impacting FPS.
How Batching Works in Canvas
Unity combines elements of the same Canvas into a single draw call if they use the same material and texture atlas. Breaking the batch means an additional draw call, which hurts performance.
Batching is broken by:
- Different textures on adjacent elements (solution: sprite atlas via Sprite Atlas)
- Mask component creates a stencil and breaks the batch (alternative: RectMask2D — cheaper)
- Canvases with different Render Modes — batching works only within one Canvas
- Any Graphic Raycaster adds overhead — place it only on interactive Canvases
Splitting Canvas by Content Type
The main recommendation: separate static and dynamic content. When any element in a Canvas changes, Unity rebuilds the geometry of the entire Canvas. If a static HUD frame and an animated health bar live on the same Canvas, the Canvas rebuilds fully every second. This can reduce FPS by 15–20%.
Correct structure:
Canvas (Screen Space - Overlay)
├── Canvas_Static — backgrounds, frames, icons without animation
├── Canvas_Dynamic — HP bars, timers, resource counters
└── Canvas_Popup — modal windows, notifications
Each child Canvas isolates rebuild from the parent. Changes in Canvas_Dynamic do not affect Canvas_Static.
Step-by-step setup for separate Canvases:
- Create a root Canvas with Render Mode = Screen Space Overlay
- Inside, create empty GameObjects, each with a Canvas component
- Name them Static, Dynamic, Popup
- Move existing UI elements into the appropriate groups
- Ensure the Canvas Scaler component is set only on the root Canvas (children inherit settings)
Result: up to 60% reduction in UI repaint time in scenes with dynamic HUDs.
TextMeshPro and Text Batching
TextMeshPro is the standard for text in Unity. Unlike the old Text, it uses SDF rendering — text remains crisp at any scale. However, TMP has a nuance: each unique font atlas is a separate material, i.e., a separate draw call. If the game uses three font variants (main, heading, numbers) plus versions for each language, text batching breaks. Solution: TMP Font Asset Creator with glyph merging for needed languages into one atlas. For Cyrillic + Latin + digits, one 2048×2048 atlas usually suffices — reducing text draw calls to 1-2.
How to Adapt UI for Different Screens?
Mobile platforms add a challenge absent on PC: UI must work correctly on 16:9, 18:9, 19.5:9, 4:3, and iPad ratios simultaneously. Adaptation errors are a common cause of rework, consuming up to 30% of the budget.
Tools:
- Canvas Scaler with Scale With Screen Size mode — basic setup. Reference Resolution 1080×1920 for mobile, Match parameter 0.5 (balance between width and height)
- Anchor Presets — each element must be anchored to the correct edge or center
- Safe Area — on devices with notches and rounded corners, buttons must not fall into the inaccessible zone. Solution: Screen.safeArea in code, adjusts the RectTransform of the root element
Testing should be done not only in the Game View — physical testing on devices or using the Device Simulator (built into Unity) is necessary. Order a UI audit — we'll identify bottlenecks in 2-3 days.
UI Localization
This is not a separate task but a requirement from day one. A typical problem: UI designed for Russian text occupying N characters. The German translation is one and a half times longer. Buttons break, text overflows. At the design stage, we perform:
- All text fields with Auto Size in TMP or explicitly set min/max sizes
- Buttons with Horizontal Layout Group + Content Size Fitter instead of fixed width
- Icons and decorative elements are not concatenated into text strings
For implementation, we use the Unity Localization Package (official) or I2 Localization (asset, more flexible for complex cases). Time savings on rework with this approach — up to 40%.
What We Will Check in Your UI in One Day
- Draw call and batching analysis (via Frame Debugger)
- Canvas rebuild (via Profiler, finding unnecessary rebatches)
- Raycaster operation (removing excess)
- Responsiveness (Safe Area, Anchor Presets)
- Localization (test with extra-long strings)
- Font quality (TMP atlases, overlapping errors)
What's Included
- Navigation structure and screen flow design
- Game interface prototyping in Figma with handoff to development
- Implementation of UI components in Unity (uGUI or UI Toolkit)
- Performance audit of existing UI: draw calls, Canvas rebatch, excess Raycasters
- Localization system setup and testing with long translations
- Adaptation for mobile aspect ratios and Safe Area
Timeline: from 5 working days for an audit to 4 weeks for a full cycle. Pricing is calculated individually — contact us for a commercial proposal. Over 10 years in game development, more than 200 projects delivered guarantee results.