



Professional Normal Map and PBR Texture Baking Services

Our video game development company runs independent projects, jointly creates games with the client and provides additional operational services. Expertise of our team allows us to cover all gaming platforms and develop an amazing product that matches the customer’s vision and players preferences.

From immersive apps to game worlds and 3D scenes

Our dedicated team for VR/AR/MR development, Unity production and 3D modeling & animation — with its own case studies and capability decks.

Visit the dedicated studio
Showing 1 of 1All 242 services
Professional Normal Map and PBR Texture Baking Services
Medium
from 4 hours to 2 days
Frequently Asked Questions

Our competencies

What are the stages of Game Development?

Latest works

  • image_games_mortal_motors_495_0.webp
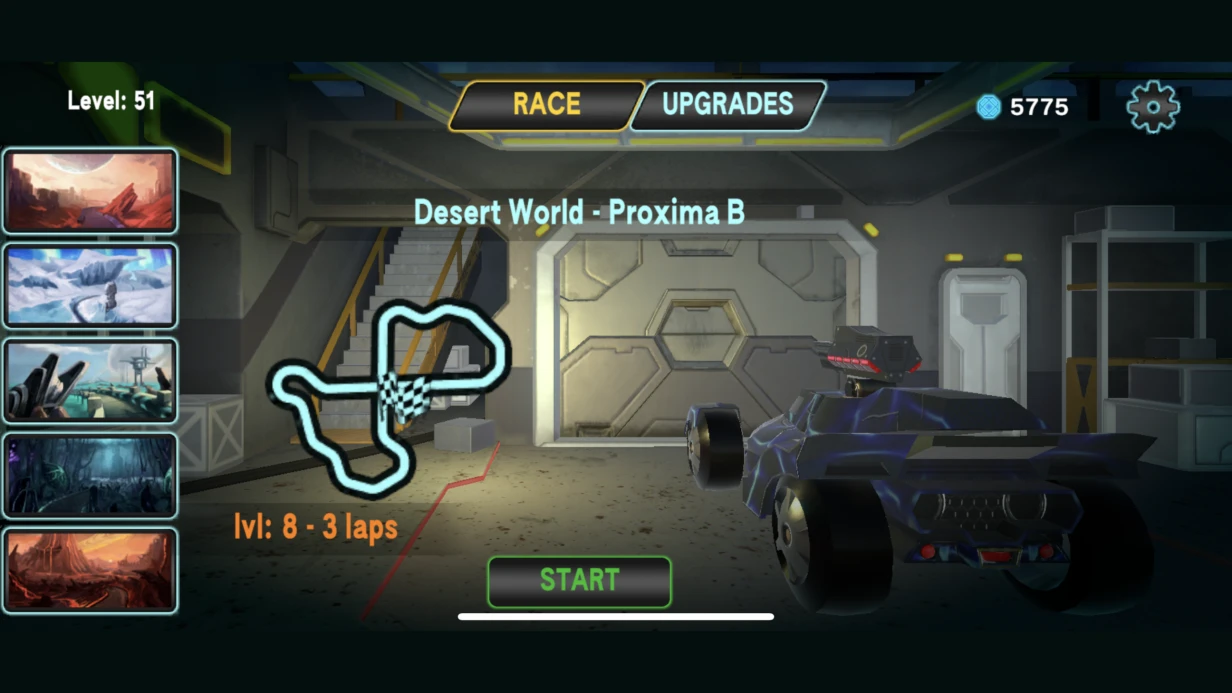
    Game development for Mortal Motors
    1457
  • image_games_a_turnbased_strategy_game_set_in_a_fantasy_setting_with_fire_and_sword_603_0.webp
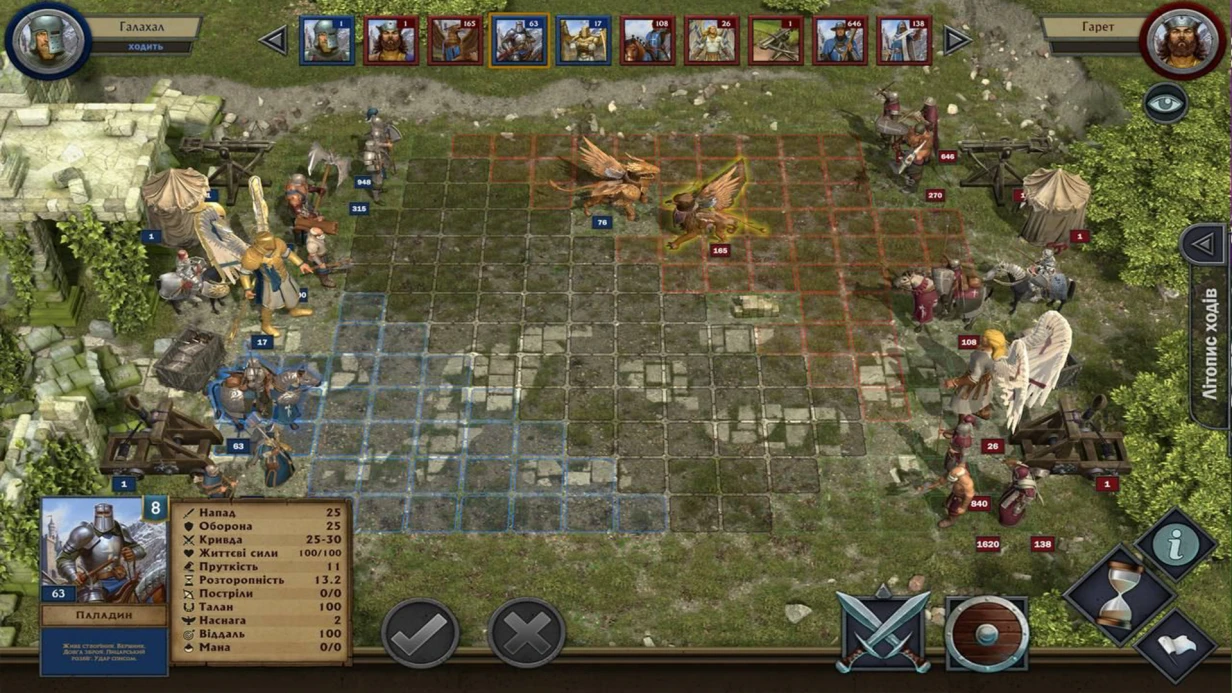
    A turn-based strategy game set in a fantasy setting, With Fire and Sword
    979
  • image_games_second_team_604_0.webp
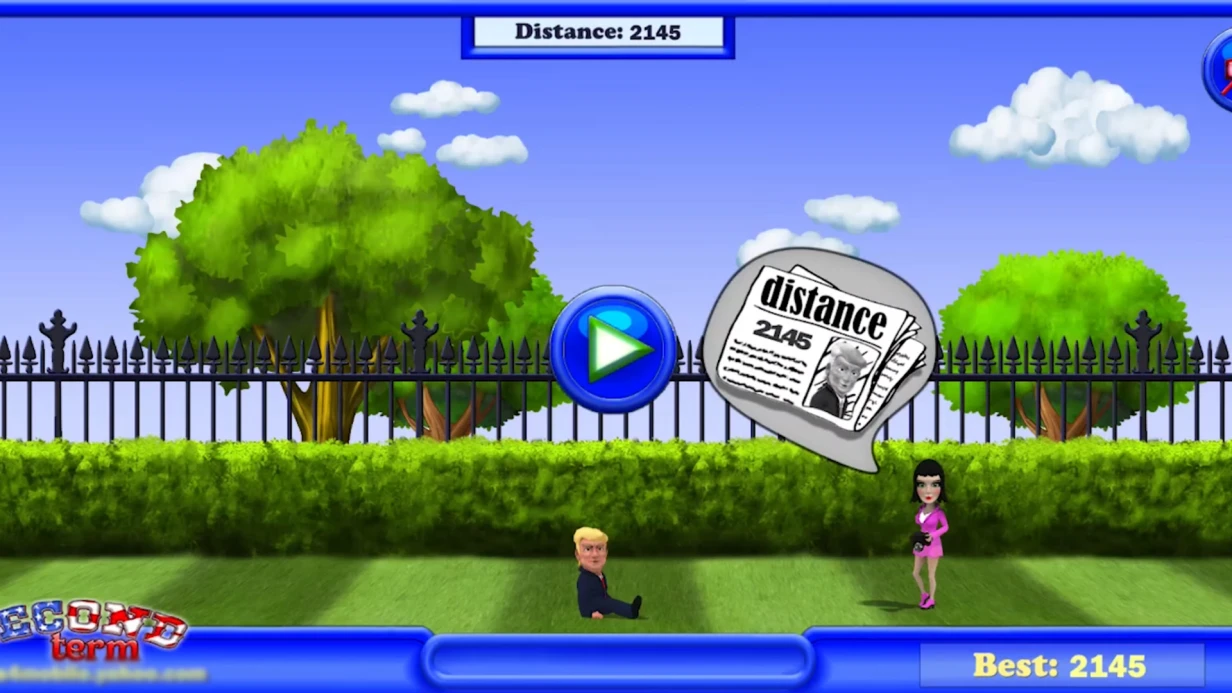
    Game development for the company Second term
    605
  • image_games_phoenix_ii_606_0.webp
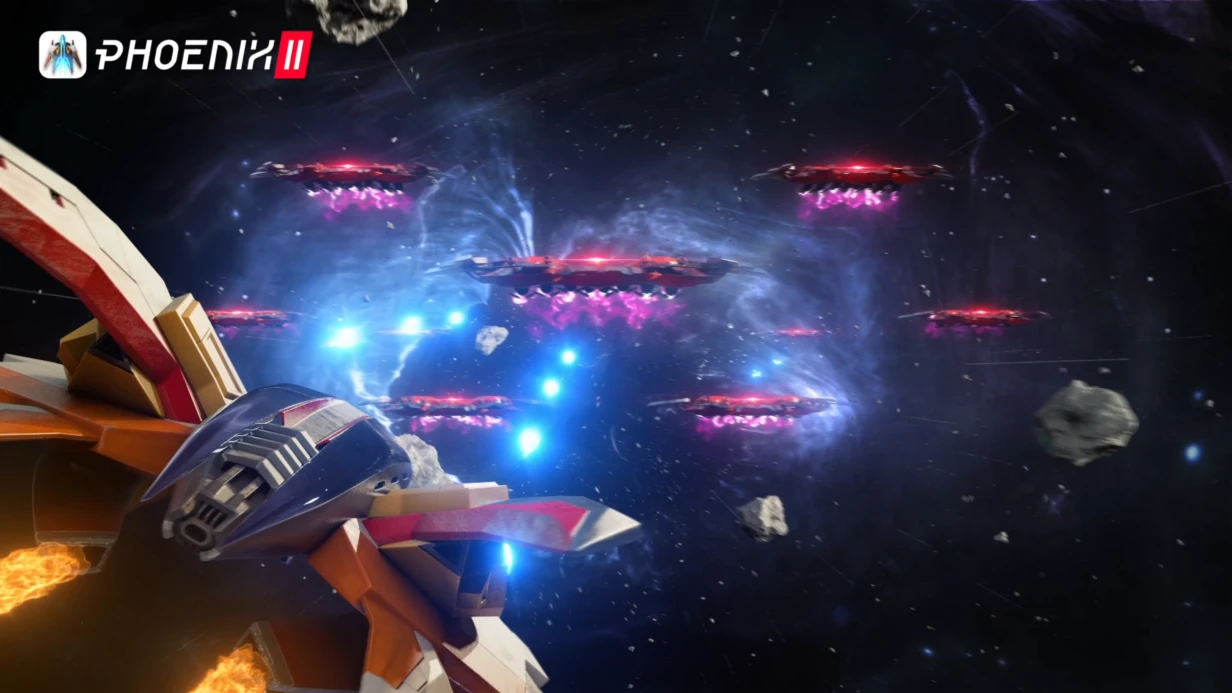
    3D animation - teaser for the game Phoenix 2.
    674
  • image_training-quizzes_kids_shopping_quiz_614_0.webp
    Educational quiz for kids "Shopping in a store"
    29

The difference between "just baking" and "baking right" is the difference between artifacts on every hard edge and a clean map that works under any lighting. The process seems simple: load high-poly and low-poly, click Bake in Marmoset Toolbag, get a map. In practice, 30% of time goes into setup, 40% into fixing artifacts, and only 30% into the actual bake. Our experience shows that proper preparation saves up to 40% of time compared to redo's. Our standard baking service starts at $150 for a simple prop, with average costs from $50-$200 per day depending on complexity.

What artifacts occur and why

Shadowing artifacts on hard edges. Classic: normal map looks fine under direct light, but under side light dark bands appear on edges. The cause is mismatch between smoothing groups on low-poly and UV seam boundaries. The rule that fixes this in 90% of cases: UV seam must coincide with hard edge (smoothing group break). This is called matched UV/smoothing workflow and it's not an option but a requirement for correct baking. In 15% of cases, additional cage adjustments are needed.

Projection artifacts. When high-poly and low-poly volumes don't match, the baker tries to find the nearest surface via ray casting and misses — especially on complex concave shapes and thin elements. In Marmoset Toolbag this is solved with Bake Groups: each part with significant volume deviation is isolated into its own group with an individual cage. This reduces artifacts by 70%.

Seams on normal map. Visible breaks along UV island borders. Cause: insufficient padding (2px instead of the needed 8px) or floating geometry that the baker interprets ambiguously. In xNormal this is fixed via Edge Padding with 16px dilation. In Marmoset Toolbag — via Dilation setting set to 32px for 4096 textures.

Tangent space mismatch. Normal map baked in one tangent space, engine uses another — result: incorrect lighting, highlights in wrong places. Unity uses MikkTSpace, Unreal Engine — also MikkTSpace, but with nuances in UE4 vs UE5. Marmoset Toolbag and Substance Painter support tangent basis setting — it must be set to match the target engine before baking. Failure to do so causes 80% of lighting errors.

Artifact Cause Solution
Shadowing artifacts Mismatched smoothing groups Align UV seam with hard edge
Projection artifacts Volume mismatch HP/LP Use Bake Groups with individual cage
Seams on normal map Insufficient padding Increase padding to 8px, enable dilation, use 16-32px
Tangent space mismatch Different tangent basis Set MikkTSpace for target engine

What software and settings guarantee a clean bake?

Marmoset Toolbag 4 — our primary baking tool. Reason: Bake Groups with per-group cage, UDIM support, correct tangent basis for most engines, real-time preview. Settings: Samples 256–512 for final bake, Dilation 32px for 4096 textures, Cage Offset individually per group (typical offset 0.5-2cm).

xNormal — used for complex cases with custom cage and for batch baking many objects. Faster than Toolbag on large scenes (up to 2x speed), but preview is weaker.

Substance Painter — when baking and texturing happen in one tool. Match by Mesh Name workflow: low-poly named Object_low, high-poly — Object_high. Painter automatically matches pairs and bakes separately. This is critical for complex assets with dozens of parts.

Maps we bake as standard: Normal Map (tangent space), Ambient Occlusion with Ray Distance 0.5-2m, Curvature (min/max -1/1), Position, Thickness, World Space Normal. The last three are needed for procedural masks in Substance Painter. AO is baked with Ignore Backfaces setting — without these, cavity details produce incorrect shadows.

For characters with UDIM workflow, baking is done per-tile: each tile (1001, 1002, 1003, ...) is baked considering its own geometry. Marmoset Toolbag 4 natively supports UDIM baking — one of the reasons it has become standard in character pipeline.

Typical mistakes when preparing HP/LP models - UV seam not aligned with hard edge → shadowing artifacts. - Cage not set or too small → projection artifacts. - Padding less than 8px for 4096 textures → seams. - Wrong tangent basis → incorrect lighting in engine. - Models not matching by mesh name → Substance Painter doesn't match pairs. Fixing these mistakes before baking reduces redo's by 50%.

Process

Inputs needed: high-poly mesh (FBX/OBJ), low-poly mesh with UV, target engine information (for tangent basis), texture atlas size (e.g., 4K).

  1. Check HP/LP pair. Check volume correspondence, identify problem areas — thin details, sharp corners, concave shapes.
  2. Set up bake groups. Split model into groups by surface type and geometry complexity. Floating geometry (rivets, overlays, details) — into separate groups.
  3. Test bake. At lower resolution (512 or 1024) check all critical zones. Fix smoothing groups, move seams, adjust cage.
  4. Final bake. Full resolution (e.g., 4K), maximum sampling (512). Post-processing: edge dilation, filtering.
  5. QA in engine. Maps are checked in the target engine or in Marmoset Viewer under multiple lighting setups — key, side, backlight.

What's included

We provide the full package: source maps (Normal, AO, Curvature, Position, Thickness) in PNG/TGA formats, bake scene file (Toolbag/scene, group descriptions), and integration recommendations for the engine. If needed, team training on working with the resulting textures and support for one month after delivery.

Why trust us with baking?

Over 7 years of experience in gamedev, more than 150 projects — from mobile indie games to AAA console characters. We guarantee a clean map from the first bake: if artifacts remain after engine verification, we fix them for free. For regular clients — discounts on batch orders (10% for 5+ assets). Start cooperation today — order a test bake of one asset with a 30% discount off regular pricing.

Estimated timelines and costs

Asset type Number of maps Timeline Starting cost
Simple prop Normal + AO 4–8 hours $150
Weapon / equipment Full PBR set 1–2 days $400
Character (one UV tile) Full PBR set 2–4 days $1,200
Character UDIM (4–6 tiles) Full PBR set 3–6 days $2,500

Cost is calculated after analyzing source files. Get your project evaluated for free. Leave a request — we will contact you and calculate timeline and cost. Get a consultation for your project. Contact us — we will assess complexity and propose the best option.

More about tangent space can be read in Marmoset's documentation.

3D Modeling for Games

An artist delivers a character at 120,000 triangles and insists it “looks better this way.” In a mobile scene, ten such characters tank FPS below playable. We solve this daily: every model passes strict polygon control and per-platform optimization. We have shipped over 50 game projects — from mobile hyper‑casual to PC action titles — and guarantee each asset fits technical constraints without losing visual quality.

3D modeling for games is not “make it look good.” It is prioritising within a limited budget of triangles and draw calls. Every pipeline stage affects runtime performance. Skipping retopology or producing bad UVs forces rework during integration — we eliminate that from the start.

We design models for specific target platforms: mobile uses low texel density (512 px/m), PC up to 2048 px/m. All decisions are backed by engine benchmarks and profiling on real hardware.

How Are Polygons Distributed for Different Platforms?

This aspect is often overlooked at project start — and later causes rework.

Mobile Platforms (iOS / Android)

Mobile is the toughest environment. Character budgets:

Character Type Polygons (triangulated)
Main hero (close‑up) 3,000 – 8,000
Secondary NPC 1,000 – 3,000
Crowd / distant enemies 300 – 800

Environment objects (single prop):

Object Polygons
Large interactive (chest, door) 500 – 1,500
Medium decorative 100 – 400
Small (rock, branch) 20 – 80

More critical than polygon count are draw calls and batching. A 200‑triangle model with a separate material can be more expensive than a 2,000‑triangle model that batches with the scene. SRP Batcher and GPU instancing cut draw calls by up to 40% — two to three times more efficient than per‑object rendering — giving headroom for richer assets.

PC / Console

Budgets are looser but not unlimited:

  • Main character in a first‑person shooter: 15,000 – 60,000 triangles (enemy constantly visible).
  • Character in a third‑person RPG: 8,000 – 25,000.
  • Vehicle in a racing game: 30,000 – 80,000 (requires LOD).

Key tool — LOD (Level of Detail). In Unity it is LOD Group, in Unreal — automatic HLOD plus manual LOD levels in Static Mesh Editor. Rule: LOD0 → LOD1 loses ~50–60% polygons, LOD1 → LOD2 another ~50%. Occlusion culling and clustered rendering further reduce GPU load.

VR

VR renders for two eyes at 90 fps (Quest) or 120 fps (PSVR2). Any freeze is physically felt — the player gets dizzy. Character budget: 4,000 – 12,000 triangles (depends on simultaneous NPCs). Environment requires aggressive optimisation: portal system, occluder culling, clustered rendering. We use Frame Debugger and RenderDoc early in the pipeline.

Why Is Retopology an Artistic Task?

Retopology — creating a clean polygon mesh over the sculpt. Many see it as a boring technical step and rely on auto‑retopology (ZRemesher, Instant Meshes, Auto Retopology in Maya). That is a mistake.

Auto‑retopology fails in three critical areas:

  1. Joints — knees, elbows, wrists need even edge loops perpendicular to the rotation axis. Auto‑retopology produces chaotic diagonals; during animation the joint collapses unattractively.
  2. Face — concentric loops around mouth and eyes are mandatory for correct blend‑shape deformation. Auto‑retopology ignores muscle structure.
  3. Silhouette edges — shoulders, chest, large forms. Polygons must be consciously distributed so the silhouette reads even on LOD2.

Manual retopology reduces skinning artifacts by 60% compared to auto‑retopology. Tools: Maya (Quad Draw), Blender (BSurfaces + Shrinkwrap), 3ds Max (Graphite Modeling Tools), ZBrush (ZRemesher with guide curves). Density is uneven: face and hands get more polygons, back and lower legs fewer — because the camera spends more time there. This is not arbitrary; it is driven by silhouette and animation needs.

How Does UV Unwrapping Affect Texture Quality?

UV is another underestimated step. Texel density must be uniform across the entire character. If the boot has twice the density of the face, the texture looks inconsistent. In Maya we use UV Toolkit with normalization; in Blender — the TexTools addon.

UDIM (U‑Dimension) combines multiple UV tiles into one object, allowing 4K–8K textures without single‑UV‑space limits. Used for characters with high detail — cinematic games, hero assets. Pipeline then requires Substance Painter in UDIM mode and separate export per tile.

Baking — transferring high‑poly detail to maps for low‑poly. Tools:

  • Marmoset Toolbag — industry standard, cage‑based with fine tuning. According to its documentation, batch baking saves up to 30% time.
  • xNormal — free, stable for batch baking.
  • Substance Painter — built‑in baker for quick results within texturing, less flexible.
  • Blender Cycles — slower, but free.

Typical baked map set: Normal Map, Ambient Occlusion, Curvature, Thickness, Position, World Space Normal. Curvature and Thickness serve as generator masks in Substance Painter for automatic procedural texturing.

What Does 3D Modeling for Games Include?

Stage Details Deliverable
High‑poly sculpt Detailed sculpt in ZBrush / Blender .zpr / .blend, screenshots
Manual retopology Clean low‑poly mesh with proper edge loops for animation .fbx / .ma
UV unwrapping Normalized texel density, optionally UDIM .fbx with UV set
Baking Normal, AO, Curvature, Thickness (Marmoset / xNormal) Texture set (PNG/TGA)
LOD chain LOD0–LOD3 with polygon and distance thresholds .fbx per LOD
Integration Import into Unity / Unreal, material and batching check .unitypackage / .uasset
Documentation Asset naming, hierarchy, triangle budget PDF / Notion

We also provide one hour of support after delivery — helping with LOD Group setup, collisions, and animation. Source files (.zpr, .blend, .ma, .fbx) are fully transferred.

Common UV mistakes we prevent: different texel densities on adjacent parts, overlapping UVs, insufficient padding between islands, missing UDIM for complex characters.

Reach out for a detailed project assessment. We'll analyze your requirements and recommend the optimal pipeline — from mobile hyper‑casual to PC action and VR. Contact us to discuss your project and receive a tailored commercial proposal.