





3D Asset Integration Pipeline for Unity and Unreal: Automating Import

Our video game development company runs independent projects, jointly creates games with the client and provides additional operational services. Expertise of our team allows us to cover all gaming platforms and develop an amazing product that matches the customer’s vision and players preferences.

From immersive apps to game worlds and 3D scenes

Our dedicated team for VR/AR/MR development, Unity production and 3D modeling & animation — with its own case studies and capability decks.

Visit the dedicated studio
Showing 1 of 1All 242 services
3D Asset Integration Pipeline for Unity and Unreal: Automating Import
Medium
~2 days
Frequently Asked Questions

Our competencies

What are the stages of Game Development?

Latest works

  • image_games_mortal_motors_495_0.webp
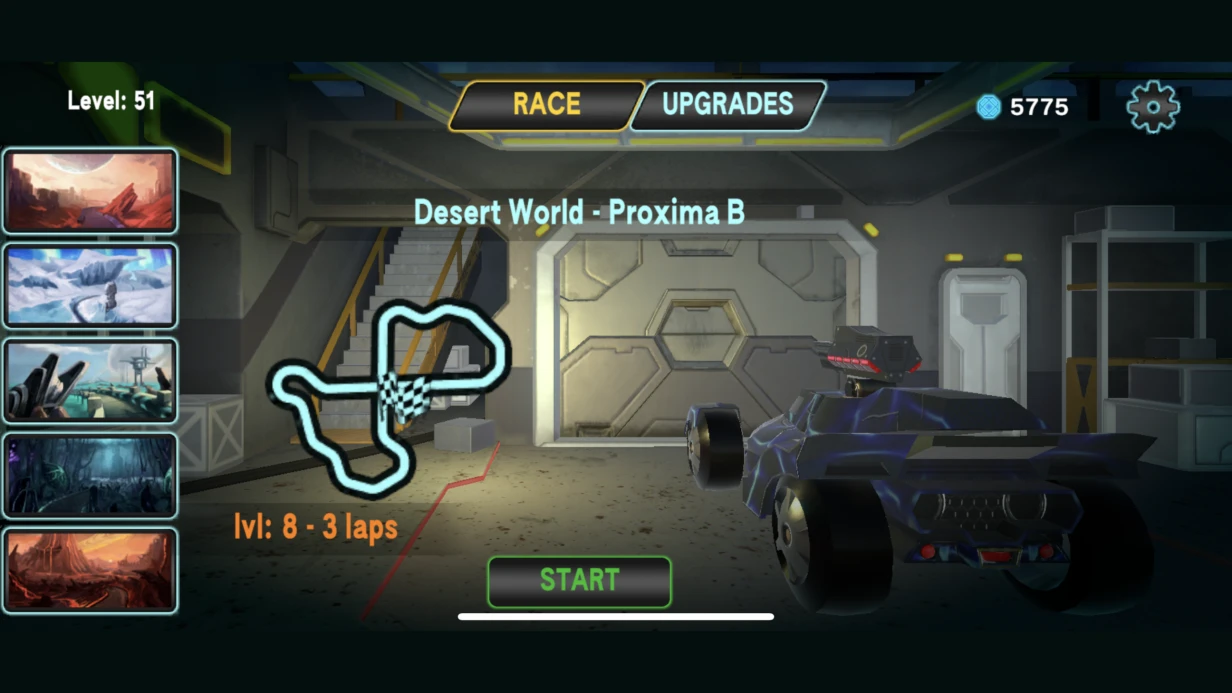
    Game development for Mortal Motors
    1421
  • image_games_a_turnbased_strategy_game_set_in_a_fantasy_setting_with_fire_and_sword_603_0.webp
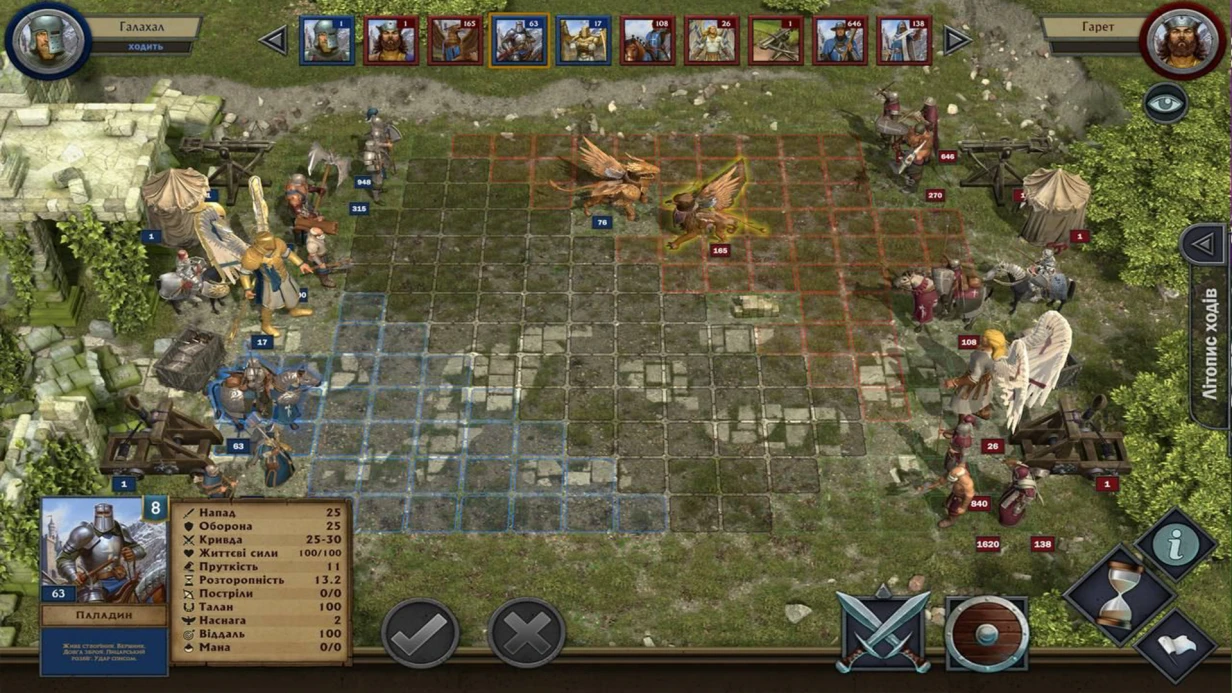
    A turn-based strategy game set in a fantasy setting, With Fire and Sword
    954
  • image_games_second_team_604_0.webp
    Game development for the company Second term
    577
  • image_games_phoenix_ii_606_0.webp
    3D animation - teaser for the game Phoenix 2.
    637

Often in our practice, an artist delivers an FBX file created in Maya or Blender. You import it into Unity or Unreal Engine. The model is rotated by 90 degrees, the scale is 100 times larger than needed, normals are inverted on half the polygons, and the skeleton contains 8 extra bones from helper objects in the Maya scene. This is the standard situation without a clear asset delivery pipeline, resulting in wasted time on manual fixes and increased risk of errors during integration.

Integrating 3D assets is not just "drag file into Project Window." It involves aligning coordinate systems, scales, skeleton formats, UV channels, naming conventions for materials, and correctly configuring Import Settings for the specific engine and platform. We reduce integration time by up to 60% through automation and clear guidelines. Savings on integrating each subsequent batch of assets amount to 30–50% compared to a manual pipeline.

How to properly set up a 3D asset integration pipeline?

Mismatched coordinate systems

Maya and 3ds Max use Y-up, Blender defaults to Z-up, Unity uses Y-up, Unreal uses Z-up. When exporting FBX from Blender without proper Export Axis Convention, the model will be rotated in Unity. For an animated skeleton, this means Animation Clips will not play correctly.

Extra transforms and pivot issues

The artist delivers a character with pivot at the feet, a prop with pivot at the geometric center. In Unreal this is more critical: Static Mesh Pivot affects alignment when placing in the level. Rule: pivot point is determined in advance in the asset tech spec.

Materials and named slots

When importing FBX, Unity creates Material Slots based on names in the file. If the artist names materials Material.001, it is hard to sort out later. Before export, all materials must have semantic names: M_Char_Body, M_Char_Face. This convention is documented in the Asset Naming Convention document.

UV channels for Lightmap

Unity requires a second UV channel for baking lightmaps. If the asset arrives without UV2, Unity auto-generates it, and the result is often suboptimal: overlapping UV islands. For serious projects, UV2 is created manually in DCC (Maya/Blender).

Configuring Import Settings for the task

In Unity Import Settings for Mesh:

  • Scale Factor — standard 0.01 for Maya/3ds Max (they work in centimeters, Unity in meters). Blender — 1.0 with correct export.
  • Read/Write Enabled — disable for static meshes, enable only if runtime mesh modification is needed.
  • Optimize Mesh — enable for final assets (regroups triangles for better GPU cache coherency).
  • Generate Colliders — only for simple convex meshes. For complex collision, create a separate low-poly collider mesh.

For skinned characters: Rig → Animation Type = Humanoid (if Avatar and retargeting are needed) or Generic (if custom skeleton without retargeting). Humanoid has strict requirements for bone hierarchy — all 15 mandatory bones must be mapped.

Why glTF 2.0 is better than FBX for new projects?

Format comparison:

Format Material accuracy Coordinate issues Support
FBX Low (requires manual conversion) Frequent (scale, axes) Universal
glTF 2.0 High (PBR transmits natively) Minimal Unity, Unreal 5.1+
USD Depends on pipeline Low with correct export Unreal, Omniverse, AR

glTF 2.0 is a modern open standard, natively supported in Unreal 5.1+ and Unity via the com.unity.formats.gltf package. PBR materials (metallic/roughness workflow) transmit without conversion. Issues with scale and coordinates are significantly fewer than with FBX. We recommend glTF for new projects — it reduces manual fixes by 70%.

USD (Universal Scene Description) is relevant for Unreal Engine with USDZ, pipelines with Omniverse, and AR (Apple Reality Composer). It supports references to other USD files, which is convenient for assembling scenes from modular assets.

FBX is a legacy standard, but still the most universal. Its problems are known and solvable with proper workflow. For automation of fixes, we use FBX SDK.

The process of working on asset integration

  1. Asset audit — check provided files for compliance with requirements (vertex count, UV2 presence, material names, coordinates).
  2. Develop Asset Delivery Guide — a document for artists: export settings, naming conventions, material and polycount requirements.
  3. Configure automatic import — write an AssetPostprocessor for Unity or Editor Utility Blueprint for Unreal to automatically assign Import Settings.
  4. Validate and fix problems — batch scripts to fix inverted normals, rename materials, align pivots.
  5. Test in scene — check asset in engine: LOD, collision, animations, lighting.
  6. Deliver and document — fix settings, train the team, hand over the finished pipeline.

Timelines and cost

Task scale Estimated timeline
Configure Import Settings for a ready asset package 2–5 days
Develop Asset Pipeline + documentation 1–2 weeks
Fix problematic assets + integration (20–50 objects) 2–4 weeks
Full DCC → Engine pipeline with automation 3–6 weeks

Exact cost is calculated after an audit of your assets and selected engine. Contact us for a project assessment. Order an audit — we will estimate the savings for your project.

What is included in the work

  • Audit of existing assets and identification of issues.
  • Development and implementation of an Asset Delivery Guide.
  • Configuration of automated import via AssetPostprocessor or Editor Utility Blueprint.
  • Writing batch scripts to fix common errors (inverted normals, pivot, naming).
  • Pipeline testing on a pilot batch of assets.
  • Documentation and team training.
  • Post-release support (2 months).

Our competencies

Our team has 10+ years of experience in game development, with over 50 projects in asset integration for Unity and Unreal Engine. We guarantee seamless integration of assets of any complexity level. This experience is backed by Unity and Unreal certifications. We reduce artifact correction costs by 30–50%.

Get a consultation on pipeline setup — write to us, we will evaluate your project for free.

What Are the Typical Game Performance Problems and How Optimization Solves Them?

A project runs smoothly on developer devices. On a five-year-old mid-range Android, it hits 20 fps and overheats after five minutes. On iPhone 11 it maintains 60 fps, but on iPhone XR it drops in heavy scenes. We encounter this every day. Optimization is not a later task—it is an architectural decision from the first commit. With eight years of experience, we have optimized over fifty games, from hypercasual to AAA on consoles. We guarantee: after our audit, you get not just a list of problems, but a concrete plan with measurable goals and deadlines. Order a performance audit — we evaluate your project in three days and show how to reduce draw calls by 40% without losing quality.

How to Profile Game Performance? Tools and Best Practices

Before any optimization, measure. Optimization without profiling is guesswork.

Tool Purpose
Unity Profiler CPU/GPU time per system, GC allocations, audio
Frame Debugger Inspect each draw call in a frame
Memory Profiler Memory snapshot, asset dependency graph
RenderDoc Deep GPU state analysis, relevant for PC/Console
Android GPU Inspector GPU profiling on real Android devices
Xcode Instruments GPU + memory on iOS (Metal Performance HUD)
Snapdragon Profiler Qualcomm GPU—detailed shader statistics

Profile on target hardware, not in the editor. The editor adds overhead — Play Mode numbers are not representative. Distinguish between GPU and CPU bottlenecks: CPU may cause many draw calls or heavy logic, GPU may have complex shaders or overdraw. Unity Documentation: profiling on device is mandatory for mobile games. Typical profiling time for one scenario is five to eight hours, including metrics collection on three to five devices of different generations.

Additional profiling tips
  • Use the Profiler Capture tool with deep profile only when needed – it adds up to 50% overhead.
  • Run at least three captures per scenario to get reliable averages.
  • Record timeline markers for custom systems (AI, animation, network) to correlate spikes.

How Does Game Performance Optimization Reduce Draw Calls? Static Batching to SRP Batcher

A draw call is a command from CPU to GPU to “draw this.” Each call has overhead regardless of geometry complexity. On mobile, 200–300 draw calls per frame is typical. The goal is to minimize their number by combining geometry that shares the same material.

Static Batching combines stationary meshes during build. Requirement: Static flag on objects and the same material. Effective for static environments but increases memory usage – the combined mesh is stored separately. In scenes with thousands of static objects, monitor memory via Memory Profiler.

Dynamic Batching combines meshes at runtime with strict limits: fewer than 900 vertex attributes per mesh, same material and scale. In practice, it works only for small objects (particles, UI). Disabled by default in URP – replaced by SRP Batcher.

SRP Batcher is not classic batching – it optimizes CPU overhead when preparing draw calls. Instead of reloading shader uniform data each frame, SRP Batcher caches it in GPU memory and updates only when changed. Draw calls remain the same in number, but each takes less CPU time – sometimes 2–3 times less on render CPU time compared to standard batching. Requirement: shader must be compatible with SRP Batcher (declare per-object properties in UnityPerDraw CBUFFER). Standard URP Lit/Unlit shaders are compatible. Custom ones – check in Material Inspector: SRP Batcher compatible: Yes/No. To enable, ensure the SRP Batcher option is active in URP Asset, and for custom shaders use UNITY_INSTANCING_BUFFER macro and declare per-object properties in CBUFFER_START(UnityPerDraw). After enabling, the RenderLoop.Draw CPU time should decrease in Profiler.

GPU Instancing is for many copies of the same mesh with the same material (trees, grass, NPCs). It sends one draw call with an array of per-instance data. Enable on material: Enable GPU Instancing. Limitation: all instances in one batch must have the same material and mesh. Graphics.DrawMeshInstanced / Graphics.DrawMeshInstancedIndirect enable procedural rendering without GameObject overhead.

The choice of method depends on scenario. Static Batching for static environments. SRP Batcher wins in projects with many unique materials. GPU Instancing is indispensable for mass objects (forests, crowds). Dynamic Batching only for small and rare cases. In practice, we combine all methods, starting with profiling.

Method Object Type CPU Impact GPU Impact RAM Consumption
Static Batching Static Moderate reduction No change Increases
Dynamic Batching Small (≤900 verts) Reduction No change No change
SRP Batcher Any (compatible shaders) Significant reduction (2–3×) No change No change
GPU Instancing Copies of same mesh Minimal Significant reduction Slight

For more details on the technology, see Geometry instancing (Wikipedia).

Why Is Memory Optimization Critical for Mobile Games?

Mobile platforms have strict RAM limits. iOS kills apps without warning on memory pressure. Android does similarly with onLowMemory callback. Target budgets: iOS <1 GB for modern devices, <512 MB for iPhone 8/X support; Android <800 MB for broad compatibility (OS uses 400–600 MB). Typical savings after our optimization are 30–50% of RAM while maintaining quality.

Addressables and Asset Bundles: How to Stay Within Budget

Loading everything at startup is unacceptable for large projects. Addressables (a wrapper over Asset Bundles) provide addressable asynchronous asset loading. Explicit unload: Addressables.ReleaseInstance / Addressables.Release. Addressables do not automatically unload assets when objects are destroyed. A common mistake: Addressables.InstantiateAsync in a loop without Release – memory grows until crash. Reference counting: an asset is unloaded only when all its handles are freed. Architectural pattern: a service/manager holds the handle of the loaded asset and releases it during scene transitions.

Groups and Bundle Strategy: group assets by loading logic. For example, all assets of one level in one bundle, shared assets (UI, fonts) in a separate group with Prevent Updates. This strategy saves up to 30% memory.

Texture Memory: Where 70% of RAM Comes From

Textures are the main memory consumer. Analyze via Memory Profiler: All Of Memory -> Texture2D shows the heaviest textures immediately. In practice, we find textures with inflated Max Size (4096 for a mobile icon is a typical mistake). Measures: Mipmap for 3D textures (enable), for UI (disable); Streaming Mipmaps for open world – loads mip levels as camera approaches. A common problem: textures referenced by unused Materials remain in memory – Memory Profiler shows the reference chain. Remove unnecessary materials. After replacing all RGBA32 textures with ASTC 6×6 on Android, savings reach 60% without quality loss.

GC Allocations: How to Eliminate Freezes in Hot Path

C# garbage collector in Unity is stop-the-world. If heap memory is allocated per frame, GC pause causes visible freezes. Goal: zero allocations in hot path (Update, FixedUpdate, render). Typical sources: string concatenation in Update (replace with StringBuilder); LINQ in hot path (manual loops with pre-allocated lists); GetComponent<T>() every frame (cache in Awake/Start); boxing value types when passed as object parameters. After profiling with Unity Profiler, we reduce hot path allocations by 95% – freezes disappear.

How Can LOD and Culling Cut 40% of Draw Calls?

LOD Group switches to simplified geometry as the object moves away from camera. Standard for 3D environment: LOD0 (100% triangles), LOD1 (30–50%), LOD2 (10–15%), Culled. For mobile, set Culled threshold more aggressively – draw less per frame.

Occlusion Culling – Unity does not render objects behind walls. Requires baked occlusion data. For indoor scenes, reduces draw calls by 20–40%.

Frustum Culling works automatically – objects outside camera FOV are not rendered. But the draw call for the check still happens. For scenes with thousands of objects, use custom spatial partitioning (Quadtree, Octree). In one of our projects, implementing occlusion culling and LOD reduced total draw calls from 2800 to 450 on Android.

How to Maintain 72 FPS on Quest 3 with VR Optimization?

VR is a separate class of tasks. Frame rate of 72 or 90 Hz must not be violated, or motion sickness occurs. In addition to standard methods: Single Pass Instanced Rendering – renders both eyes in one pass (halves draw calls); Fixed Foveated Rendering (Quest) – reduces peripheral resolution; Late Latching (Quest 3) – updates controller position as late as possible before rendering; Dynamic Resolution in URP/HDRP – automatically lowers render resolution on fps drops. For Quest, profile via OVR Metrics Tool – displays CPU/GPU time directly in headset. After applying these methods, frame rate on Quest 2 stabilizes at 72 FPS even in scenes with 1.5 million polygons.

What Deliverables Do You Get from Game Performance Optimization? Stages and Timelines

We offer a comprehensive turnkey service. Here is exactly what you receive:

  1. Profiling report on target devices – metrics (FPS, draw calls, memory, GC) for 5–7 main scenarios. Delivery: 3–5 business days.
  2. Priority action plan – which problems are critical, which can be deferred. Priorities based on impact on gaming experience.
  3. Optimization implementation – batching, LOD, Addressables, shaders, occlusion culling. Average implementation cycle: 2–4 weeks.
  4. Re-profiling results – measured improvements. Typical FPS increase: 30–60% on mobile devices.
  5. Documentation – recommendations for maintenance and further development.
  6. Team training – how to prevent regressions. We conduct workshops on profiling and optimization.

Get a consultation – we evaluate your project for free and show the optimization potential. Contact us to learn exact timelines and details for your stack.