

Professional Post-Production and Color Correction for Game Video

Our video game development company runs independent projects, jointly creates games with the client and provides additional operational services. Expertise of our team allows us to cover all gaming platforms and develop an amazing product that matches the customer’s vision and players preferences.

From immersive apps to game worlds and 3D scenes

Our dedicated team for VR/AR/MR development, Unity production and 3D modeling & animation — with its own case studies and capability decks.

Visit the dedicated studio
Showing 1 of 1All 242 services
Professional Post-Production and Color Correction for Game Video
Medium
~3 days
Frequently Asked Questions

Our competencies

What are the stages of Game Development?

Latest works

  • image_games_mortal_motors_495_0.webp
    Game development for Mortal Motors
    1457
  • image_games_a_turnbased_strategy_game_set_in_a_fantasy_setting_with_fire_and_sword_603_0.webp
    A turn-based strategy game set in a fantasy setting, With Fire and Sword
    979
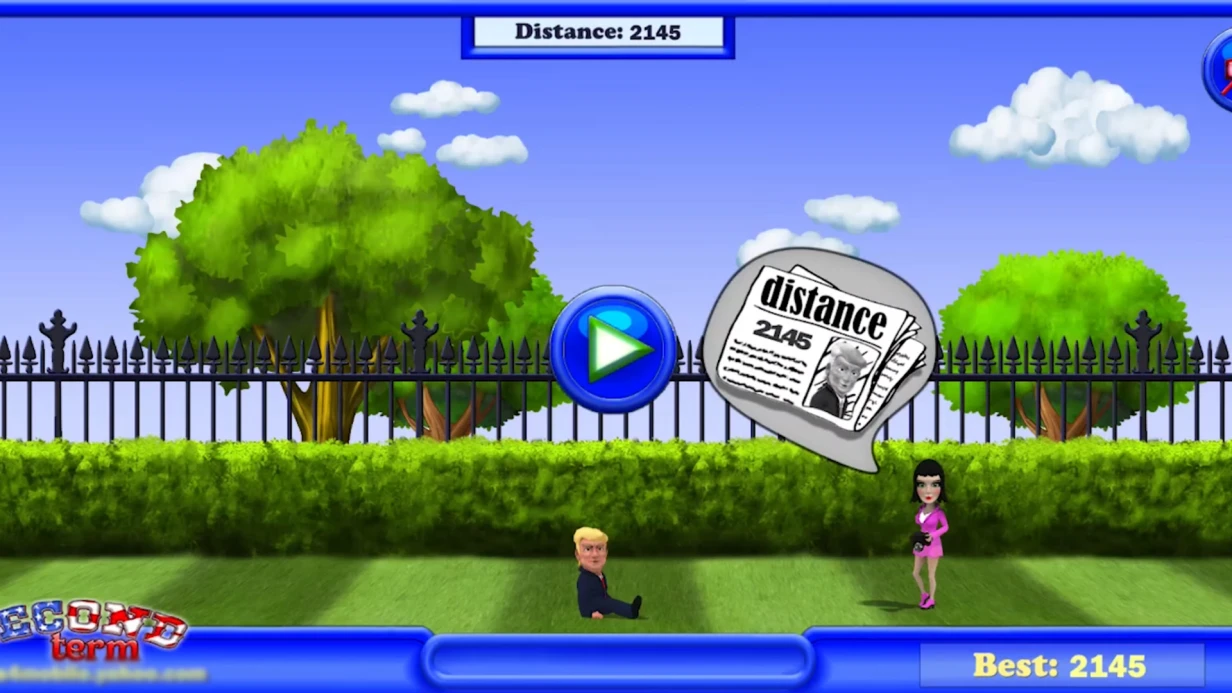
  • image_games_second_team_604_0.webp
    Game development for the company Second term
    605
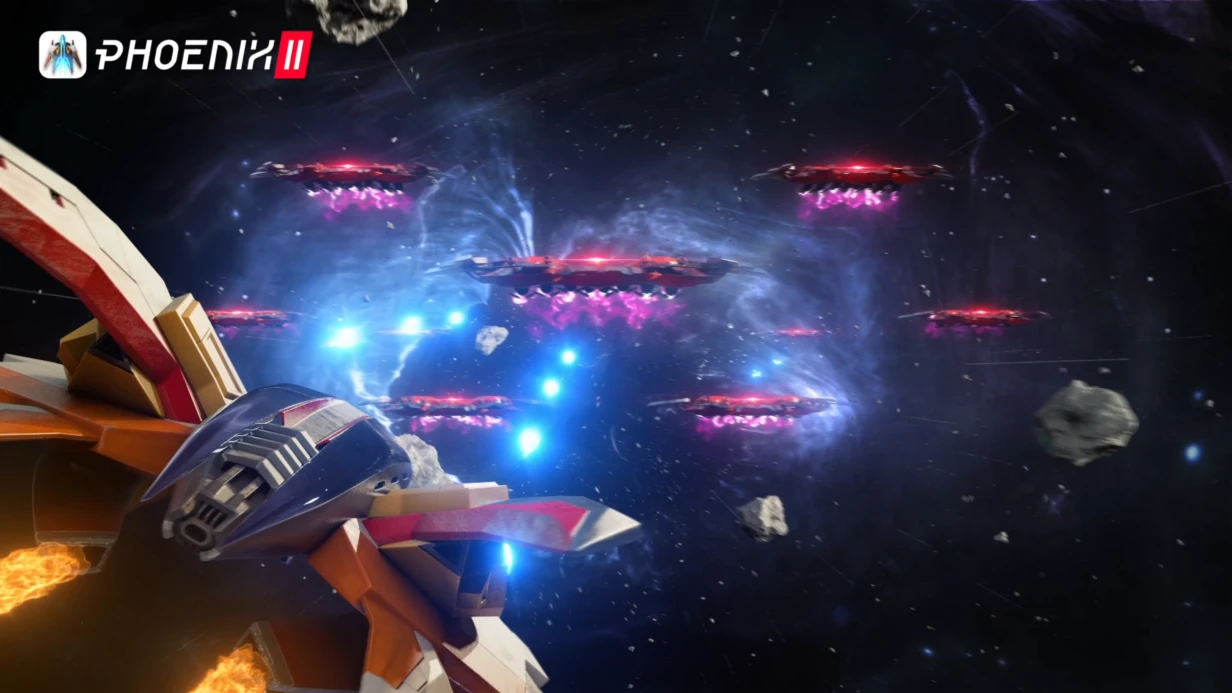
  • image_games_phoenix_ii_606_0.webp
    3D animation - teaser for the game Phoenix 2.
    674
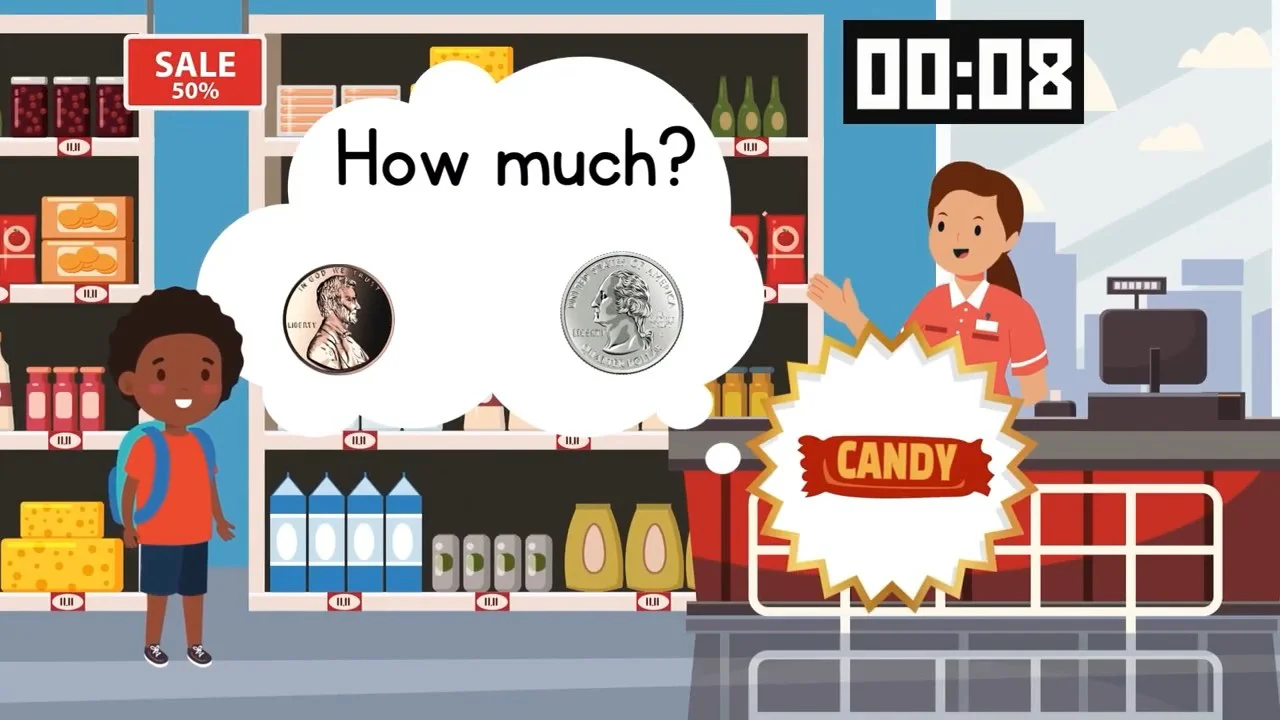
  • image_training-quizzes_kids_shopping_quiz_614_0.webp
    Educational quiz for kids "Shopping in a store"
    29

Post-Production and Color Correction for Game Video

The render from the engine is ready. The ProRes file looks fine in Media Player, but after uploading to YouTube the video becomes dull, contrast drops, and bright UI elements blow out. This is not a YouTube bug — it's incorrect color space management at every pipeline stage. We work with Unity and Unreal Engine, and every fifth submission contains this error. Even correctly configured export to ProRes doesn't guarantee identical display — YouTube re-encodes to VP9, and color metadata can be lost.

Post-production of game video is not 'add music and subtitles'. It's color management, editing with target platforms in mind, and technically correct final export. Our experience: over 50 completed trailers and teasers. We guarantee your video will look equally good on YouTube, Steam, and social media. Without professional post-production, videos lose up to 30% contrast and saturation on mobile devices, leading to lost views.

How to Set Up Color Space for YouTube?

Step-by-step guide for color space setup in After Effects
  1. Open Edit > Project Settings > Color Settings. Set the working space to Rec. 709 Linear if the material was tone-mapped from HDRP, or ACES CG Linear for HDR sources.
  2. For each clip: right-click → Interpret FootageColor Profile. Explicitly specify Rec. 709 (sRGB) if the original render was in sRGB, or Rec. 2020 if HDR.
  3. Add an Adjustment Layer to the composition with the Lumetri Color effect. Perform primary correction: white balance by neutral zones, exposure, contrast.
  4. For final render: Composition > Add to Render Queue → Output Module → select Lossless (ProRes 4444) or H.264 with profile Rec. 709.
  5. Upload to YouTube at maximum resolution (4K) — this activates the VP9 codec and improves streaming quality.

The error in the first step is the most expensive: if After Effects applies sRGB gamma to Linear data, the image appears 'washed out'. We set up profiles at the preview stage so you see the final result before rendering.

Why Color Space Is the Main Technical Trap

Unity renders in Linear gamma with ACES Tonemapping (if HDRP). When exporting via Recorder to ProRes 4444 or EXR, you get HDR data in a wide range. Import into After Effects: if the project is set to sRGB, After Effects automatically applies a gamma curve — and the image changes.

Correct workflow:

  • After Effects project: working space ACES CG Linear or Rec. 2020 Linear when working with HDR material.
  • Or Rec. 709 if the material is already tone-mapped from HDRP.
  • Interpretation of each footage file explicitly — right-click on clip → Interpret FootageColor Profile.
  • Final render with Output Profile = Rec. 709 (sRGB for SDR distribution) or Rec. 2020 PQ for HDR mastering.

Ignoring these settings creates subtle artifacts that are hard to describe but immediately visible: overly bright shadows, blown highlights, unnatural contrast. The ACES CG Linear working space is the industry standard for HDR material. For more details, see Rec. 709.

Color Correction and Color Grading

Color correction is technical balancing (removing unwanted tints, adjusting exposure between shots). Color grading is artistic (setting mood via LUTs and curves).

For game content, the standard approach: primary correction through Lumetri Color in Premiere or Color Finesse in After Effects — balance by skin tones if present, by neutral environment zones. Then LUT for style — create a custom one in DaVinci Resolve or use a library as a starting point.

DaVinci Resolve is a professional tool for color work with game video. Node-based color graph: Input Transform → Primary Correction → Creative Grade → Output Transform. For gamedev content, the Qualifier for secondary correction is especially important: you can separately increase saturation of only the blue sky or raise contrast only in shadows without touching highlights. In DaVinci Resolve for secondary correction we use Qualifier: select a color range (e.g., sky blue) and apply separate corrections — increase saturation, change hue, add contrast. This preserves environment realism while accentuating key elements.

Why Proper Export Matters

Even a perfectly shot and edited trailer will be ruined by the wrong codec or bitrate. Each platform has its own requirements — ignoring them leads to loss of detail, banding, and compression artifacts.

Technical Export by Platform

Platform Codec Resolution Bitrate
YouTube H.264 / VP9 3840×2160 (4K preferred) 40-68 Mbps
App Store Preview H.264 1320×2868 (iPhone) 30 Mbps
Instagram Reels H.264 1080×1920 8-10 Mbps
Steam Trailer WebM / H.264 1920×1080 min. 15-20 Mbps

YouTube re-encodes everything on its side — it's best to upload 4K even for 1080p content, because 4K videos use the VP9 codec with better streaming quality. To simplify work, we create export presets for each platform: YouTube (4K, H.264, 40-68 Mbps), Instagram Reels (1080×1920, H.264, 10 Mbps), Steam (WebM, VP9, 20 Mbps). This eliminates errors during final render.

Typical Post-Production Mistakes for Game Video

  1. Incorrect color profile interpretation — the most common. Ignoring Linear vs sRGB leads to 'washed out' images.
  2. Using standard LUTs without adaptation to specific material. Each project requires custom curve adjustments.
  3. Exporting to H.264 with low bitrate — artifacts and macroblocks appear. For quality video, use ProRes or DNxHR at intermediate stages.
  4. Neglecting subtitles — in social media, videos are often watched without sound. Animated subtitles increase engagement.

What's Included in Turnkey Work

  • Primary color correction and exposure balancing across all shots
  • Artistic color grading with custom LUTs or stylization based on references
  • Trailer editing with narrative structure and synchronization with music
  • Creation of stylized animated subtitles (mandatory for social media)
  • Export in 4K+ versions for YouTube, Steam, App Store, Instagram Reels
  • Final file in ProRes 4444 for archive and reuse

Order a free audit of your video — we'll check the color profile and give recommendations. Also get a consultation on optimizing your post-production pipeline.

Timeframes

Scope of Work Timeline
Color correction of finished video (up to 2 min) 1–3 days
Trailer editing (30-60 sec) from existing material 3–7 days
Full post-production (editing + grading + sound + export) 1–3 weeks

The cost is calculated individually after assessing the material volume and platform requirements. Contact us — we'll evaluate your project in 1 day and offer the best solution.

Manual pre-release preparation as a source of delays

We automate the entire pre-release pipeline for mobile and XR games. A studio is about to release a game — a week before the date, the manager remembers they need to build an AAB, sign it, and upload to Google Play. The build engineer manually starts the build, waits an hour, forgets to enable IL2CPP, the build crashes on Android 12. Rebuilding takes another hour. Simultaneously, the icon needs to be redesigned to meet new Google requirements. As a result, the release is delayed by three days. Experience shows: manual pre-release preparation is the primary source of delays and bugs that do not manifest on the developer's machine.

How to set up CI/CD for mobile game builds?

Pipeline tools

GameCI — open-source Docker images for Unity builds, running on GitHub Actions, GitLab CI, or any other CI provider. Key components: unity-builder (builds for the target platform), unity-test-runner (runs Unity Test Framework before build), unity-return-license (returns the license — critical for Pro). Unity Cloud Build is simpler but less flexible and expensive for frequent builds. Fastlane is the standard for final steps: signing, uploading to stores, metadata.

Typical pipeline

jobs:
  test:
    name: Run Unity Tests
    uses: game-ci/unity-test-runner@v4
    with:
      unityVersion: 2022.3.20f1
      testMode: playmode

  build-android:
    name: Build Android
    needs: test
    uses: game-ci/unity-builder@v4
    with:
      targetPlatform: Android
      androidKeystoreBase64: ${{ secrets.ANDROID_KEYSTORE_BASE64 }}
      androidKeystorePass: ${{ secrets.KEYSTORE_PASSWORD }}
      androidKeyaliasPass: ${{ secrets.KEY_PASSWORD }}

  upload-to-play:
    name: Upload to Google Play (Internal Track)
    needs: build-android
    uses: r0adkll/upload-google-play@v1
    with:
      serviceAccountJsonPlainText: ${{ secrets.SERVICE_ACCOUNT_JSON }}
      packageName: com.yourcompany.yourgame
      releaseFiles: build/Android/*.aab
      track: internal

Secrets, not variables — all keys in CI secrets. AAB instead of APK has been mandatory for several years. Tracks: internal → closed → open → production. Promotion — manual or Fastlane supply promote.

iOS specifics

Unity builds an Xcode project, then xcodebuild. Need Distribution Certificate and Provisioning Profile (App Store). Fastlane Match solves the problem of certificate synchronization within the team:

lane :build_ios do
  match(type: “appstore”, readonly: true)
  build_app(workspace: “Unity-iPhone.xcworkspace”,
            scheme: “Unity-iPhone”,
            export_method: “app-store”)
  upload_to_testflight
end

App Store Connect API Key replaces login/password, does not break with 2FA.

Step-by-step pipeline setup

  1. Audit Unity PlayerSettings (Graphics APIs, Scripting Backend, stripping).
  2. Create CI configuration with GameCI — define test, build, and deploy jobs.
  3. Integrate Fastlane for code signing and store uploads.
  4. Store all secrets (keystore, certificates, API keys) in encrypted CI variables.
  5. Run a test release on internal track, verify end‑to‑end.

Each step includes validation: build must pass on a clean runner, not just a local machine.

Why does App Store reject about a third of first submissions?

Apple rejects 30–40% of first submissions from new studios. Common reasons:

Category Typical problem
Metadata Screenshots with third‑party brands, description mentioning other platforms
Technical Crash on iPad, lack of IPv6 (Apple requirement still valid)
Policies Sign in with Apple not implemented when using third‑party providers; no link to Privacy Policy

Practice: before submission, go through the App Store Review Guidelines from start to finish — 2–3 hours, saving 2–3 weeks of resubmission loops.

Google Play is more lenient: typical reasons — outdated targetSdkVersion, excessive permissions, incorrect Data Safety Form.

Detailed breakdown of common rejections we solve
  • iPad crash: missing universal storyboard or 2x assets — we add device‑specific assets during build.
  • Missing IPv6: we verify network code works on IPv6‑only networks.
  • Third‑party screenshots: we generate store assets that only contain your IP.
  • Privacy Policy link not found: we ensure the link is active and matches the app bundle ID.

Deliverables of pre-release preparation

We deliver the following for your game release:

  • CI/CD pipeline configured (GameCI + Fastlane, Unity Cloud Build — turnkey)
  • Metadata and marketing assets (screenshots, icons, feature graphics)
  • Store submission guidance with documentation of all accesses and credentials
  • 72‑hour post‑release monitoring (Crashlytics, ANR rate, user reviews)
  • Pipeline documentation and team training session (hands‑on)
  • Age rating configuration (IARC, ESRB, PEGI, CERO) and localization of store metadata

Pipeline automation replaces the manual work of an entire department. For example, setting up Continuous Integration via GameCI and Fastlane reduces pre‑release preparation time threefold — from 8 working hours to 2.5.

Our pre-release workflow: from audit to store submission

Phase What we do
Audit Analyze current build process, check PlayerSettings, identify bottlenecks
Pipeline setup Implement CI with GameCI + Fastlane, integrate secrets, configure tracks
Metadata creation Generate store screenshots, icons, video previews according to platform specs
Store submission Submit to Apple / Google / Steam, accompany until approval
Monitoring Track crash rate and ANR for first 72 hours, hotfix if needed

Impact of pipeline automation on timelines and budget

Manual game release incurs significant engineering and testing costs. CI/CD automation pays for itself within the first two months, reducing release costs by 40–60%.

Stage Manual Automated (our approach)
Building AAB 1 hr (risk of error) 20 min (reproducible)
Testing on 20 devices 2–3 hr (manual run) 20 min (parallel tests)
Upload to Google Play + metadata 1–1.5 hr 5 min (Fastlane)
Total per release 4–5.5 hr 45 min

Result: we reduce the commit‑to‑publish cycle by 6–8 times. For projects with frequent hotfixes, this is the difference between a week‑long user wait and a one‑day fix. We guarantee the pipeline works reliably after setup. Our engineers hold Unity Certified Professional credentials.

Typical savings: $2,500–$5,000 per month on engineering time eliminated by automation — $30,000–$60,000 annually on a mid‑size project.

Post‑release: monitoring and updates

Crash rate < 1% (Firebase Crashlytics), ANR rate < 0.47% (Play Console) — otherwise visibility restrictions. Phased rollout is mandatory: first 10%, then 50%, then 100% of users.

Our track record: 30+ mobile game releases, 5+ years on the market. CI/CD automation pays for itself within the first two months, reducing release costs by 40–60%.

Timeline

Setup takes from 2 days (simple mobile game with existing Unity project) to 2 weeks (complex multi‑platform project with custom CI runners). We calculate exact hours during a free pipeline audit.

Contact our engineers for a free pipeline audit and a timeline estimate. Submit a request — we will analyze your pipeline and offer a solution within 2 days. Get a consultation from an engineer who has shipped 30+ titles.