

Creating Stylized Hand-Painted Textures for Game Graphics

Our video game development company runs independent projects, jointly creates games with the client and provides additional operational services. Expertise of our team allows us to cover all gaming platforms and develop an amazing product that matches the customer’s vision and players preferences.

From immersive apps to game worlds and 3D scenes

Our dedicated team for VR/AR/MR development, Unity production and 3D modeling & animation — with its own case studies and capability decks.

Visit the dedicated studio
Showing 1 of 1All 242 services
Creating Stylized Hand-Painted Textures for Game Graphics
Complex
~5 days
Frequently Asked Questions

Our competencies

What are the stages of Game Development?

Latest works

  • image_games_mortal_motors_495_0.webp
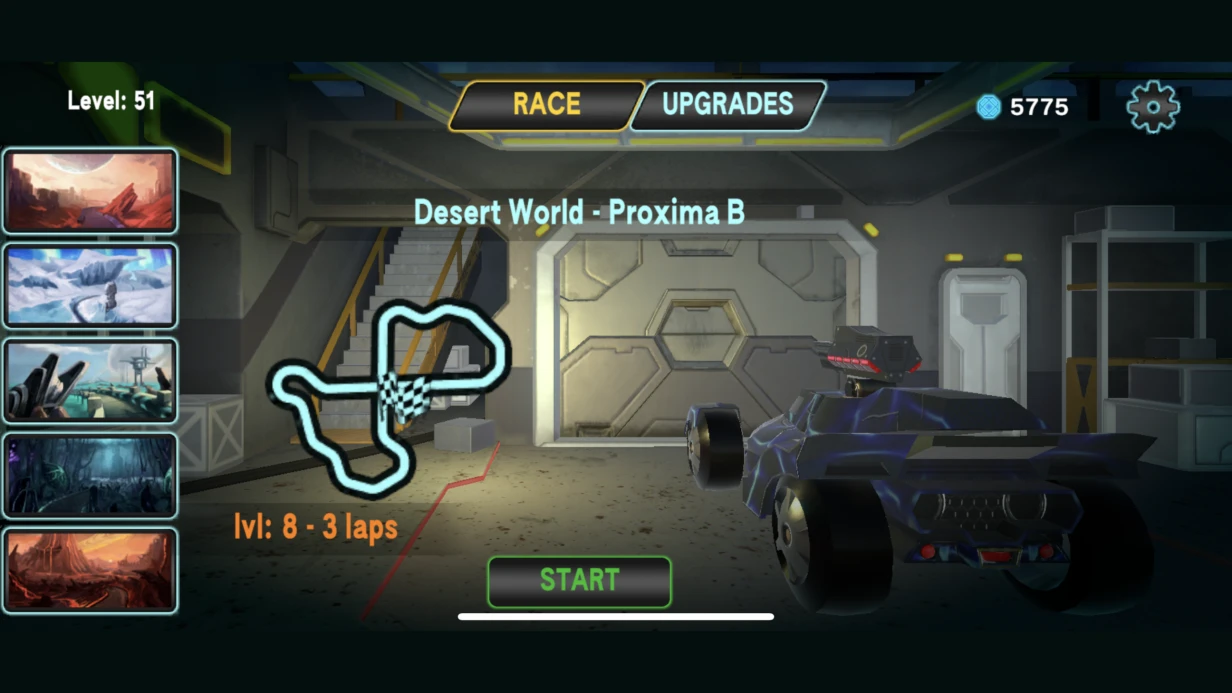
    Game development for Mortal Motors
    1434
  • image_games_a_turnbased_strategy_game_set_in_a_fantasy_setting_with_fire_and_sword_603_0.webp
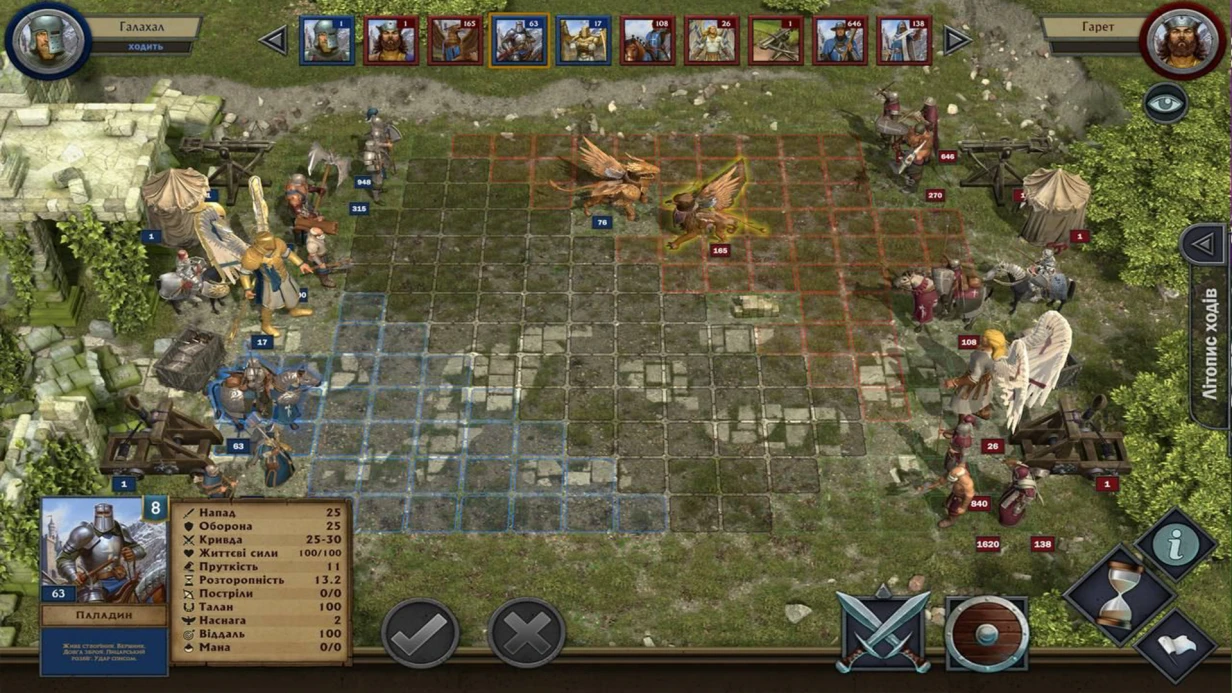
    A turn-based strategy game set in a fantasy setting, With Fire and Sword
    972
  • image_games_second_team_604_0.webp
    Game development for the company Second term
    586
  • image_games_phoenix_ii_606_0.webp
    3D animation - teaser for the game Phoenix 2.
    651
  • image_training-quizzes_kids_shopping_quiz_614_0.webp
    Educational quiz for kids "Shopping in a store"
    12

Creating Stylized Hand-Painted Textures for Game Graphics

Hand-painted textures break dynamic lighting if painted shadows are not accounted for. When you bake light into albedo, any engine Directional Light from a different angle results in double illumination: one side gets the painted highlight plus real light, the other gets double shadowing. This is a standard pain for studios transitioning from PBR to stylized graphics. The solution is minimal lighting (ambient-only) or disabling dynamic shadows on hand-painted assets. Over 10 years we have completed more than 50 projects for mobile, PC, and consoles: World of Warcraft, Hearthstone, Wildstar — all use stylized painting not as a simplification but as an artistic language. According to Substance Painter documentation, this workflow is best with manual lighting control.

How Hand-Painted Textures Affect Dynamic Lighting

In a PBR pipeline, albedo contains no lighting — the engine calculates it at runtime. In a hand-painted texture, lighting is part of the texture itself: highlights are painted where needed, shadows are baked into albedo, light rims are added manually. If you place a hand-painted asset under a dynamic Directional Light opposite to the painted lighting, the result looks strange. Therefore, stylized games use minimal lighting (ambient-only with a very weak Directional) or disable dynamic shadow casting on hand-painted assets. On mobile platforms, this yields a performance gain of up to 30% due to the absence of shadow calculations.

Why Hand-Painted Textures Require Special Mip-Map Handling

Hand-painted textures contain drawn thin lines — contour lines, edge highlights, thin shadows. When generating mip-map levels, these lines blur. At mip level 3–4, a contour 2px thick becomes a dirty gray smudge. The solution is either to draw thicker (minimum 4–6px for contours on a 1K texture), use Anisotropic Filtering x16 with a smaller mip bias, or store contours in a separate texture layer with independent filter settings. This problem does not occur in PBR, where normal maps carry fine details; in hand-painted everything is baked. Proper mip-map setup saves up to 2 days per character.

Texel Density and Its Importance for Hand-Painted

For hand-painted, texel density is more critical than for PBR: details are drawn manually and have a specific expected screen scale. If texel density does not match calculation, painted details are either too large (every brush stroke visible) or lost (blurry smudge instead of details). Standard: 512 px/m for hero assets, 256 px/m for background. Hand-painted textures are on average 2–3 times lighter in weight than a full PBR set, providing a performance gain of up to 30% on mobile platforms. When ordering a batch of 10 textures, you save up to 40% of the budget due to UV packing and palette reuse. For example, a typical character set costs $1,500–$3,000, which is 40% less than an equivalent PBR set.

Tools and Techniques

Hand-painted textures are drawn either entirely in 2D or directly on the mesh in 3D space.

  • 3D painting via Substance Painter — convenient because it allows painting directly on the mesh with UV layout visible, without worrying about seams. Painting mode with PBR preview disabled and manual Diffuse control is a working approach for hand-painted workflow. Layers are used as in Photoshop: base color → shadows → highlights → additional details → final AO.
  • Photoshop with UV-mesh overlay — classic approach. UV layout is exported as PNG and used as a guide. The artist paints over it, seeing where seams are. Requires experience: you need to mentally visualize how 2D pixels will look on a 3D surface.
  • 3D Coat — specialized tool for texture painting with good support for stencil brushes and layers.

One key technique in hand-painted style is cell shading via contour lines in the texture. This is not a contour shader in the engine — it is painted lines directly in albedo along form edges. Advantage: works without a special shader, reads well even in poor lighting, independent of silhouette (contour visible on internal edges). Disadvantage: when geometry changes, contours must be redrawn manually.

What Is Included in Hand-Painted Texture Creation

  • Analysis of references and art style: determine palette, line thickness, contrast level.
  • UV unwrapping: seam layout considering future hand painting.
  • Hand-drawn albedo: shadows, highlights, contours — all done manually in layers.
  • Mip-map optimization: adjust line thickness, configure Anisotropic Filtering.
  • Final engine check: test under different lighting and mip levels.
  • Deliver source files: PSD or .spp with layers preserved.

Deliverables

Each order includes:

  • Source files (PSD or .spp) with all layers intact.
  • Final textures in required format (DDS, PNG, TGA) with proper mip-maps.
  • Engine test report showing results under standard lighting.
  • Documentation on texture usage and style guide.
  • One round of revisions for consistency.
  • Support during integration.

How We Work: Stack and Process

We use a unified pipeline for all projects.

  1. Analysis. Study references, determine expected texel density and contrast.
  2. UV design. Unwrap seams to minimize visible breaks on painted lines.
  3. Painting in 3D-painter or Photoshop. Paint layers: base color → shadows → highlights → details → AO.
  4. Optimization. Check mip-maps in engine, adjust line thickness, configure filtering.
  5. Deployment. Deliver source files and final textures in required formats.

Hand-painted textures are on average 2–3 times lighter in weight than a full PBR set due to the absence of separate normal and roughness maps. This yields a performance gain on mobile platforms.

Typical Mistakes in Hand-Painted Textures

  • Too soft lighting. Contrast should be higher than reality. Paint with a margin.
  • Wrong lighting angle. The conditional light source in albedo must be consistent for all assets in the scene.
  • Lack of micro-detail. Even in a simple style, a layer of fine details is needed — small tone variations, thin lines, pinpoint highlights.
Task Scale Estimated Time
One prop (one 1K texture) 2–4 days
Character (body + clothes, 3–5 textures) 8–15 days
Environment asset set for a location (10–20 objects) 2–4 weeks
Style revision + repaint of existing assets by agreement
Additional Services What's Included
Platform-specific texture optimization Mip-map setup, ASTC/ETC compression, performance test
Creating PBR version from hand-painted Convert albedo to diffuse, generate normal and roughness
Training your artist Workshop on hand-painted techniques, pipeline review

In our practice, we faced a task: for a mobile RPG in hand-painted style, NPCs required a 512x512 albedo limit. At that resolution, photorealistic details are lost. Instead, we used an approach: three tonal levels (shadow, halftone, light) + painted 2px contour + a few characteristic details (button, pattern, fold). In the render, it looked convincing at a camera distance of one and a half meters from the character — exactly the camera offset used in the game.

Contact us to discuss your project. We will help define the style and estimate timelines. Order stylized textures — get a consultation on your art style. You can also order a trial draw of one asset to evaluate quality and speed. Prices start from $500 for a simple prop texture, with typical character sets ranging $1,500–$3,000. Compared to full PBR, hand-painted reduces memory usage by 60% and improves frame rate by up to 30%.

Texturing and Materials

An artist sends an asset to the engine — and it looks like a plastic toy. We've seen this dozens of times: correct geometry, good UV unwrapping, but the material doesn't "play". In 90% of cases, the reason is a misunderstanding of PBR channels. Over 10+ years working on mobile and PC projects, we've developed a pipeline that guarantees predictable results in any lighting. Texturing for modern games involves physically based materials, procedural systems, and a strict FPS budget. Our experience includes over 50 completed game projects — from indie to AAA. Contact us — let's discuss which texturing pipeline best suits your project with PBR materials for games.

Why are PBR materials the standard for modern games?

PBR (Physically Based Rendering) is not an artistic style but a set of rules that make materials behave physically predictably under any lighting. In Unity (URP/HDRP) and Unreal, this is the default standard. Using PBR reduces rework time by 30%: a material baked correctly does not require re-tuning when the environment changes. In contrast to legacy approaches, PBR provides consistency across the team — artists and engineers speak the same channel language.

What is included in the PBR pipeline: Metal/Roughness vs Specular/Glossiness

Two main workflows:

  • Metal/Roughness (used in Unity URP, Unreal): Base Color — diffuse color without lighting information. Metallic — binary map: 0 (dielectric) or 1 (metal). Roughness — 0 mirror surface, 1 matte. Normal Map — relief simulation. AO (Ambient Occlusion) — darkening in crevices.
  • Specular/Glossiness — older workflow, used less often, mainly in legacy projects or when converting from Photoshop.

Boundary values for dielectrics: base color not darker than #383838 and not lighter than #E0E0E0 — otherwise the material starts to "glow" or "sink" into darkness under HDR lighting. For metals, base color = reflection color (gold — warm, chrome — neutral).

— from Unreal Engine documentation: "PBR is the only way to get predictable reflections on all platforms."

How does Substance Designer speed up the creation of tiling materials?

If Substance Painter is manual painting on finished geometry, Substance Designer is programming a material. The node graph outputs a set of texture maps that are generated algorithmically. Designer is 5 times faster than manual texturing when reused: one graph with parameters — stone size, gap, mossiness, wetness — gives hundreds of variations. Instead of painting a 2K texture by hand, the artist builds a graph that can:

  • Be parameterized — one "stone wall" graph with sliders: stone size, gap, mossiness, wetness.
  • Be scaled without quality loss — rendering at any resolution (2K → 4K for cinematic).

Building blocks of the Designer graph:

  • Shape nodes — geometric primitives (rectangle, circle, polygon). Basis for tiling patterns.
  • Noise nodes (Perlin, Gaussian, Cells, Voronoi) — organic irregularities.
  • Tile Generator / Splatter — key nodes for creating patterns with control over offset, rotation, scale.
  • Warp nodes — deformation by normal map or gradient (drips, shifts, cracks).
  • Blend — layer blending with masking (final compositing).
  • Normal Map nodes — synthesis of normals from height data.

Typical graph for "industrial metal" material:

[Shape: rectangular panel]
    ↓
[Tile Generator: grid of panels with small offset]
    ↓
[Warp: micro-dents from Gaussian noise]
    ↓
[Blend: add curvature mask → rust on edges]
    ↓
[Blend: drips by Directional Warp]
    ↓
[Export: BaseColor / Metallic / Roughness / Normal / AO]

Such a graph is reused across different projects without rework when resolution changes. One graph saves up to 40% of time on repetitive textures.

How to avoid performance loss when working with textures?

The main mistake is overestimated texture resolution and wrong compression format. Comparison table by platform:

Platform Max texture for hero asset Compression format Size relative to PNG
Mobile (mid-range) 1K–2K ETC2 / ASTC 4–8 times smaller
PC / Console 2K–4K BC1–BC7 4 times smaller
VR 1K–2K ASTC (mandatory) 4–8 times smaller

Never export PNG to production without compression — it's a direct memory waste. BC7 for RGBA gives good quality at 8 bpp. ASTC for mobile is adjustable by quality/size ratio. Additional tool comparison table:

Tool Speed Flexibility Reusability
Substance Designer 3-5 days per tile Maximum (parameters) 100% for different projects
Substance Painter 2-3 days per hero asset Medium (manual touch-up) ~70% via Smart Materials
Quixel Mixer 1-2 days Limited by Megascans library Depends on project

Work process: from reference to integration

  1. Analysis of references and reference geometry — determine PBR channels, style, platform constraints.
  2. UV unwrapping and baking — bake AO, Normal, Curvature, Thickness considering texel density.
  3. Texturing — Painter for hero, Designer for tiles, hand-painted if needed.
  4. Export and optimization — compress to target format, atlas, LOD textures, test on target platform.
  5. Support during integration — set up materials in engine, debug lighting issues.
Checklist of common mistakes - Base Color contains fake shadows → breaks dynamic lighting.
- Normal Map in sRGB space → inverted normals.
- AO and Curvature not baked → Smart Materials work incorrectly.
- Texture resolution higher than necessary → FPS drop and extra VRAM.
- Compression format chosen without considering alpha channel (BC1 vs BC7).

What is included in our work and quality guarantees?

  • Deliverables: PBR texture sets (Base Color, Metallic, Roughness, Normal, AO) for Metal/Roughness workflow, parametric Substance Designer graph (if required), full documentation for material setup in Unity/Unreal, support during integration with testing on target platform.
  • Guarantee: every material is tested in the engine under three different lighting conditions. Our experience — 10+ years, 50+ projects, including projects with AR Foundation and XR Interaction Toolkit.
  • Timeframe: 3 to 14 days depending on complexity (one tiling material in Designer — 3–5 days, hero asset with UDIM — up to 14 days). Cost is calculated individually.

Order texturing of your asset — we guarantee predictable results without rework. Get a consultation on the right pipeline today.