



UI Layout in Game Engines: Comparing Unity uGUI and UI Toolkit
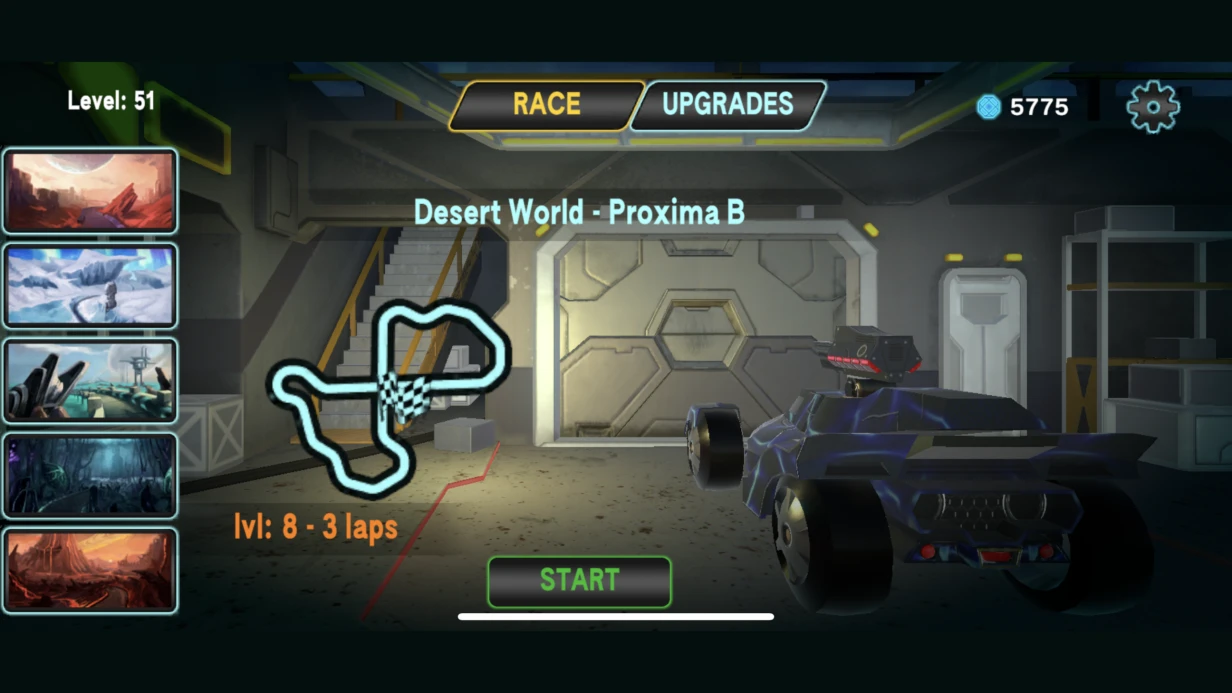
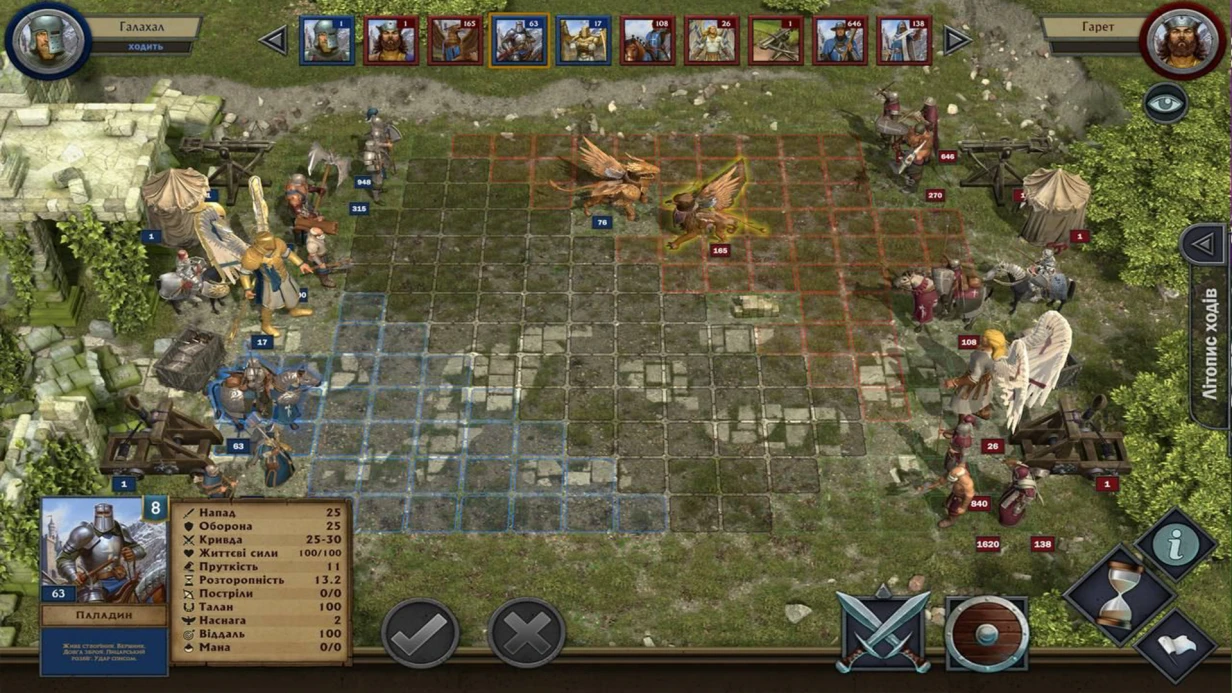
A designer's mockup in Figma is just the starting point. When your game runs on an iPhone SE (4-inch screen) and then on an iPad Pro 12.9", the same UI can either adjust gracefully or break—overlapping system buttons or getting cropped. Without proper layout architecture, cross-platform adaptation turns into endless prefab tweaking. Our team, with over 7 years of experience and 30+ projects, guarantees bug-free cross-platform adaptation. We provide a 2-week post-launch support and full documentation.
Layout Systems: uGUI vs UI Toolkit
Unity offers two current approaches: uGUI (Canvas + RectTransform) — a mature, well-documented system, and UI Toolkit (UXML + USS) — a modern flexbox-based approach. UI Toolkit uses a single Mesh Builder, which can be up to 30% faster on complex screens with many repeated elements, but it currently lacks support for World Space Canvas and built-in transition animations.
| Characteristic |
uGUI |
UI Toolkit |
| Layout model |
RectTransform + Layout Groups |
Flexbox (USS) |
| Rendering |
Canvas batching |
Single Mesh Builder |
| World Space support |
Yes |
No |
| Theming |
Sprite swapping |
USS file switching |
| Learning curve |
Low |
Medium |
According to official Unity documentation, the choice between systems is an architectural decision made at the start of the project. Switching systems mid-development essentially means re-laying out the entire UI.
How to Adapt UI to Different Resolutions in uGUI?
The RectTransform anchor system is the primary adaptation tool. An element with anchors min(0,0) max(1,1) stretches to fill its parent container. The Canvas Scaler in Scale With Screen Size mode scales the entire Canvas as a whole — convenient for static screens, but HUD near edges requires Safe Area adaptation.
For mobile devices, correct safe zone configuration via Screen.safeArea is critical. An intermediate Panel container adjusts padding, and all HUD elements are placed inside. Test layout on real devices or through the Device Simulator — the simple Game View does not reproduce the safe zone correctly.
Why Safe Area Is Critical for Mobile UI?
The mobile market has a zoo of aspect ratios from 4:3 to 21:9. Without a safe zone, interface elements can end up under the system bar or Dynamic Island. Implementing Screen.safeArea is mandatory for all HUD elements near screen edges. With Letterbox (Canvas Scaler Match = 0.5), bars appear on wide screens but nothing is cropped; with Crop (Match = 1.0 with Expand), the screen fills but part of the UI may go out of bounds — the choice depends on the design.
Case Study: Dynamic Content Shop Layout
A shop screen with an unpredictable number of categories (3 to 12) and items. Solution: a horizontal ScrollView with HorizontalLayoutGroup for tabs, and an item grid using GridLayoutGroup inside a vertical ScrollView. Item prefab with ContentSizeFitter for text adaptation. Half the time was spent solving nested ContentSizeFitter issues — they require manual LayoutRebuilder calls. The layout took 4 days, and optimizing batching reduced draw calls by 40%. For comparison, switching to UI Toolkit would reduce layout time by about 20% on dynamic screens, but requires more upfront learning.
What the Work Includes
- Analysis of Figma mockups and platform requirements
- Selection of optimal layout system (uGUI / UI Toolkit)
- Prefab creation and adaptability configuration
- Safe zone and multiple aspect ratio adaptation
- Integration with gameplay and data binding
- Performance optimization (draw calls, batching)
- Device testing (minimum 5 different resolutions)
- Deliverables: fully functional UI prefabs, project documentation, source access, and 2 weeks of post-launch support
Our UI Layout Process: Step by Step
- Mockup analysis — identify layout problems (variable text length, varying element counts).
- Architecture selection — determine system and adaptation approach.
- Prefab creation — flexible components with correct anchors and layout groups.
- Resolution adaptation — configure safe zone, Letterbox/Crop, test on simulators.
- Integration and testing — bind UI to gameplay, run on real devices.
| Task Type |
Timeframe |
Cost Estimate |
| 1 static screen (menu, settings) |
1–2 days |
$200–300 |
| 1 complex dynamic screen (inventory, shop) |
3–7 days |
$500–800 |
| Full UI kit (10–20 screens) |
3–8 weeks |
$2,000–5,000 |
| Safe zone + multi-platform adaptation |
+3–7 days |
+$300–500 |
Pricing is determined individually after analyzing Figma mockups and platform requirements. Our certified Unity developers ensure optimal performance. If you need quality UI layout for your game, contact us. We will evaluate your project and propose the optimal solution. Order development and get a free audit of your current interface.
Prototyping and UX/UI for Games: Architecture, Performance, Localization
You open someone else's Unity project — and see: one Canvas for the whole game, hundreds of nested panels, Layout Groups inside Layout Groups, the profiler showing 4 ms just for UI recalc every frame. This is not uncommon. With over 10 years of experience, we've analyzed hundreds of UI systems — almost all suffered from a lack of architecture from the start. As a result, by mid-development, UI becomes a bottleneck: each new screen introduces bugs, performance drops, and fixes take hours. We design and implement game UI: from wireframes to ready engine components, with a focus on performance and maintainability. Our game interface prototyping approach identifies 80% of UX issues before writing code. Contact us for a consultation — we'll evaluate your project.
Prototyping and Design
Any UI begins with understanding information flows: what the player should see at each moment, what actions are available, how to navigate between screens. Without this, development turns into a series of "made — wrong — redo" iterations. Our prototyping tool is Figma. The choice is not about trends but specific capabilities:
- Component system with variants — test button states (Normal/Hover/Pressed/Disabled)
- Auto Layout — honest simulation of UI behavior under different text sizes (critical for multilingual games)
- Prototypes with transitions — test navigation flow before the first line of code
At the prototype stage, most UX problems are uncovered: non-obvious transitions, overloaded screens, incorrect information hierarchy. Fixing them in Figma takes 15 minutes. Fixing them in a finished project takes half a day. We ensure that each prototype is accompanied by a technical specification for developers — this eliminates ambiguity when transferring to the engine.
uGUI vs UI Toolkit: What to Choose for a New Project
Unity currently has two UI frameworks, and the choice between them is not obvious. uGUI (Canvas-based) is a mature system, present since early versions of Unity. It works with RectTransform and has a rich asset ecosystem. Virtually all existing game UI is built on uGUI.
UI Toolkit is a system based on XML (UXML) and CSS-like styles (USS). Originally created for editor tools, it has been officially supported for runtime UI since Unity 2021. Architecturally, it's closer to web development.
UI Toolkit is suitable for the following scenarios:
- New project, team ready to learn
- Need a complex theme and skin system
- Actively developing custom editor tools
uGUI remains preferable if:
- Supporting an existing project
- Need maximum compatibility with Asset Store assets
- Team already knows uGUI, tight deadlines
How to Achieve Performant UI in Unity?
This is where game UI differs drastically from UI in regular applications. In games, UI updates every frame, and an inefficient implementation can eat 3–5 ms from the frame budget — directly impacting FPS.
How Batching Works in Canvas
Unity combines elements of the same Canvas into a single draw call if they use the same material and texture atlas. Breaking the batch means an additional draw call, which hurts performance.
Batching is broken by:
- Different textures on adjacent elements (solution: sprite atlas via Sprite Atlas)
- Mask component creates a stencil and breaks the batch (alternative: RectMask2D — cheaper)
- Canvases with different Render Modes — batching works only within one Canvas
- Any Graphic Raycaster adds overhead — place it only on interactive Canvases
Splitting Canvas by Content Type
The main recommendation: separate static and dynamic content. When any element in a Canvas changes, Unity rebuilds the geometry of the entire Canvas. If a static HUD frame and an animated health bar live on the same Canvas, the Canvas rebuilds fully every second. This can reduce FPS by 15–20%.
Correct structure:
Canvas (Screen Space - Overlay)
├── Canvas_Static — backgrounds, frames, icons without animation
├── Canvas_Dynamic — HP bars, timers, resource counters
└── Canvas_Popup — modal windows, notifications
Each child Canvas isolates rebuild from the parent. Changes in Canvas_Dynamic do not affect Canvas_Static.
Step-by-step setup for separate Canvases:
- Create a root Canvas with Render Mode = Screen Space Overlay
- Inside, create empty GameObjects, each with a Canvas component
- Name them Static, Dynamic, Popup
- Move existing UI elements into the appropriate groups
- Ensure the Canvas Scaler component is set only on the root Canvas (children inherit settings)
Result: up to 60% reduction in UI repaint time in scenes with dynamic HUDs.
TextMeshPro and Text Batching
TextMeshPro is the standard for text in Unity. Unlike the old Text, it uses SDF rendering — text remains crisp at any scale. However, TMP has a nuance: each unique font atlas is a separate material, i.e., a separate draw call. If the game uses three font variants (main, heading, numbers) plus versions for each language, text batching breaks. Solution: TMP Font Asset Creator with glyph merging for needed languages into one atlas. For Cyrillic + Latin + digits, one 2048×2048 atlas usually suffices — reducing text draw calls to 1-2.
How to Adapt UI for Different Screens?
Mobile platforms add a challenge absent on PC: UI must work correctly on 16:9, 18:9, 19.5:9, 4:3, and iPad ratios simultaneously. Adaptation errors are a common cause of rework, consuming up to 30% of the budget.
Tools:
- Canvas Scaler with Scale With Screen Size mode — basic setup. Reference Resolution 1080×1920 for mobile, Match parameter 0.5 (balance between width and height)
- Anchor Presets — each element must be anchored to the correct edge or center
- Safe Area — on devices with notches and rounded corners, buttons must not fall into the inaccessible zone. Solution: Screen.safeArea in code, adjusts the RectTransform of the root element
Testing should be done not only in the Game View — physical testing on devices or using the Device Simulator (built into Unity) is necessary. Order a UI audit — we'll identify bottlenecks in 2-3 days.
UI Localization
This is not a separate task but a requirement from day one. A typical problem: UI designed for Russian text occupying N characters. The German translation is one and a half times longer. Buttons break, text overflows. At the design stage, we perform:
- All text fields with Auto Size in TMP or explicitly set min/max sizes
- Buttons with Horizontal Layout Group + Content Size Fitter instead of fixed width
- Icons and decorative elements are not concatenated into text strings
For implementation, we use the Unity Localization Package (official) or I2 Localization (asset, more flexible for complex cases). Time savings on rework with this approach — up to 40%.
What We Will Check in Your UI in One Day
- Draw call and batching analysis (via Frame Debugger)
- Canvas rebuild (via Profiler, finding unnecessary rebatches)
- Raycaster operation (removing excess)
- Responsiveness (Safe Area, Anchor Presets)
- Localization (test with extra-long strings)
- Font quality (TMP atlases, overlapping errors)
What's Included
- Navigation structure and screen flow design
- Game interface prototyping in Figma with handoff to development
- Implementation of UI components in Unity (uGUI or UI Toolkit)
- Performance audit of existing UI: draw calls, Canvas rebatch, excess Raycasters
- Localization system setup and testing with long translations
- Adaptation for mobile aspect ratios and Safe Area
Timeline: from 5 working days for an audit to 4 weeks for a full cycle. Pricing is calculated individually — contact us for a commercial proposal. Over 10 years in game development, more than 200 projects delivered guarantee results.