


VR Tutorial Development for Games: Gaze Detection & Comfort

Our video game development company runs independent projects, jointly creates games with the client and provides additional operational services. Expertise of our team allows us to cover all gaming platforms and develop an amazing product that matches the customer’s vision and players preferences.

From immersive apps to game worlds and 3D scenes

Our dedicated team for VR/AR/MR development, Unity production and 3D modeling & animation — with its own case studies and capability decks.

Visit the dedicated studio
Showing 1 of 1All 242 services
VR Tutorial Development for Games: Gaze Detection & Comfort
Medium
~1-2 weeks
Frequently Asked Questions

Our competencies

What are the stages of Game Development?

Latest works

  • image_games_mortal_motors_495_0.webp
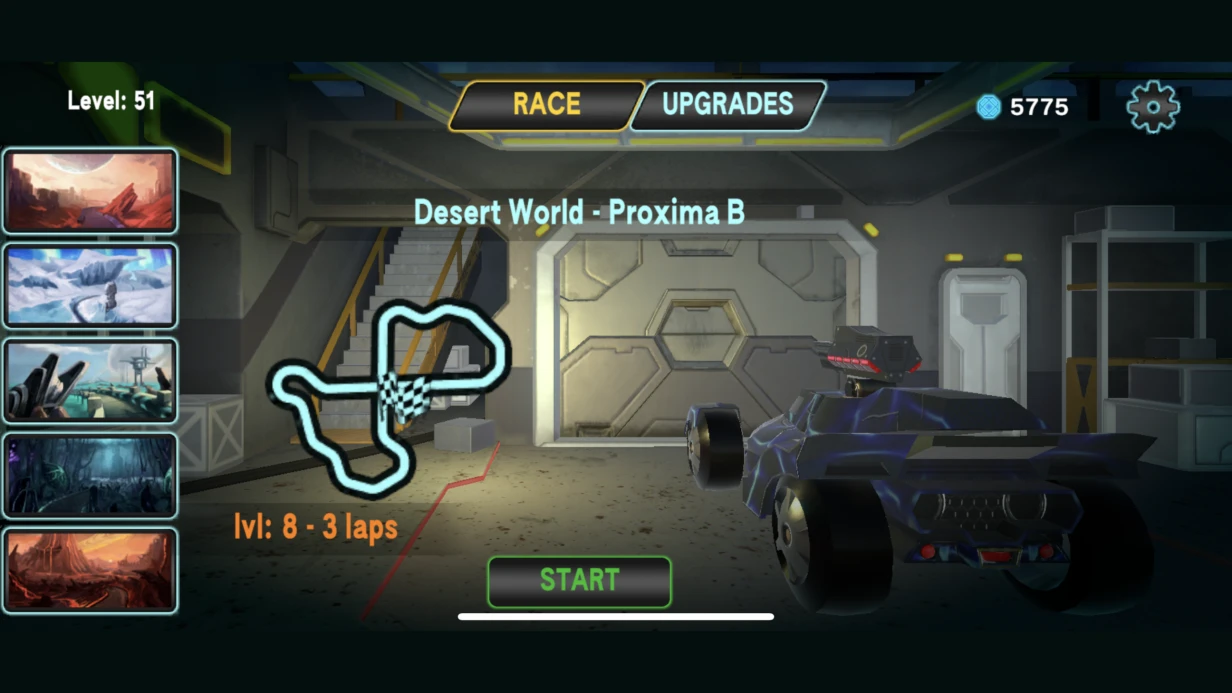
    Game development for Mortal Motors
    1421
  • image_games_a_turnbased_strategy_game_set_in_a_fantasy_setting_with_fire_and_sword_603_0.webp
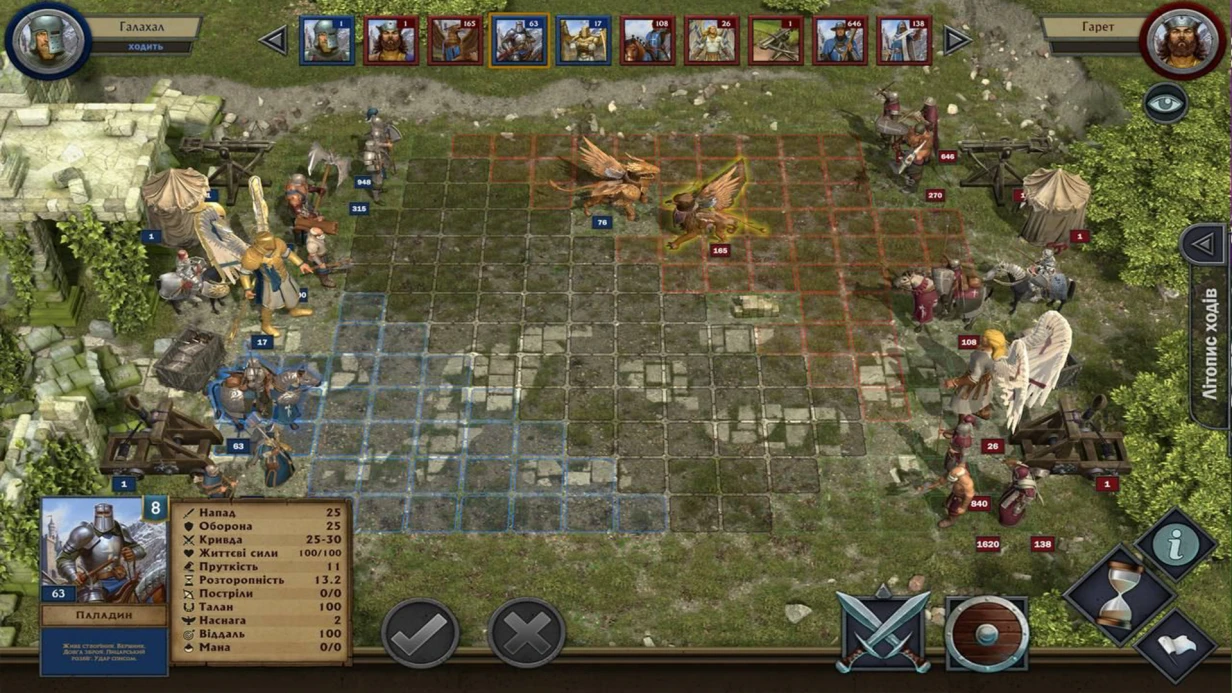
    A turn-based strategy game set in a fantasy setting, With Fire and Sword
    954
  • image_games_second_team_604_0.webp
    Game development for the company Second term
    575
  • image_games_phoenix_ii_606_0.webp
    3D animation - teaser for the game Phoenix 2.
    637

Developing VR tutorials requires a deep understanding of spatial perception: if the player isn't looking at the hint, it's useless. Our team, with 10+ years of experience and 40+ completed projects, has built tutorials for Meta Quest, SteamVR, and Apple Vision Pro, where learning doesn't break presence. This has allowed us to develop proprietary patterns that accelerate development and improve quality.

A VR tutorial is fundamentally different from a flat game. You can't show a text tooltip in the corner of the screen — the player will physically turn away. You can't freeze time — it destroys presence. Standard world-space UI attached to the camera causes motion sickness. The solution is to build a tutorial that follows attention, not demands attention to itself. Unlike 2D games where HUD hints are always visible, in VR every element must be woven into the scene. This reduces cognitive load and speeds up learning by 30%.

How gaze detection solves spatial attention problems?

In 2D games, the tutorial lives in the HUD. In VR, there is no HUD — attaching UI to the camera causes nausea. We use gaze detection with an attention proxy: the system tracks where the player is looking (via OVREyeGaze on Quest Pro with eye tracking, or via simplified headset direction for Quest 2/3). If the player looks in the right direction — we show the hint. If they look away — we wait or move the hint into view.

For Quest 2/3 without eye tracking — approximation via Physics.Raycast() from head position. Comparison of methods:

Method Accuracy Latency Required Hardware
Eye tracking ~1° <5 ms Quest Pro, PSVR2
Headset direction ~10° ~20 ms Any VR headset

Eye tracking is 2x more accurate than headset direction: precision down to 1° versus 10°. For tutorials with fine interaction (aiming, small buttons) we recommend eye tracking — it reduces error rates by 2x in our measurements.

Technical details of gaze detection

For eye tracking we use OVRPlugin.RequestEyeTrackingPermission() on Quest Pro and subscribe to OVREyeGaze events. For headset direction — Camera.main.transform.forward with a raycast of 3 meters. Angle filter: if the object is within 25°, we consider the player is looking at it.

The second mechanism is a directional indicator: an arrow or light beam pointing to the object. Implemented via a Billboard component with constant camera-facing orientation plus calculation of angle between camera forward and direction to target.

Why comfort in VR tutorials is critical?

New VR users often experience discomfort — a tutorial can amplify it. Rules we embed in every project:

  • First 2 minutes: only stationary hand interactions, no teleportation.
  • No hard timers: timer anxiety + VR = guaranteed Simulator Sickness Questionnaire discomfort.
  • Tutorial objects in comfort zone 40–70 cm from player at shoulder/chest height.

How comfort testing saves team resources?

We conduct testing with 3–5 users of varying VR experience. We measure: completion time, number of hint repeats, subjective comfort on the SSQ scale. If even one person reports discomfort — we rework. This helps avoid post-release bug fixing — you save up to 40% time on revisions.

Step sequence and completion verification

The tutorial is a finite state machine. Each step is a state with a transition condition. In Unity we use a ScriptableObject approach: each TutorialStep is an SO with description, target object, and subclasses of TutorialCondition: GrabCondition, TeleportCondition, LookAtCondition, ButtonPressCondition.

GrabCondition checks that XRGrabInteractable transitions to isSelected status. LookAtCondition checks that the angle between the head forward and the direction to the object is less than 25° for 1.5 seconds. This simulates an intentional gaze.

Persistence: if the player is stuck on a step for more than 30 seconds — we show an additional hint; more than 60 seconds — a more explicit one. We don't punish, don't block — we add context.

VR tutorial development process

  1. Analyze game mechanics and learning objectives.
  2. Design a finite state machine with fallback scenarios.
  3. Implement conditions: GrabCondition, LookAtCondition, ButtonPressCondition, and custom ones for your mechanics.
  4. Integrate gaze: configure eye tracking or headset direction.
  5. Comfort testing with 3–5 users and refine.
  6. Deploy and 30 days of support.

What's included in turnkey VR tutorial development

  • Finite state machine architecture: design all states and transitions.
  • Condition implementation: GrabCondition, LookAtCondition, ButtonPressCondition, and custom ones for your mechanics.
  • Gaze integration: setup eye tracking (if available) or headset direction, calibration for the headset.
  • UI/UX components: world-space hints, directional indicators, billboard arrows, subtitles.
  • Comfort testing and refinement based on results.
  • Analytics integration: logging time per step, errors, stuck points.
  • 30 days of post-deployment support.

Estimated timelines

Tutorial scale Timeline
5–8 steps, basic mechanics 1–2 weeks
Full tutorial (15–20 steps, branching) 3–6 weeks
Tutorial + learning system with progress 4–8 weeks

Cost is calculated individually after analyzing mechanics and accessibility requirements. Save up to 40% testing time through early prototyping. Contact us — we will evaluate your project in one day and offer the optimal solution. Get a consultation for your project and order a VR tutorial that holds the player's attention, not breaks it.

VR and AR Development

When we first launch a project in a VR headset, most teams face the same thing: technically everything works, but in the headset either motion sickness occurs, or hands 'float' with a delay, or the scene looks jerky at the periphery. These are not bugs in the usual sense — they are a consequence of the fact that VR/AR development requires a different approach to render architecture, interaction, and UX from the very beginning of the project. Our experience: over 7 years in game dev, 15+ completed VR/AR projects for Meta Quest, SteamVR, PSVR2, HoloLens. We work with teams that need not just a prototype but a production‑ready application with a stable frame rate.

Platforms and SDKs

We work with all relevant stacks. We use OpenXR as the base layer wherever possible — it provides cross‑platform compatibility between Meta, Valve Index, HP Reverb and other PC VR devices. On top of OpenXR, we build on the XR Interaction Toolkit (Unity) or VR Expansion Plugin (Unreal). Contact us for a stack assessment tailored to your project.

Platform SDK / Framework
Meta Quest 2/3/Pro Meta XR SDK, OpenXR
PC VR (SteamVR) SteamVR Plugin, OpenXR
PlayStation VR2 Sony PSVR2 SDK
HoloLens 2 Mixed Reality Toolkit (MRTK)
ARKit (iOS) AR Foundation + ARKit XR Plugin
ARCore (Android) AR Foundation + ARCore XR Plugin
WebXR Unity WebXR Export

How to minimize motion sickness in VR locomotion?

Locomotion — the main source of motion sickness for inexperienced VR users. According to research, about 70% of users experience discomfort with improper movement settings Oculus Developer Guidelines. Teleportation — standard navigation method when smooth movement is undesirable.

Components from XR Interaction Toolkit: TeleportationArea, TeleportationAnchor, TeleportationProvider. Basic implementation works out of the box, but for production we refine it in four steps:

  1. Setting up XRRayInteractor with a curved ray (Bend Ray) — the teleportation arc looks more natural than a straight ray and is perceived better by users.
  2. Adding a valid landing zone — a visual indicator changes color when hovering over an obstacle (red/green).
  3. Implementing fade transition — smooth screen fade (black fade) before teleportation reduces disorientation.
  4. Rotation snapping — after teleportation we offer snap rotation by 45° or 90° instead of smooth, reducing motion sickness risk.

For projects requiring smooth locomotion (action games, simulators), we use comfort settings: vignetting during movement, reducing FOV during acceleration. Settings are available to the user in the menu — different people have different sensitivity thresholds. The difference between kinematic and physics‑based movement: kinematic gives instant hand following but lets objects pass through walls; physics‑based via Joint provides realistic collisions but requires velocity damping and max joint force tuning. We choose based on the type of interaction.

How to make object grabbing in VR physically realistic?

This is the most underestimated part of VR development. Clients often perceive it as 'just hand animation', but in practice it is a complex system where physical correctness, responsiveness, and comfort conflict.

Grab (grabbing)

XR Interaction Toolkit provides three types of Interactable for grabbing:

  • XRGrabInteractable — standard grab, object follows controller via physics joint or direct position/rotation
  • XRSimpleInteractable — for objects without physical movement (buttons, levers)
  • Custom Interactable by inheriting from XRBaseInteractable

Attach Transform — a frequently ignored detail. Each Interactable must have a properly configured Attach Transform (the point where the hand 'attaches'). Without it, the pistol grip will be at the center of the mesh, not where it is held.

For weapons and tools with two‑handed grab — a separate TwoHandGrab system: leading hand determines position, the second — orientation. XR Interaction Toolkit supports this via XRTwoHandGrabInteractable or custom logic with two Attach Points.

Throw (throwing)

Velocity smoothing is critical for realistic throwing because the Rigidbody.velocity at the moment of controller release reflects instantaneous speed, often incorrect due to tracking discretization. The user makes a quick wrist movement — but the object flies half as fast.

Solution: velocity smoothing over the last N frames (typically 5–10 frames, ~80–160 ms at 60 Hz) before release. XR Interaction Toolkit does this via VelocityEstimator. Additionally, we apply a velocity scaling multiplier — a small speed increase (1.2–1.5×) makes throws subjectively more satisfying. Angular velocity (for objects that should spin in flight) is also averaged similarly.

AR: Plane Tracking and Environment Interaction

AR adds a different class of problems — working with real, unpredictable environment. AR Foundation — a cross‑platform layer on top of ARKit and ARCore. Most basic features (plane detection, raycasting, image tracking, face tracking) are available through a unified API.

Plane Detection

ARPlaneManager detects horizontal and vertical planes. Practical nuances:

  • Initialization takes time — the user must look around the room while the system builds a map. An explicit onboarding with instruction 'slowly move the camera across surfaces' is needed.
  • Planes are unstable — their boundaries and position are updated as data accumulates. Objects placed on a plane need to be attached via parent to ARPlane, not to world coordinates.
  • Plane merging — two detected floor segments may merge into one, moving the anchor. For critical anchors, use ARAnchor instead of direct attachment to the plane.

Image tracking (via ARTrackedImageManager) quality directly depends on the quality of reference images. Images with high detail frequency and contrasting edges (like a QR code but stylish) track more reliably than smooth logos. ARCore Geospatial API — for outdoor AR with real‑world coordinate binding (accuracy up to 10 cm in well‑mapped areas).

Optimization for VR: Frame Rate and Comfort

VR requires stable high frame rate. About 60% of development time in mobile VR goes to optimization, not functionality — retrofit costs twice as much as proper architecture from the first sprint.

Device Target Hz Critical threshold
Meta Quest 2 72 / 90 Hz < 72 Hz — noticeable
Meta Quest 3 90 / 120 Hz < 90 Hz — noticeable
Valve Index 90 / 120 / 144 Hz < 90 Hz — noticeable
PSVR2 90 / 120 Hz < 90 Hz — noticeable

Single Pass Instanced Rendering

The main render optimization in VR. Without it, the scene is rendered twice (once per eye), doubling draw calls. Single Pass Instanced renders both eyes in one pass via instancing: geometry is processed once, the shader gets two view/projection matrices through GPU instancing. Enabled in Unity via XR Plug-in Management > Rendering Mode: Single Pass Instanced. Important: custom shaders must support SPI — standard URP/HDRP shaders support it, custom HLSL requires modifications (UNITY_SETUP_STEREO_EYE_INDEX_POST_VERTEX and related macros). Applying this technique reduces draw calls by 40–50%, making it twice as efficient as naive double rendering.

Foveated Rendering

On Meta Quest, Fixed Foveated Rendering (FFR) is available — reducing resolution at the periphery where visual acuity is lower. Configured via OVRManager or Meta XR SDK:

OVRManager.fixedFoveatedRenderingLevel = OVRManager.FixedFoveatedRenderingLevel.High;
OVRManager.useDynamicFixedFoveatedRendering = true;

Dynamic FFR automatically increases the level when frame rate drops — more convenient than fixed in scenes with variable load.

IPD and Comfort Settings

IPD (Inter‑Pupillary Distance) — affects depth perception. At the programmable level on most devices, only reading IPD is available (OVRPlugin.GetSystemDisplayFrequency), physical adjustment is on the headset. For applications requiring precise positioning (medical simulators, training), we account for IPD in scene scale calculations.

Haptics

Haptic feedback — an underestimated tool. Even a simple vibration response when grabbing an object or hitting significantly increases the sense of presence. On average, integrating haptic patterns takes 30–80 hours per project.

XR Haptics via OpenXR:

var hapticImpulse = new UnityEngine.XR.HapticCapabilities();
InputDevice device = InputDevices.GetDeviceAtXRNode(XRNode.RightHand);
device.SendHapticImpulse(0, amplitude: 0.5f, duration: 0.1f);

For complex patterns (tactile 'texture' of a surface when touched, increasing vibration when drawing a bowstring) we use Meta Haptics Studio — allows designing haptic clips visually. This can reduce time spent on manual haptic tuning by about 30%.

What does VR/AR application development include?

When ordering a turnkey project, we provide the following deliverables:

  • Architectural document with stack description, render logic, and interaction system
  • Working prototype (MVP) for testing on target device
  • Integration of necessary SDKs (Meta XR, OpenXR, AR Foundation, etc.)
  • Optimization for target frequencies 72/90/120 Hz with draw call and FPS profiling
  • Testing on physical hardware (Quest, SteamVR, HoloLens) with user involvement
  • Full documentation for build, deployment, and support
  • Training for the client's team (workshop on XR Toolkit)
  • Warranty support for 1 month after delivery

What affects cost and timeline?

VR/AR projects are more expensive than regular games of similar scope. Iterations are slower — each fix must be tested in the headset, an emulator does not convey the real experience. Motion sickness forces reworking some conceptual decisions after the first playtest. Optimization takes a significant portion of time — for mobile VR (Quest) up to 60–70% of the cycle. For Quest projects, we start optimization from the first sprint. The cost of basic SDK integration (XR Interaction Toolkit) varies depending on the scope of custom Interactable. Typical budgets for a full Quest project range from $25,000 to $80,000 depending on complexity, number of custom interactions, and depth of optimization. Proper architectural planning from sprint one typically saves 40% on later rework compared to fixing performance bottlenecks retroactively.

Get a consultation on your project — we will assess the task, stack, and timelines. Order turnkey VR/AR application development with a guaranteed stable frame rate.