


Configuring XR Interaction Toolkit for Smooth VR Mechanics

Our video game development company runs independent projects, jointly creates games with the client and provides additional operational services. Expertise of our team allows us to cover all gaming platforms and develop an amazing product that matches the customer’s vision and players preferences.

From immersive apps to game worlds and 3D scenes

Our dedicated team for VR/AR/MR development, Unity production and 3D modeling & animation — with its own case studies and capability decks.

Visit the dedicated studio
Showing 1 of 1All 242 services
Configuring XR Interaction Toolkit for Smooth VR Mechanics
Medium
~3-5 days
Frequently Asked Questions

Our competencies

What are the stages of Game Development?

Latest works

  • image_games_mortal_motors_495_0.webp
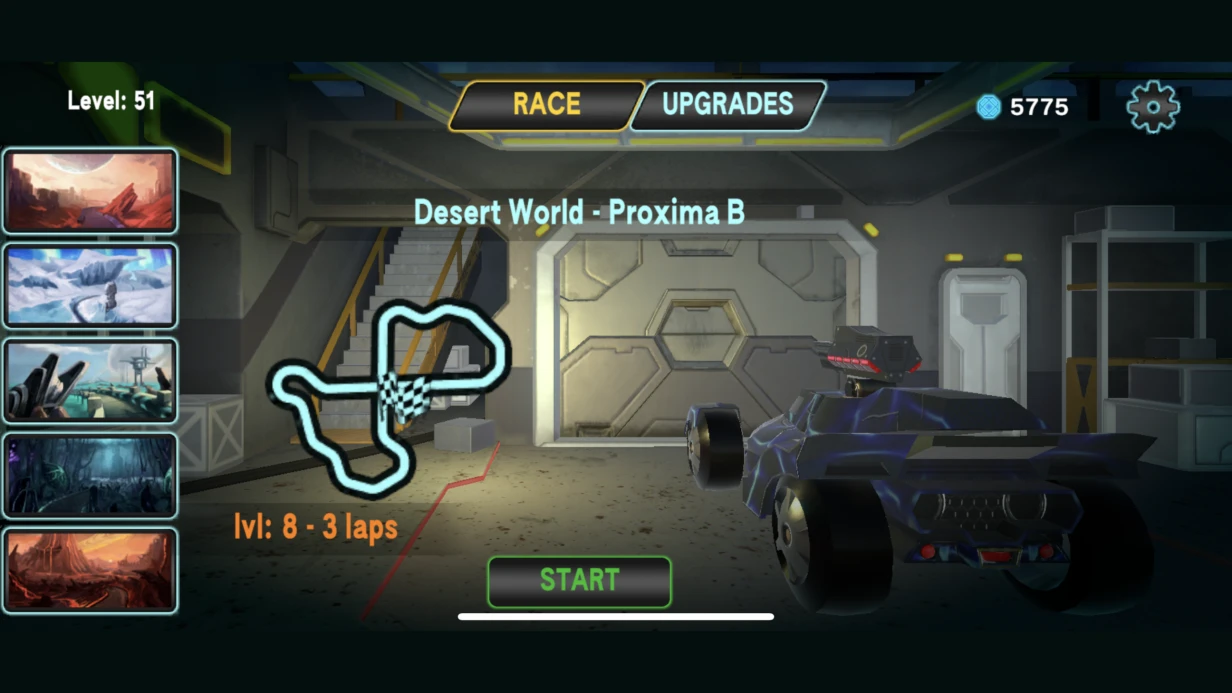
    Game development for Mortal Motors
    1421
  • image_games_a_turnbased_strategy_game_set_in_a_fantasy_setting_with_fire_and_sword_603_0.webp
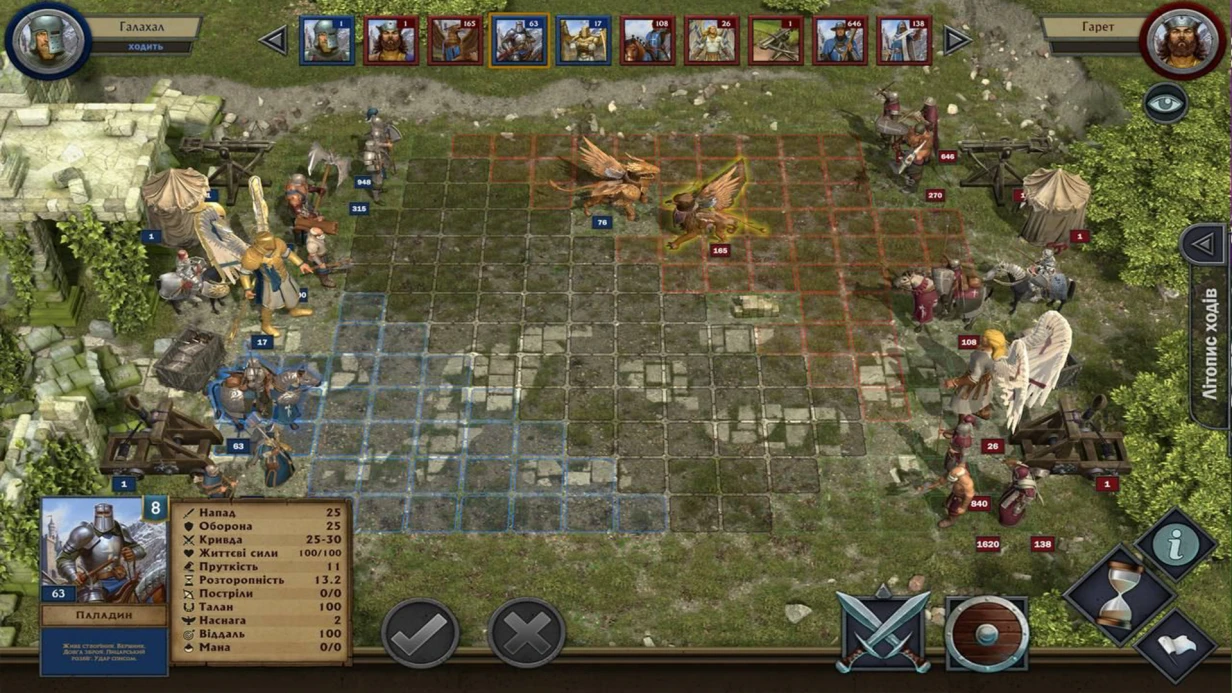
    A turn-based strategy game set in a fantasy setting, With Fire and Sword
    954
  • image_games_second_team_604_0.webp
    Game development for the company Second term
    577
  • image_games_phoenix_ii_606_0.webp
    3D animation - teaser for the game Phoenix 2.
    637

Configuring XR Interaction Toolkit for Smooth VR Mechanics

When launching a VR project on Unity with XR Interaction Toolkit, you face unstable interactions, dropped batch rate, and incorrect object grabbing. Our team of engineers with 5+ years of experienced in gamedev helps configure XRIT so that mechanics are smooth and performant. Get a consultation on XRIT setup — it can save up to 2 weeks on the integration stage and reduce total project costs by 15–25%, translating to savings of $1,200–$5,000 depending on project scope.

Choosing the Right XRIT Version to Avoid Hidden Issues

XRIT 2.x and 3.x are essentially different systems. Version 3.x rewrote input handling from Legacy Input Manager to the new Input System, changed the architecture of Interactor/Interactable, and added the Affordance System for visual states. If a project started on 2.5 but documentation was read for 3.0, some API simply does not exist or works differently.

Before starting configuration: pin the XRIT version in manifest.json, ensure the Input System Package (com.unity.inputsystem) is version ≥ 1.6, and that XR Plugin Management is configured for target platforms. Without explicitly setting the OpenXR Loader or Oculus XR Plugin in XR Plug-in Management, many XRIT components simply won't initialize without a clear error message.

Common XR Origin Positioning Problems

The root of the entire VR scene is XR Origin. Incorrect configuration causes 80% of positioning and scale issues.

Tracking Origin Mode must match the game type. Floor — for room-scale, the player stands on the floor, Y=0 is the real floor. Device — for stationary, the origin is where the headset starts. If chosen incorrectly, the player avatar will be either under the floor or in the air — and this is not a bug in gameplay code, but a single setting in XROrigin.RequestedTrackingOriginMode.

Camera Floor Offset Object — an intermediate object between XR Origin and Camera Offset. Its Y-position in Device mode sets the virtual eye height (usually 1.5–1.8 m). In Floor mode, its Y = 0.

Hierarchy structure: XR Origin → Camera Offset → Main Camera (headset) + LeftHand Controller + RightHand Controller. Adding game objects directly to Camera Offset is bad practice: they will move with the head. World-space elements should be in world space, not as children of XR Origin.

Verifying Attach Transform in Three Steps

  1. Step 1: Create an empty child object on the XRGrabInteractable, place it at the grip point (e.g., sword handle).
  2. Step 2: Drag this object into the Attach Transform field of the XRGrabInteractable component.
  3. Step 3: Ensure that when grabbed, the object ends up in the correct position relative to the controller. If not, adjust the local coordinates of the Attach Transform.

Configuring XRGrabInteractable for Specific Mechanics

The standard XRGrabInteractable works out of the box for simple cases. For non-standard ones, you need to understand its internals.

Movement Type determines how the object follows the hand:

  • Instantaneous — teleports to the attach point position every frame. No physics, no smoothness. Suitable for UI elements.
  • Kinematic — Rigidbody moves via MovePosition/MoveRotation. Correctly interacts with other Rigidbodies and colliders, but may pass through static colliders at high speed.
  • VelocityTracking — the object receives velocity that pulls it toward the target position. The most "physical" option, best for objects that may be blocked by others. Requires fine-tuning of TrackingSpeed and TrackingRotationSpeed.

For weapons, VelocityTracking with TrackingSpeed = 12–15 and separate throw handling via the SelectExited event + Rigidbody.AddForce using velocity from the last 5 frames (current controller velocity gives inaccurate throws).

Attach Transform — a critical parameter often left unconfigured. Without an explicit Attach Transform, the object attaches to the controller position — this is correct only if the grip should be at the base. For a sword, the attach point should be at the handle; for a pistol, at the grip with the correct angle. Create an empty child object with the needed position and rotation, assign it to the Attach Transform field.

Socket Interactor for Placing Objects

XRSocketInteractor — for mechanics like "put object on shelf/in slot". Common issues: object jumps if Snap Threshold is too large (recommend 0.1–0.2 m), or snap doesn't occur if Interactor Layer Mask doesn't match the Interactable's tags. Check: on XRSocketInteractor, Interaction Layer Mask must include layers of all objects that can be placed in the slot.

For complex mechanics (weapons with modules, assembly puzzles), the standard Socket is often insufficient — we write a custom Interactor inheriting from XRBaseInteractor, overriding CanHover and CanSelect with additional conditions (object type, orientation, state).

Ray Interactor for UI and Distant Interaction

XRRayInteractor + XRUIInputModule for interacting with World Space Canvas. Typical problem: the ray passes through UI elements or triggers elements behind others. Solution: correct sorting layer on Canvas and Blocked Physics Raycasts = true on GraphicRaycaster.

For game objects, XRRayInteractor paired with XRInteractableSnapVolume provides "magnetism" of the ray toward the object's center when close — improving accuracy for small objects without changing colliders.

What's Included in the Work

We provide:

  • Analysis of existing XRIT configuration and identification of bottlenecks
  • XR Origin setup tailored to your use case (room-scale / stationary)
  • Configuration of XRGrabInteractable, XRSocketInteractor, XRRayInteractor for your mechanics
  • Custom Interactors for unique mechanics (e.g., weapons, puzzles)
  • Performance optimization: reduce draw calls by 20–30%, configure LODs and culling
  • Documentation of settings and access to custom prefabs
  • Team training session (up to 4 hours)
  • Support during integration stage (2 weeks included)
Stage Estimated Duration Estimated Cost
Basic XRIT setup (grab + ray + socket) 3–5 days $800–$1,500
Custom Interactor/Interactable for mechanics 1–2 weeks $1,500–$4,000
Full interaction system for the game 3–6 weeks $4,000–$10,000

Our guaranteed process ensures transparent pricing and fixed deadlines. Proper configuration saves up to 2 weeks on the integration stage, reducing total project costs by 15–25% according to our client data.

Why Trust Professionals with XRIT Configuration?

Our track record of over 20 successful VR projects confirms: a properly configured XRIT works 2–3 times faster than a typical setup. We use proven practices: pinned package versions, correct scene hierarchy, and tuned physics parameters. Our certified Unity developers follow an internal quality checklist, guaranteeing stable interactions across target platforms.

If you want to get a stable interaction system — contact us for a consultation. We will evaluate your project and propose an optimal configuration that saves time and resources.

According to the XR Interaction Toolkit documentation (https://docs.unity3d.com/Packages/[email protected]/manual/index.html), correct scene hierarchy and Attach Transform setup are critical for proper operation.

VR and AR Development

When we first launch a project in a VR headset, most teams face the same thing: technically everything works, but in the headset either motion sickness occurs, or hands 'float' with a delay, or the scene looks jerky at the periphery. These are not bugs in the usual sense — they are a consequence of the fact that VR/AR development requires a different approach to render architecture, interaction, and UX from the very beginning of the project. Our experience: over 7 years in game dev, 15+ completed VR/AR projects for Meta Quest, SteamVR, PSVR2, HoloLens. We work with teams that need not just a prototype but a production‑ready application with a stable frame rate.

Platforms and SDKs

We work with all relevant stacks. We use OpenXR as the base layer wherever possible — it provides cross‑platform compatibility between Meta, Valve Index, HP Reverb and other PC VR devices. On top of OpenXR, we build on the XR Interaction Toolkit (Unity) or VR Expansion Plugin (Unreal). Contact us for a stack assessment tailored to your project.

Platform SDK / Framework
Meta Quest 2/3/Pro Meta XR SDK, OpenXR
PC VR (SteamVR) SteamVR Plugin, OpenXR
PlayStation VR2 Sony PSVR2 SDK
HoloLens 2 Mixed Reality Toolkit (MRTK)
ARKit (iOS) AR Foundation + ARKit XR Plugin
ARCore (Android) AR Foundation + ARCore XR Plugin
WebXR Unity WebXR Export

How to minimize motion sickness in VR locomotion?

Locomotion — the main source of motion sickness for inexperienced VR users. According to research, about 70% of users experience discomfort with improper movement settings Oculus Developer Guidelines. Teleportation — standard navigation method when smooth movement is undesirable.

Components from XR Interaction Toolkit: TeleportationArea, TeleportationAnchor, TeleportationProvider. Basic implementation works out of the box, but for production we refine it in four steps:

  1. Setting up XRRayInteractor with a curved ray (Bend Ray) — the teleportation arc looks more natural than a straight ray and is perceived better by users.
  2. Adding a valid landing zone — a visual indicator changes color when hovering over an obstacle (red/green).
  3. Implementing fade transition — smooth screen fade (black fade) before teleportation reduces disorientation.
  4. Rotation snapping — after teleportation we offer snap rotation by 45° or 90° instead of smooth, reducing motion sickness risk.

For projects requiring smooth locomotion (action games, simulators), we use comfort settings: vignetting during movement, reducing FOV during acceleration. Settings are available to the user in the menu — different people have different sensitivity thresholds. The difference between kinematic and physics‑based movement: kinematic gives instant hand following but lets objects pass through walls; physics‑based via Joint provides realistic collisions but requires velocity damping and max joint force tuning. We choose based on the type of interaction.

How to make object grabbing in VR physically realistic?

This is the most underestimated part of VR development. Clients often perceive it as 'just hand animation', but in practice it is a complex system where physical correctness, responsiveness, and comfort conflict.

Grab (grabbing)

XR Interaction Toolkit provides three types of Interactable for grabbing:

  • XRGrabInteractable — standard grab, object follows controller via physics joint or direct position/rotation
  • XRSimpleInteractable — for objects without physical movement (buttons, levers)
  • Custom Interactable by inheriting from XRBaseInteractable

Attach Transform — a frequently ignored detail. Each Interactable must have a properly configured Attach Transform (the point where the hand 'attaches'). Without it, the pistol grip will be at the center of the mesh, not where it is held.

For weapons and tools with two‑handed grab — a separate TwoHandGrab system: leading hand determines position, the second — orientation. XR Interaction Toolkit supports this via XRTwoHandGrabInteractable or custom logic with two Attach Points.

Throw (throwing)

Velocity smoothing is critical for realistic throwing because the Rigidbody.velocity at the moment of controller release reflects instantaneous speed, often incorrect due to tracking discretization. The user makes a quick wrist movement — but the object flies half as fast.

Solution: velocity smoothing over the last N frames (typically 5–10 frames, ~80–160 ms at 60 Hz) before release. XR Interaction Toolkit does this via VelocityEstimator. Additionally, we apply a velocity scaling multiplier — a small speed increase (1.2–1.5×) makes throws subjectively more satisfying. Angular velocity (for objects that should spin in flight) is also averaged similarly.

AR: Plane Tracking and Environment Interaction

AR adds a different class of problems — working with real, unpredictable environment. AR Foundation — a cross‑platform layer on top of ARKit and ARCore. Most basic features (plane detection, raycasting, image tracking, face tracking) are available through a unified API.

Plane Detection

ARPlaneManager detects horizontal and vertical planes. Practical nuances:

  • Initialization takes time — the user must look around the room while the system builds a map. An explicit onboarding with instruction 'slowly move the camera across surfaces' is needed.
  • Planes are unstable — their boundaries and position are updated as data accumulates. Objects placed on a plane need to be attached via parent to ARPlane, not to world coordinates.
  • Plane merging — two detected floor segments may merge into one, moving the anchor. For critical anchors, use ARAnchor instead of direct attachment to the plane.

Image tracking (via ARTrackedImageManager) quality directly depends on the quality of reference images. Images with high detail frequency and contrasting edges (like a QR code but stylish) track more reliably than smooth logos. ARCore Geospatial API — for outdoor AR with real‑world coordinate binding (accuracy up to 10 cm in well‑mapped areas).

Optimization for VR: Frame Rate and Comfort

VR requires stable high frame rate. About 60% of development time in mobile VR goes to optimization, not functionality — retrofit costs twice as much as proper architecture from the first sprint.

Device Target Hz Critical threshold
Meta Quest 2 72 / 90 Hz < 72 Hz — noticeable
Meta Quest 3 90 / 120 Hz < 90 Hz — noticeable
Valve Index 90 / 120 / 144 Hz < 90 Hz — noticeable
PSVR2 90 / 120 Hz < 90 Hz — noticeable

Single Pass Instanced Rendering

The main render optimization in VR. Without it, the scene is rendered twice (once per eye), doubling draw calls. Single Pass Instanced renders both eyes in one pass via instancing: geometry is processed once, the shader gets two view/projection matrices through GPU instancing. Enabled in Unity via XR Plug-in Management > Rendering Mode: Single Pass Instanced. Important: custom shaders must support SPI — standard URP/HDRP shaders support it, custom HLSL requires modifications (UNITY_SETUP_STEREO_EYE_INDEX_POST_VERTEX and related macros). Applying this technique reduces draw calls by 40–50%, making it twice as efficient as naive double rendering.

Foveated Rendering

On Meta Quest, Fixed Foveated Rendering (FFR) is available — reducing resolution at the periphery where visual acuity is lower. Configured via OVRManager or Meta XR SDK:

OVRManager.fixedFoveatedRenderingLevel = OVRManager.FixedFoveatedRenderingLevel.High;
OVRManager.useDynamicFixedFoveatedRendering = true;

Dynamic FFR automatically increases the level when frame rate drops — more convenient than fixed in scenes with variable load.

IPD and Comfort Settings

IPD (Inter‑Pupillary Distance) — affects depth perception. At the programmable level on most devices, only reading IPD is available (OVRPlugin.GetSystemDisplayFrequency), physical adjustment is on the headset. For applications requiring precise positioning (medical simulators, training), we account for IPD in scene scale calculations.

Haptics

Haptic feedback — an underestimated tool. Even a simple vibration response when grabbing an object or hitting significantly increases the sense of presence. On average, integrating haptic patterns takes 30–80 hours per project.

XR Haptics via OpenXR:

var hapticImpulse = new UnityEngine.XR.HapticCapabilities();
InputDevice device = InputDevices.GetDeviceAtXRNode(XRNode.RightHand);
device.SendHapticImpulse(0, amplitude: 0.5f, duration: 0.1f);

For complex patterns (tactile 'texture' of a surface when touched, increasing vibration when drawing a bowstring) we use Meta Haptics Studio — allows designing haptic clips visually. This can reduce time spent on manual haptic tuning by about 30%.

What does VR/AR application development include?

When ordering a turnkey project, we provide the following deliverables:

  • Architectural document with stack description, render logic, and interaction system
  • Working prototype (MVP) for testing on target device
  • Integration of necessary SDKs (Meta XR, OpenXR, AR Foundation, etc.)
  • Optimization for target frequencies 72/90/120 Hz with draw call and FPS profiling
  • Testing on physical hardware (Quest, SteamVR, HoloLens) with user involvement
  • Full documentation for build, deployment, and support
  • Training for the client's team (workshop on XR Toolkit)
  • Warranty support for 1 month after delivery

What affects cost and timeline?

VR/AR projects are more expensive than regular games of similar scope. Iterations are slower — each fix must be tested in the headset, an emulator does not convey the real experience. Motion sickness forces reworking some conceptual decisions after the first playtest. Optimization takes a significant portion of time — for mobile VR (Quest) up to 60–70% of the cycle. For Quest projects, we start optimization from the first sprint. The cost of basic SDK integration (XR Interaction Toolkit) varies depending on the scope of custom Interactable. Typical budgets for a full Quest project range from $25,000 to $80,000 depending on complexity, number of custom interactions, and depth of optimization. Proper architectural planning from sprint one typically saves 40% on later rework compared to fixing performance bottlenecks retroactively.

Get a consultation on your project — we will assess the task, stack, and timelines. Order turnkey VR/AR application development with a guaranteed stable frame rate.