
Complete Guide to Adding Augmented Reality Try-On to 1C-Bitrix
Once, an online eyewear store owner reached out to us. Mobile traffic accounted for 60%, but conversion on mobile was half that on desktop — customers simply couldn't imagine how the glasses would look on their face. We proposed implementing augmented reality (AR) try-on based on WebXR. A month after launch, mobile conversion increased by 25%, and the return rate dropped by 30% (see case study on our portfolio). With over 5 years of experience and 50+ AR projects, we deliver guaranteed results.
Augmented reality try-on solves the visualization problem — the smartphone camera overlays the product model in real time. We regularly receive requests to integrate such functionality into 1C-Bitrix. Choosing the right SDK provider and correctly linking product catalog data with 3D models are key to a quick launch. We implement turnkey: from analysis to deployment. There are several SDKs on the market: WebXR, Snap Camera Kit, Banuba, Visage. The choice depends on product type and budget. The investment for AR try-on integration starts at $8,000, and the monthly savings from reduced returns can exceed $10,000 for a mid-sized store. We help you select the optimal option for your catalog.
Choosing an SDK for Fast Integration
| SDK | Platform | Tracking Accuracy | License |
|---|---|---|---|
| WebXR + Three.js | Browser (Chrome, Safari) | Medium (~80%) | Free |
| Snap Camera Kit | iframe / Native | High (face) | Licensed |
| Banuba | Android, iOS, Web | Very high (99%) | Paid |
| Visage | Android, iOS | High (95%) | Paid |
Which SDK is Best for Your Bitrix Store? WebXR + Three.js is browser-based, no app required. Works on Chrome for Android (iOS Safari with limitations). 3D models in .glb or .usdz format. Suitable for furniture, glasses, large items. In terms of device coverage, WebXR is 10 times better than Snap Camera Kit — no additional software installation needed. Snap Camera Kit / Meta Spark are SDKs for creating AR masks/effects. Integration via iframe or native app. Works well for jewelry, glasses, accessories. Requires a license and uploading models to Snap's servers. Banuba / Visage Technologies are SDKs for trying on glasses, makeup, hairstyles. They provide precise face point tracking (Banuba is 99% accurate vs 80% for WebXR). There is a REST API for passing model parameters. License is paid separately, but tracking accuracy is higher than WebXR. Fit Analytics / True Fit are specialized services for clothing with size recommendations based on user parameters. Not AR in the strict sense, but they solve the same problem of reducing returns.
Integration Architecture with Bitrix
The essence of the integration is to pass the product ID and parameters from the 1C-Bitrix catalog to the AR widget. Virtual fitting via AR try-on increases customer confidence and directly impacts conversion. The scheme:
Product card (catalog.element)
  → JavaScript sends product_id and SKU to AR widget
    → Widget requests 3D model by product_id
      → /api/ar/model/{product_id} (Bitrix endpoint)
        → Returns URL of .glb/.usdz file from b_file
          → WebXR/SDK renders model via camera
How to Prepare 3D Models for AR?
To store 3D models, create properties in the information block:
- Code:
AR_MODEL_GLB - Type: File
- Format:
.glb(for Android/WebXR)
And a second property for iOS:
- Code:
AR_MODEL_USDZ - Type: File
- Format:
.usdz
Upload is standard via the admin interface or via mass import using a script (CFile::SaveFile()). For optimal performance, ensure polygon count does not exceed 100k and textures are at 2K resolution. Use Draco compression for glb files to reduce load time.
API Endpoint for the AR Widget
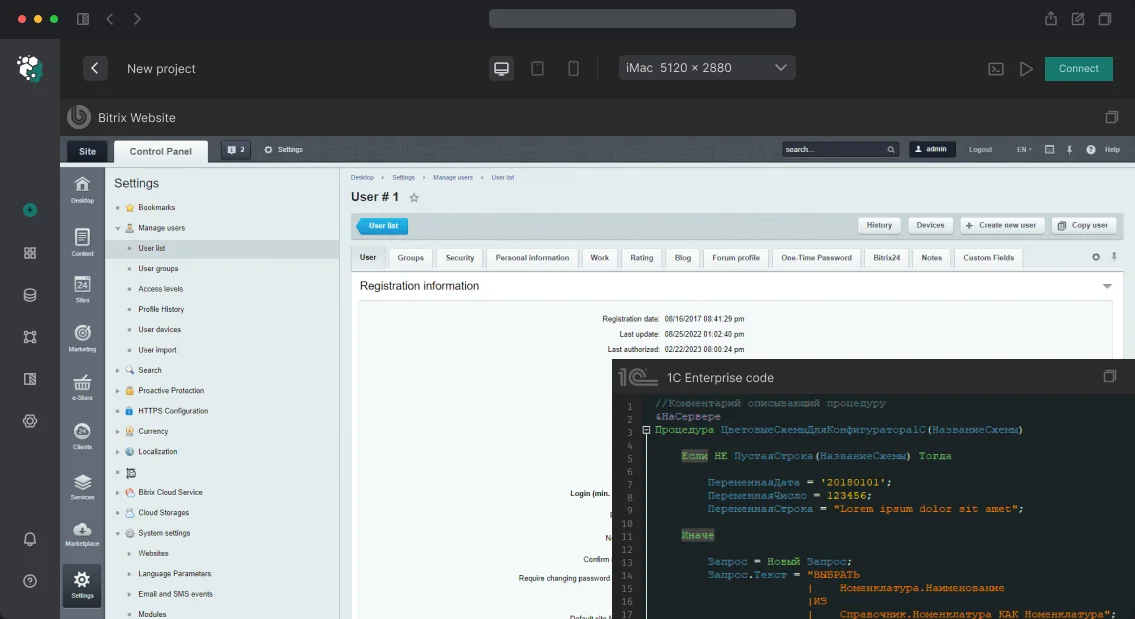
Create a handler in Bitrix:
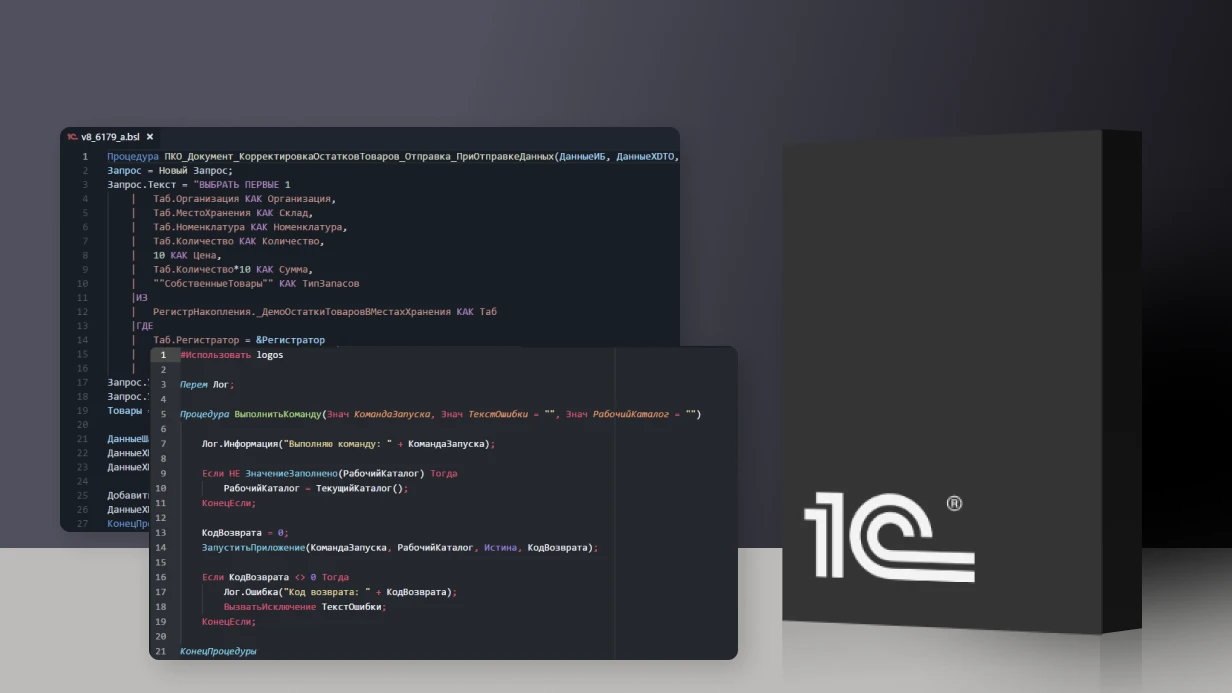
// /local/api/ar/model.php
require_once $_SERVER['DOCUMENT_ROOT'] . '/bitrix/modules/main/include/prolog_before.php';

$productId = (int)$_GET['product_id'];
if (!$productId) { http_response_code(400); exit; }

\Bitrix\Main\Loader::includeModule('iblock');

$element = \CIBlockElement::GetByID($productId)->GetNextElement();
$props   = $element->GetProperties(['AR_MODEL_GLB', 'AR_MODEL_USDZ']);

$glbFile  = $props['AR_MODEL_GLB']['VALUE']  ? \CFile::GetPath($props['AR_MODEL_GLB']['VALUE'])  : null;
$usdzFile = $props['AR_MODEL_USDZ']['VALUE'] ? \CFile::GetPath($props['AR_MODEL_USDZ']['VALUE']) : null;

$ua = $_SERVER['HTTP_USER_AGENT'] ?? '';
$isIos = str_contains($ua, 'iPhone') || str_contains($ua, 'iPad');

header('Content-Type: application/json');
echo json_encode([
    'model_url'   => $isIos ? ($usdzFile ?? $glbFile) : ($glbFile ?? $usdzFile),
    'product_id'  => $productId,
    'ar_supported' => (bool)$glbFile,
]);
Embedding WebXR in the Product Card Template
In the template of the catalog.element component (or result_modifier.php), add:
// Check WebXR support
if ('xr' in navigator && $arModelUrl) {
    const arButton = document.createElement('a');
    arButton.rel    = 'ar';
    arButton.href   = $arModelUrl; // URL of .usdz file for iOS Quick Look

    // For Android/WebXR — use <model-viewer>
    const modelViewer = document.createElement('model-viewer');
    modelViewer.setAttribute('src', $arModelUrlGlb);
    modelViewer.setAttribute('ar', '');
    modelViewer.setAttribute('ar-modes', 'webxr scene-viewer quick-look');
    modelViewer.setAttribute('camera-controls', '');
    document.getElementById('ar-container').appendChild(modelViewer);
}
The @google/model-viewer library (loaded via CDN) supports all three AR modes: WebXR (Chrome Android), Scene Viewer (native Android), Quick Look (iOS Safari). Certified Bitrix developers configure this for compatibility with ARKit and ARCore.
Integration via External SDKs (Banuba, Snap)
If using a third-party SDK with a license:
// Pass product parameters to the SDK
window.BANUBA_SDK.init({
    clientToken: 'YOUR_TOKEN',
    onReady: () => {
        window.BANUBA_SDK.tryOn({
            productId: <?= $arResult['ID'] ?>,
            sku:       '<?= $arResult['PROPERTIES']['ARTICLE']['VALUE'] ?>',
            category:  'eyewear', // glasses, rings, watches
        });
    }
});
The SDK itself requests the model from its servers by productId — for this, you need to preload models into their CDN via their API or admin panel. Banuba offers REST API for model management, with guaranteed SLA.
Mass Upload of 3D Models with CommerceML
For a catalog of 500+ products with AR models, a import script is needed. With CommerceML, you can automate the import of 3D models alongside product data:
$csv = parseCsv('/import/ar_models.csv'); // product_xml_id, glb_file, usdz_file

foreach ($csv as $row) {
    $element = getElementByXmlId(CATALOG_IBLOCK_ID, $row['product_xml_id']);
    if (!$element) continue;

    $glbId  = \CFile::SaveFile(['name' => $row['glb_file'],  'tmp_name' => '/models/' . $row['glb_file'],  ...], 'catalog_ar');
    $usdzId = \CFile::SaveFile(['name' => $row['usdz_file'], 'tmp_name' => '/models/' . $row['usdz_file'], ...], 'catalog_ar');

    \CIBlockElement::SetPropertyValues($element['ID'], CATALOG_IBLOCK_ID, $glbId,  'AR_MODEL_GLB');
    \CIBlockElement::SetPropertyValues($element['ID'], CATALOG_IBLOCK_ID, $usdzId, 'AR_MODEL_USDZ');
}
Tracking the Effectiveness of AR Try-On
Set up tracking: how many users launched AR try-on, how it affects conversion.
// On AR try-on launch
modelViewer.addEventListener('ar-status', (event) => {
    if (event.detail.status === 'session-started') {
        ym(METRIKA_ID, 'reachGoal', 'ar_try_on_started', {
            product_id: productId,
            category:   productCategory,
        });
    }
});
Compare the conversion of sessions with AR try-on vs without — this is the main KPI that justifies the cost of preparing 3D models. According to Google ARCore data, AR try-on increases conversion by 20-30%. We will set up an A/B test for your store and provide a report. A mid-sized store can save over $10,000 per month in return costs. Typical integration budget ranges from $8,000 to $15,000 depending on model complexity.
What Is Included in the Work
- SDK Selection
- Storage Setup
- API Development
- Widget Integration
- Analytics
- Training
- Documentation
Scope of Work and Timeline
| Stage | Time |
|---|---|
| SDK selection, prototype on 5-10 products | 1-2 weeks |
| Development of API endpoint and model storage | 1 week |
| Integration of widget into catalog template | 1-2 weeks |
| Mass upload of models (if ready files are available) | 1 week |
| Analytics and A/B test | 2-4 weeks (observation) |
The main effort of the project is creating 3D models of products. Code integration without model preparation takes 3-5 weeks. Get a consultation for your project — we can assess the possibility of implementing AR try-on within one day. Contact us to discuss details. With our 5+ years of experience and over 50 successful AR integrations, you get a guaranteed turnaround and certified quality.