

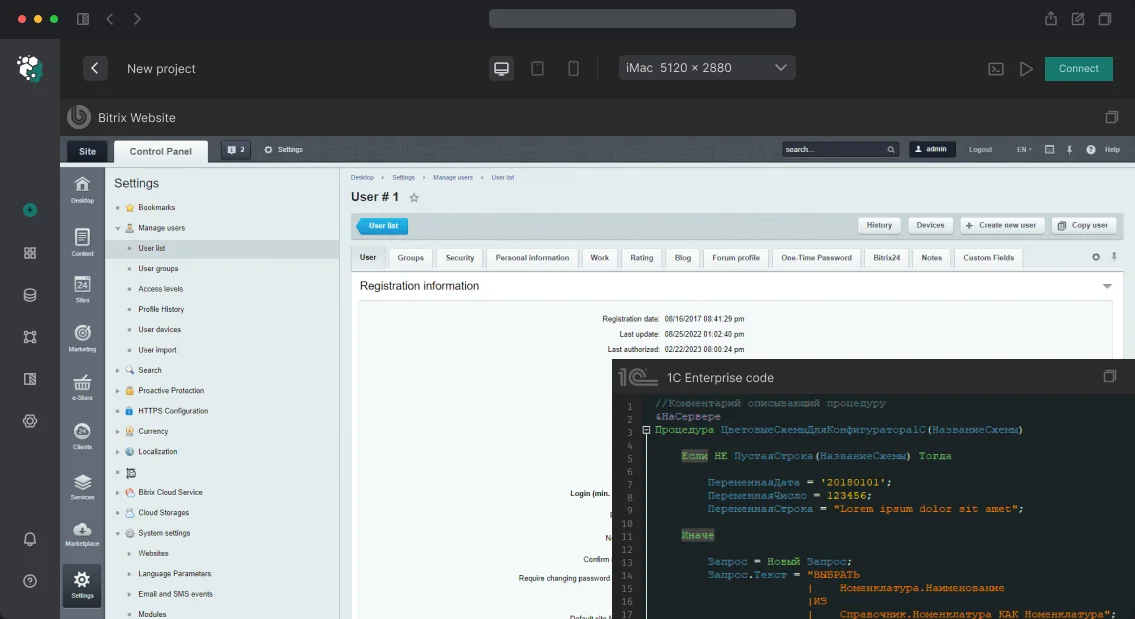




When building an e-commerce store on 1C-Bitrix with Vue.js, it usually starts with a single component—a cart or a filter. A month later, a second and third appear, each with its own server logic, store, and styles. The cart state in the header diverges from the state in the popup, AJAX code duplicates, and styles break the layout. We’ve seen this dozens of times. The only reliable solution is not a collection of components but an architecture: a system where all parts share a common state, a unified API layer, and design tokens. Our company has 10+ years in Bitrix development, over 50 successful projects, and 5 years on the market. With a systematic approach, time to develop a new component drops by 40%, and errors halve. Average annual support savings range from 200,000 to 500,000 rubles for a medium project. Book a consultation—we’ll show you how it works on your project.
Why a single component is integration, but a system is architecture
Integration: you take a ready Vue component and embed it into a template. It works, but each new component requires new crutches: its own store, its own HTTP client, its own loading logic. In six months, the site runs three versions of the cart, two AJAX approaches, and mountains of duplicated code. Architecture: you predefine the system’s core—configuration, stores, API layer, UI base. Each new component uses ready blocks without reinventing the wheel. A component system is 2x faster to maintain than a collection of independent components. According to the lead developer: "Such architecture allowed us to reduce time-to-ship new features by 40%".
How we build the component system: 4 steps
Step 1: Unified initialization and common state
The most common mistake is creating a separate Vue application for each component. This leads to state desynchronization. We use Pinia with a single instance and mount components via data-attributes. Here’s how it looks:
// app.ts
import { createApp, defineAsyncComponent } from 'vue'
import { createPinia } from 'pinia'
const componentRegistry: Record<string, any> = {
'cart-button': defineAsyncComponent(() => import('./components/cart/CartButton.vue')),
'add-to-cart': defineAsyncComponent(() => import('./components/catalog/AddToCartBtn.vue')),
'wishlist-btn': defineAsyncComponent(() => import('./components/catalog/WishlistBtn.vue')),
'compare-btn': defineAsyncComponent(() => import('./components/catalog/CompareBtn.vue')),
'reviews': defineAsyncComponent(() => import('./components/product/Reviews.vue')),
'size-advisor': defineAsyncComponent(() => import('./components/product/SizeAdvisor.vue')),
}
const pinia = createPinia()
document.querySelectorAll('[data-vue-component]').forEach((el) => {
const name = el.getAttribute('data-vue-component')!
const Component = componentRegistry[name]
if (!Component) return
const props: Record<string, any> = {}
for (const attr of el.attributes) {
if (attr.name.startsWith('data-prop-')) {
const propName = attr.name.replace('data-prop-', '').replace(/-./g, m => m[1].toUpperCase())
props[propName] = JSON.parse(attr.value)
}
}
const app = createApp(Component, props)
app.use(pinia)
app.mount(el)
})
Key point: a single Pinia instance is passed to all applications. This means the cartStore in the header and the cartStore on the product card are the same store—state is synchronized. Lazy loading via defineAsyncComponent + Vite automatically splits code into chunks, so CartDrawer.vue loads only on first interaction.
Step 2: API layer: one HTTP client for all
// api/client.ts
const CSRF_TOKEN = (document.querySelector('meta[name="csrf-token"]') as HTMLMetaElement)?.content
async function request<T>(url: string, options: RequestInit = {}): Promise<T> {
const res = await fetch(url, {
...options,
headers: {
'Content-Type': 'application/json',
'X-Bitrix-Csrf-Token': CSRF_TOKEN,
...options.headers,
},
})
if (!res.ok) throw new Error(`HTTP ${res.status}: ${await res.text()}`)
const data = await res.json()
if (data.errors?.length) throw new Error(data.errors[0].message)
return data
}
export const apiGet = <T>(url: string) => request<T>(url)
export const apiPost = <T>(url: string, body: unknown) =>
request<T>(url, { method: 'POST', body: JSON.stringify(body) })
All components use apiGet / apiPost—a single point for adding auth headers, logging errors, interceptors. This simplifies debugging and ensures a uniform response format.
Step 3: Design system via CSS variables
Colors, fonts, spacing—through CSS variables that match the PHP template variables in Bitrix:
:root {
--color-primary: #0052cc;
--color-success: #00875a;
--color-danger: #de350b;
--spacing-sm: 8px;
--spacing-md: 16px;
--border-radius: 4px;
}
The Vue component Button.vue uses these variables—visually compatible with the rest of the site. Any token change in the Bitrix template automatically applies to the components.
Step 4: How to test the system?
Unit tests for Pinia stores with Vitest:
// stores/cartStore.test.ts
import { setActivePinia, createPinia } from 'pinia'
import { useCartStore } from './cartStore'
describe('cartStore', () => {
beforeEach(() => setActivePinia(createPinia()))
it('adds a product to the cart', async () => {
const store = useCartStore()
await store.add(123, 1)
expect(store.items).toHaveLength(1)
expect(store.count).toBe(1)
})
})
Component tests via Vue Test Utils + Vitest. The systematic approach allows testing both business logic and rendering, giving confidence during refactoring.
Deliverables Overview
| Deliverable |
Description |
| Architecture documentation |
Integration scheme, component diagram, stores and API description |
| Component source code |
Implemented Vue components with lazy loading |
| Configured Vite bundler |
Configuration, code splitting, minification |
| Tests |
Unit tests for Pinia stores and components, integration tests for API |
| Guide for adding new components |
Developer instructions |
| Support for 2 weeks |
Consultations and bug fixes after delivery |
Approximate timelines and cost
| Scope |
What’s included |
Duration |
Cost (rubles) |
| Basic system (3–5 components) |
Initialization, Pinia, API layer, UI base |
3–5 weeks |
150,000–250,000 |
| Full system |
+ cart, wishlist, compare, reviews |
6–10 weeks |
350,000–550,000 |
| + Design system, tests, CI |
+ tokens, Vitest, auto-build |
+2–3 weeks |
+100,000–150,000 |
Cost is calculated individually—depends on integration complexity and number of components.
Checklist: common mistakes when integrating Vue into Bitrix
- Creating multiple createApp—use a single Pinia instance.
- Storing tokens in localStorage—use a meta tag for CSRF.
- Missing a unified API layer—catch errors in one place.
- Ignoring code splitting—the initial bundle grows to a megabyte.
- Mixing component logic and presentation—separate stores and views.
This architecture is ideal for Bitrix frontend Vue development and helps optimize Vue components for maintainability.
Summary
A component system is an investment in maintainability. Without it, the first component is quick to write, but the tenth is painful. With architecture, each new component takes 2–3 hours instead of 2–3 days. A systematic approach reduces maintenance costs by 30–50% and accelerates the delivery of new features.
Contact us to discuss your project’s architecture. Get a consultation on integrating Vue.js into Bitrix—we’ll show you how to save time and money. We guarantee quality and deadlines.
See also: Vue.js on Wikipedia
Custom 1C-Bitrix Component Development
How result_modifier.php Solves Pain Points That Core Doesn't
Consider a typical case: a catalog with 50,000 products and SKUs. The standard bitrix:catalog.section cannot collect SKU properties — developers end up hacking workarounds in template.php. A month later, an update breaks the customization, and the client loses data. We've learned from experience: result_modifier.php solves this without core modification. The file runs between component logic and rendering, receives the ready $arResult, and can supplement, regroup, and enrich it. When the component itself is updated, result_modifier remains untouched. Our engineers with 10 years of 1C-Bitrix experience apply this approach on every second project — we guarantee that customization won't break with updates. Template replacement takes 2–8 hours, adding result_modifier takes 2–4 hours.
Typical tasks we handle via result_modifier:
- Pulling SKU properties using
CIBlockElement::GetList — store into $arResult['OFFERS_PROPS']
- Grouping elements by sections or custom properties (standard returns a flat array, but design requires tabs)
- Calculating discounts, ratings, delivery times — business logic not present in standard component
- Preparing JSON arrays for JavaScript:
$arResult['JS_DATA'] = json_encode(...) directly in modifier, in template only <script>var data = <?=$arResult['JS_DATA']?></script>
Key rule: heavy database queries in result_modifier are acceptable because it runs inside the caching zone. However, in component_epilog.php they are not, and that's fundamental.
Why component_epilog.php Runs Outside Cache and How to Use It
Executes after template rendering and outside the caching zone — on every hit, even cached. Here we place:
- Authorization checks and personalized elements: "Add to favorites", "Buy in 1 click"
- Setting meta tags and titles via
$APPLICATION->SetTitle()
- Including JS/CSS via
Asset::getInstance()->addJs()
- Breadcrumb chain
Critical: no heavy SQL here. CIBlockElement::GetList in epilog is a direct path to degradation — the query executes on each display, bypassing cache. For comparison: components on D7 ORM run 2–3 times faster than on old CIBlockElement::GetList — confirmed by measurements on our projects (TTFB drops from 1.2 s to 0.4 s).
Component Architecture: What's Included
| File |
Purpose |
| class.php |
OOP class inheriting CBitrixComponent. Business logic, data fetching, parameter validation. In new components we use only this; component.php is a procedural relic. |
| template.php |
Pure HTML + $arResult. No business logic. |
| result_modifier.php |
Additional processing after fetching but before rendering. |
| component_epilog.php |
Personalization, meta-tags, scripts — runs outside cache. |
| .parameters.php |
Description of input parameters for admin panel. |
| .description.php |
Metadata: name, category, icon. |
All on D7 core, ORM classes, and event model. CIBlockElement::GetList — only when D7 ORM doesn't cover the case. Documentation on components — see the official Bitrix documentation. General concept of component architecture — see Wikipedia.
Why Custom Components If Ready Ones Exist in Marketplace
Standard components suffice for 80% of scenarios. But on every second project, non-trivial business logic arises that settings can't address:
- Cost calculators with multi-parameter formulas
- Integration components for external APIs (CRM, ERP, logistics, CDEK, Bitrix24 REST)
- Multi-step product configurators and booking systems
- Dashboard panels for the admin interface
Principle: component is reusable — parameterization instead of hardcoding. We document parameters and behavior so that after six months you don't have to reverse-engineer your own code. Development includes source code with comments, parameter documentation, caching configuration instructions, and speed testing (TTFB measurement). Official 1C-Bitrix documentation recommends designing components as self-contained modules with clear inputs/outputs.
Ajax: D7 Controllers
The built-in ajax mode of catalog components (AJAX_MODE = Y) covers the basics — pagination, filters, sorting without full page reload.
For custom logic — controllers Bitrix\Main\Engine\Controller. Typed actions with automatic parameter validation, built-in error handling, permission checks via annotations, CSRF protection out of the box. Endpoint via ajax.php or custom routing. Response in JSON. Lazy loading of catalog on scroll, inline editing — all via controllers. For details on D7 controllers, refer to the official portal.
How Caching Determines Site Speed and Saves Budget
The difference between 200 ms and 3 seconds is the caching strategy. Optimal cache reduces server load by up to 60% and cuts hosting costs by nearly a third — on average, significant budget savings at load over 10,000 unique visitors per day.
- Managed cache — auto-invalidation on data change. Added a product to an infoblock — cache rebuilt. The most reliable option for content components. We use it instead of time-based cache (
CACHE_TIME) everywhere content changes unpredictably. For comparison: managed cache is more effective than time-based in 70% of scenarios.
- Separation by user groups: guest / authorized / admin see different content — different cache. Personal data — strictly in
component_epilog, outside cache.
- Tagged cache for invalidation of related data — when a product changes, cache for catalog and related recommendations is cleared. This is especially important when integrating with 1C and Bizproc.
- Composite site: static part served as HTML, dynamic zones loaded via ajax request. TTFB < 100 ms. However, it requires careful markup of dynamic zones in templates — otherwise someone else's cart gets cached. Monitoring hit ratio: if cache misses exceed 30% — configuration is wrong.
Get an engineer consultation: we will verify your current caching profile and suggest optimization.
Common Mistakes in Custom Component Development
- Database queries in component_epilog.php — kills cache
- Heavy business logic in template.php — mixing presentation and logic
- Missing .parameters.php — component cannot be configured without code editing
- Ignoring tagged cache — difficult to invalidate related data
- Hardcoding parameters instead of using component parameters — loses reusability
How We Develop Components: Step-by-Step Process
-
Analysis and prototyping — identify business requirements, document extension points, create data and behavior map.
-
Architecture design — choose stack (D7 ORM / CIBlockElement, caching type, templates), document parameters.
-
Implementation — write class in class.php, template and result_modifier. Complex logic moved to service providers (Bitrix D7).
-
Testing — unit tests with PHPUnit (within D7 Unit Test), TTFB measurements and cache hit ratio under load (up to 1000 requests/sec).
-
Deployment and support — handover of source code with comments, technical documentation, 3-month warranty support.
Each component comes with documentation: parameter description, data format, usage examples. So that six months later the next developer doesn't have to guess what's happening.
What's Included in Component Development (Deliverables)
- Full file stack: class.php, template.php, result_modifier.php (if needed), .parameters.php, .description.php
- Caching setup and integration instructions
- Parameter and data format description (Markdown or doc)
- Source code with comments in Russian
- Speed and correctness testing under load
- Implementation consultation and 3-month support warranty
Submit a request — we will analyze your task, propose component architecture and timelines. Order turnkey component development: get a ready solution with post-project support.
Development Timeline
| Task Type |
Timeline |
| Custom template for standard component |
2–8 hours |
| result_modifier with additional logic |
2–4 hours |
| Simple custom component |
1–3 days |
| Complex component with ajax and caching |
3–7 days |
| Integration component (external API) |
3–10 days |
Contact us for a project estimate — we'll analyze the task, propose architecture and timelines. Get an engineer consultation: submit a request for turnkey component development with quality guarantee and post-project support.