Migrate 1C-Bitrix Site with Zero Downtime: Step-by-Step
Moving a Bitrix site is not a routine task—it’s a process with dozens of nuances. Miss one and you’ll get a 500 error, lost orders, or broken images. In 10 years we’ve conducted over 50 migrations and know every pitfall: hardcoded paths, license binding to server bind-name, hidden caches. We guarantee zero downtime when properly organized. Time and cost savings compared to self-transfer can reach 40%. For example, we recently moved an online store with 50,000 products and 1C integration—the entire process took 4 hours with zero downtime. Professional migration is 10 times faster and 5 times more reliable. Get a project assessment—we’ll calculate the timeline and cost individually. More about the DNS protocol can be found on Wikipedia. 1C-Bitrix documentation recommends lowering TTL to 300 seconds 24–48 hours before the transfer: "When changing DNS, it is important to reduce the record's time to live in advance."
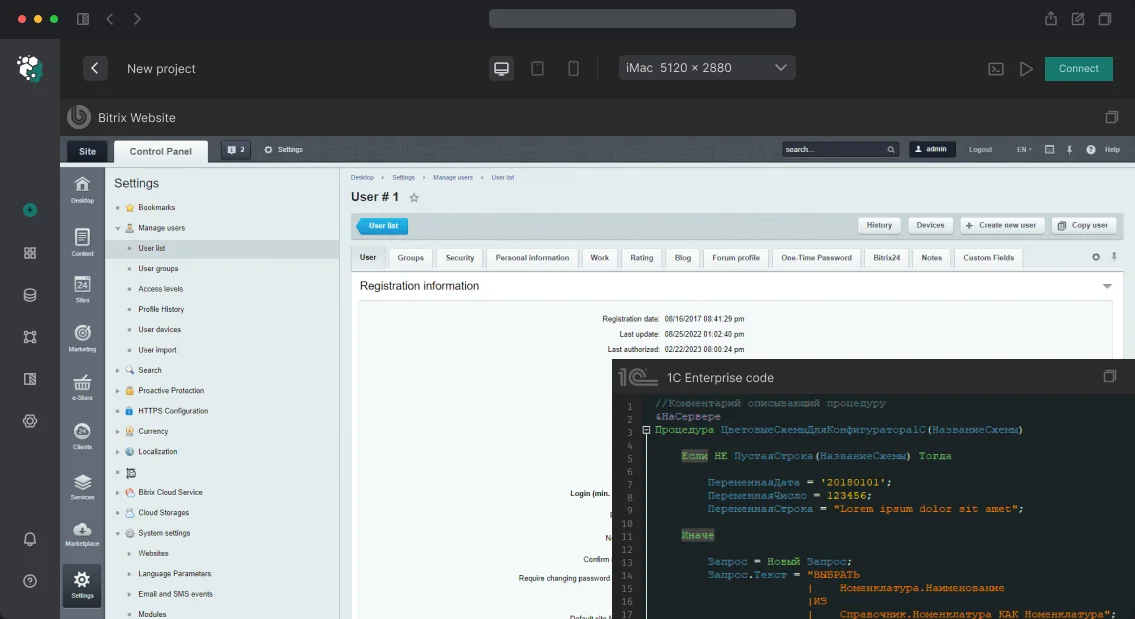
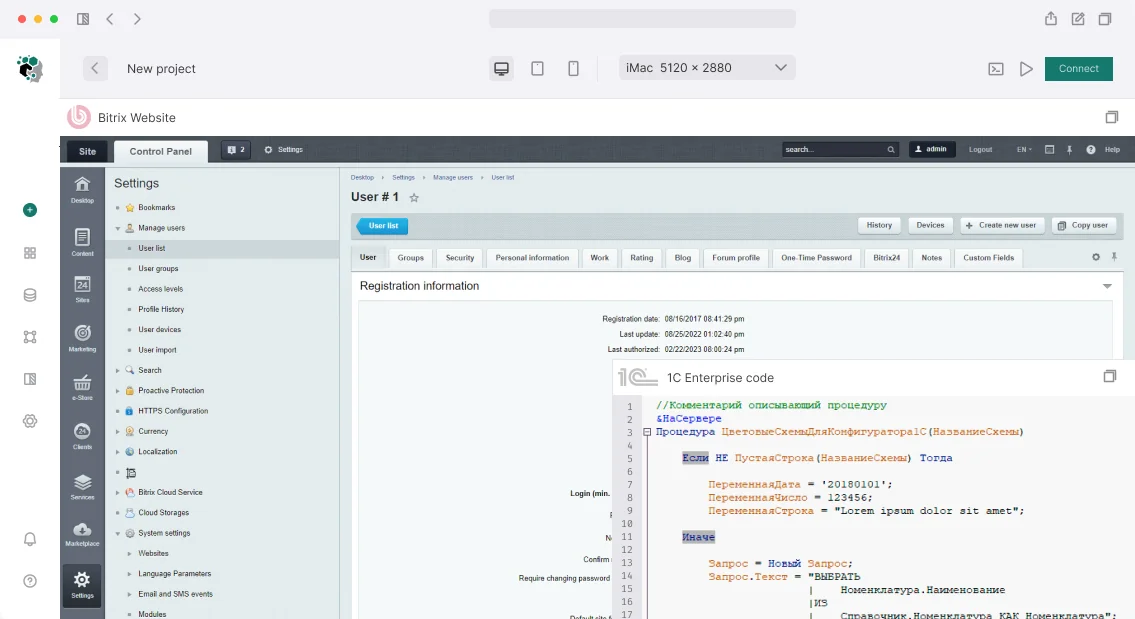
Where Paths and Settings Are Hardcoded — Safe Site Transfer
Before migration, know the critical data storage points:
-
/bitrix/.settings.php — database connection, host, port, db name
-
/bitrix/php_interface/dbconn.php — legacy kernel (if still used)
- In DB table
b_lang — domain bound to site
-
/bitrix/cache/ and /bitrix/managed_cache/ — cache to clear
-
/upload/ — media files, sometimes tens of GB
- License key — bound to domain and server
Why Cache Must Be Cleared After Migration
After transfer, old cache contains references to the old server. If not removed, the site will try to load resources from a non‑existent address. Cache clearing is mandatory, done both via admin panel and directly via command.
Step-by-Step Migration Process
-
Prepare the new server. It must meet Bitrix requirements: correct PHP version (for v22+ — PHP 8.0–8.2), extensions (mbstring, curl, gd, zip, xml, json), web server with proper rewrite rules. Copy .htaccess or nginx config with the site—they may have custom rules.
-
Backup files
tar -czf /tmp/site-backup.tar.gz \
    --exclude='./bitrix/cache' \
    --exclude='./bitrix/managed_cache' \
    --exclude='./bitrix/stack_cache' \
    /var/www/html/
Transfer /upload/ separately due to large size.
-
Database dump
mysqldump -u bitrix_user -p bitrix_db \
    --single-transaction \
    --routines \
    --triggers \
    > /tmp/bitrix_db.sql
The --single-transaction flag is critical for InnoDB—it ensures a consistent snapshot without locks.
-
Deploy on new server
Unpack the file archive and import the database:
mysql -u bitrix_user -p bitrix_db < /tmp/bitrix_db.sql
-
Update configuration
/bitrix/.settings.php — update database connection parameters:
return [
    'connections' => [
        'value' => [
            'default' => [
                'className' => '\Bitrix\Main\DB\MysqlCommonConnection',
                'host' => 'localhost',
                'database' => 'bitrix_db',
                'login' => 'bitrix_user',
                'password' => 'new_password',
                'options' => 2,
            ],
        ],
    ],
];
-
Change domain in database
UPDATE b_lang SET SERVER_NAME = 'newdomain.ru' WHERE LID = 's1';
Also check b_option and b_iblock for hardcoded URLs.
-
License key
After migration, reattach the key in the admin panel (Settings → License). If the server changed, you may need to contact 1C-Bitrix support.
-
Clear cache
Delete cache folders on the server: rm -rf /var/www/html/bitrix/cache/* /var/www/html/bitrix/managed_cache/* /var/www/html/bitrix/stack_cache/*. Also clear cache in admin panel: Settings → Performance → Clear cache.
Additional tips
Check permissions on `/upload/` (usually 755) and owner (www-data). Ensure crontab jobs are copied and paths updated.Main Risks of Self-Migration
Often forgotten: updating the domain in b_option or clearing style cache—the site looks broken. For e-commerce it’s critical: during DNS switch, orders may go to both servers. We solve this by parallel operation and 301 redirect on the old server.
How to Test the Site After Migration?
Test using the hosts file (without changing DNS): 111.222.333.444 olddomain.ru
Checklist:
- Homepage loads
- Catalog and product pages
- Cart and checkout
- Personal account
- Admin panel
- HTTPS — certificate installed
- Product images
- Email notifications
Timelines
| Site scale |
Migration time |
| Small site (up to 10 GB, simple DB) |
4–8 hours |
| Medium store (10–50 GB) |
1–2 days |
| Large portal (50+ GB, complex integrations) |
2–5 days |
Comparison: Self-Migration vs Professional
| Criterion |
Self-migration |
With us |
| Preparation time |
2–4 hours reading docs |
15 minutes consultation |
| Error risk |
High (missed paths, cache) |
Minimal (checklist, experience) |
| Site downtime |
Several hours to a day |
Zero or 15–30 minutes |
| Result guarantee |
No |
14 days free support |
| Budget savings |
— |
Up to 40% by eliminating errors |
What's Included in Our Migration Service
- Audit of current architecture and identifying hidden bindings
- New server preparation to Bitrix requirements
- File and database transfer preserving structure
- Update all configurations and license key
- Cache clearing and testing per checklist
- Help with DNS switching and 301 redirects
- Admin training and final documentation
Our team has 10+ years of Bitrix experience and has conducted over 50 migrations. Get a migration consultation — contact us. Request a project assessment — we will calculate timeline and cost individually.
Why URL Structure Matters in Bitrix Migration?
Skipping URL mapping during a website migration to Bitrix crashes organic traffic by 50–80% in two weeks. WordPress uses /product/item-name/, OpenCart uses /index.php?route=product/product&product_id=123, Bitrix defaults to /catalog/section/element/. Without a 301 redirect map, search engines index mass 404s. We start every migration with Screaming Frog scanning the old site, then compile a complete redirect map before writing a single line of code. Proper migration requires full URL mapping — every indexed page gets a correspondent.
Over seven years we have completed 50+ projects: landing pages, catalogs with 300,000 products, e‑commerce stores. Typical duration 2–8 weeks. Contact us for a free project estimate within one day.
How Migration Preserves SEO Positions
Losing organic traffic is the biggest fear, and it's justified. Here is how we avoid it.
-
URL mapping 1:1 — where possible, via
CUrlRewriter and infoblock SEF settings we keep the exact structure. When impossible — 301 redirect. Auto‑generation of redirect map: parse Screaming Frog export, match with new element slugs, generate nginx config. Each redirect verified with curl -I after switching.
- Transfer of meta tags — title, description, h1 moved into properties
ELEMENT_META_TITLE and ELEMENT_META_DESCRIPTION. Canonical via Bitrix SEO component. Duplicates cut: www/non‑www, http/https, sorting parameters. Sitemap: new sitemap.xml generated by Bitrix seo module, submitted to Search Console immediately after DNS switch.
- Speed comparison — Bitrix processes a catalog of 100,000 products 3x faster than OpenCart due to tagged caching and query optimization for
b_catalog_product.
What Data Gets Transferred?
Content — pages, articles, news → information infoblocks. Catalog: categories → sections, products → elements linked to b_catalog_product, properties → infoblock properties or highload directories. Images, reviews, FAQ.
E‑commerce — products with trade offers (SKUs), prices in b_catalog_price (multi‑currency via b_catalog_currency), stock balances b_catalog_store_product, discounts (b_sale_discount), order history (b_sale_order + b_sale_basket).
Users — client base b_user plus custom UF fields. Passwords are hashed differently: WordPress — phpass, OpenCart — SHA1+salt, Drupal — SHA512. We write a custom CUser::LoginByHash with fallback to old algorithm — client enters password once, system rehashes to Bitrix bcrypt.
SEO data — meta tags, alt attributes, URL structure. Main task: preserve every indexed URL or set 301.
Media — images, documents, videos — transferred preserving paths and optimized via CFile::MakeFileArray().
How to Plan a Successful Migration: 5 Key Steps
-
Audit — scan with Screaming Frog: all URLs, status codes, meta tags. Analyze DB structure, custom modifications, integrations. Create migration map.
-
Architecture design — map content types → infoblocks, fields → properties, directories → highload blocks. Architecture must be convenient for Bitrix administration.
-
Migration scripts — PHP scripts read from old DB (or API), transform and write via Bitrix API (
CIBlockElement::Add, \Bitrix\Sale\Order::create). Re‑run during testing.
-
Staging — full migration to test server. Verify integrity: product count, properties, URLs, filters.
-
Final migration & switching — delta import, DNS switch, monitoring.
Detailed stage timeline
| Stage |
Duration |
Activities |
| Audit |
1–3 days |
Full site scan, integration register |
| Architecture |
2–5 days |
Infoblock design, field mapping |
| Scripts |
3–10 days |
PHP based migration engine |
| Staging |
1–2 days |
Full dry run, integrity checks |
| 301 redirects |
1–2 days |
Map in .htaccess or nginx.conf |
| Final migration |
1 day |
Delta import, DNS switch |
| Post‑migration |
2–4 weeks |
Monitor Search Console, fix crawl errors |
| Deliverable |
Description |
| Documentation |
Redirect map, mapping description, DB schema |
| Access |
Admin panel, FTP/SSH, API keys |
| Training |
Video tutorials or on‑boarding session |
| Support |
2 weeks post‑migration monitoring, bug fixing |
| Guarantee |
Rollback to old site within 48 hours |
Typical Migration Mistakes and How to Avoid Them
Each of these errors has caused loss of positions and clients.
- Loss of URLs without redirects — the most destructive mistake.
/product/123 instead of /catalog/item-name.html — without 301 this means mass 404s and traffic collapse. We auto‑generate the map and verify every redirect after switching.
- Content duplication — one product accessible with and without www, via HTTP and HTTPS, with GET filter parameters → five URLs instead of one. SEO weight dilutes. Set up canonical, 301 for variants,
robots.txt with Disallow for parameters.
- Broken images — absolute URLs in content (
src="https://old-site.ru/img/photo.jpg"), quality loss during compression. Replace with relative paths, transfer preserving structure, check HTTP 200 for each file.
- Loss of meta tags and microdata — title, description, Schema.org may not transfer. Do full mapping and verify on staging.
- Broken forms and integrations — changed IDs, API keys, webhooks. Compile integration register before start and test each after.
- Mobile version — old
m.site.ru → responsive Bitrix. Without mobile URL redirect → 404 for mobile users. Include in redirect map.
Timelines and Cost Savings
| Project type |
Timeline |
Notes |
| Informational site (up to 500 pages) |
2–4 weeks |
Content + design + redirects |
| E‑commerce store (up to 10,000 products) |
4–8 weeks |
Catalog + orders + integrations |
| Large store (100,000+ products) |
2–4 months |
Custom scripts + load testing |
Businesses typically save $3,000–$8,000 annually after migration — no old CMS license fees, reduced plugin and hosting costs. Annual hosting savings alone can reach $1,200. Add the affordable licensing cost of 1C‑Bitrix — it pays off quickly.
Contact us for a free migration estimate. We also provide a preliminary calculation within one day — request a consultation with our Bitrix specialists.