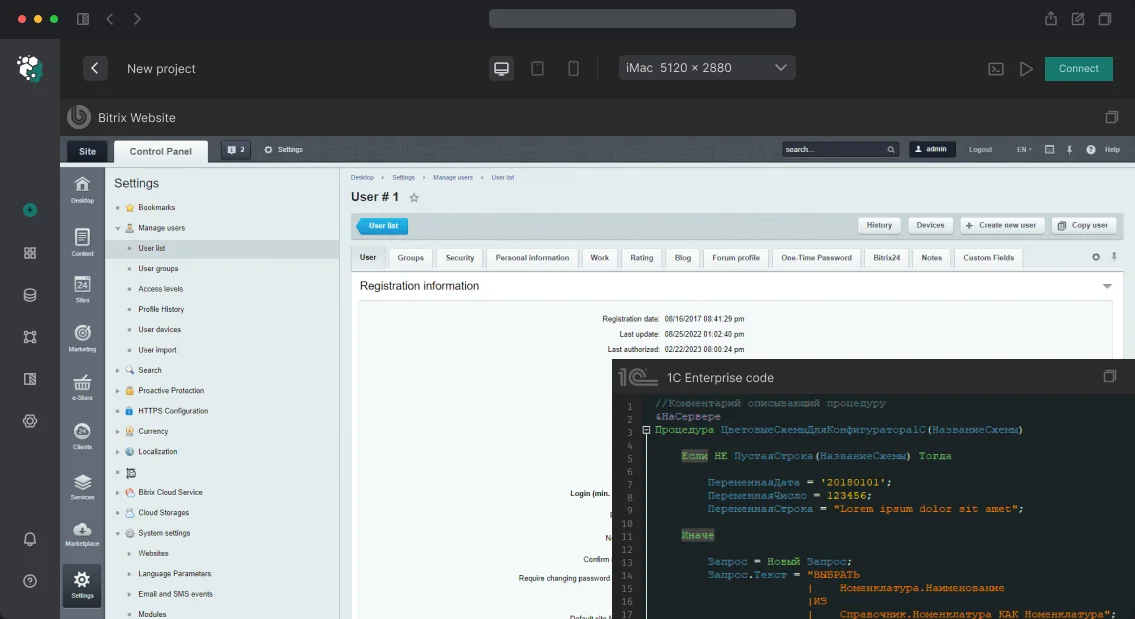
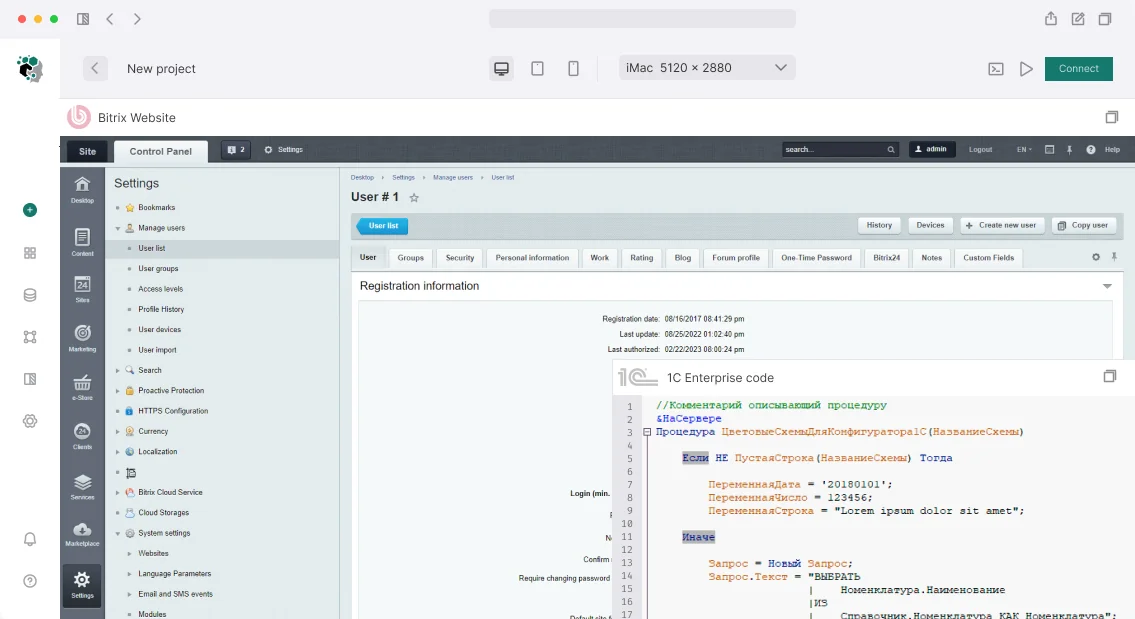
Bitrix has a built-in REST API for Bitrix24, but for a site on "1C-Bitrix: Site Management" there is no native REST — it must be built. The task comes up regularly: a mobile app needs catalog data, a third-party service wants to receive orders, a React or Vue frontend needs data without page reload. Typical pain: with each new integrator you have to write workarounds using COption::GetOptionString and output JSON via echo json_encode(), and in a month the code turns into spaghetti.
We have 10+ years of Bitrix development experience and over 50 implemented API integrations handling up to 10,000 RPS. We know all the pitfalls: from infoblock caching issues to serialization errors in the ORM. We guarantee stable operation under load and provide Swagger documentation for each endpoint. Average time savings on integration with external services is 40%.
How to Build REST API on D7?
The API foundation is controllers based on \Bitrix\Main\Engine\Controller. Each controller handles one resource. Comparison with custom solutions: D7 controllers automatically handle errors, serialize responses to JSON, and support prefilters. This reduces code volume by 2-3 times compared to manual processing via $APPLICATION->RestartBuffer().
-
Create a module in
/local/modules/ with structure my.api. Define install/index.php with InstallDB() and UnInstallDB() methods for creating tables.
-
Register controllers in
routes.php (since kernel 20.0). Map URLs to classes, e.g., 'api/v1/products' => 'MyApi\Controllers\ProductController'.
-
Implement action methods. Each method returns an array — the kernel serializes it to JSON. Add prefilters for authentication and HTTP method restrictions.
- Connect a service layer — move query and processing logic to separate classes like
ProductService, OrderService, etc. This simplifies unit testing.
- Document endpoints via Swagger (OpenAPI 3.0). Generate spec from annotations or manually. Place Swagger UI in
/local/swagger/.
/local/modules/my.api/lib/
├── Controllers/
│   ├── ProductController.php    → GET /api/v1/products
│   ├── OrderController.php      → GET/POST /api/v1/orders
│   ├── CategoryController.php   → GET /api/v1/categories
│   └── AuthController.php       → POST /api/v1/auth/token
├── Services/
│   ├── ProductService.php
│   └── OrderService.php
├── Transformers/
│   ├── ProductTransformer.php   → response formatting
│   └── OrderTransformer.php
└── Middleware/
    ├── AuthMiddleware.php
    └── RateLimitMiddleware.php
Example controller: listAction method accepts pagination parameters and returns data with meta information. Code is short, without extra checks — everything is built into D7.
namespace MyApi\Controllers;

use Bitrix\Main\Engine\Controller;
use Bitrix\Main\Engine\ActionFilter;
use MyApi\Services\ProductService;
use MyApi\Middleware\AuthMiddleware;

class ProductController extends Controller
{
    public function configureActions(): array
    {
        return [
            'list'   => ['prefilters' => [new AuthMiddleware()]],
            'detail' => ['prefilters' => [new AuthMiddleware()]],
            'create' => ['prefilters' => [new AuthMiddleware(), new ActionFilter\HttpMethod(['POST'])]],
        ];
    }

    public function listAction(int $page = 1, int $perPage = 20, string $category = ''): array
    {
        $service = new ProductService();
        $result  = $service->getList($page, $perPage, $category);

        return [
            'data'  => $result['items'],
            'meta'  => [
                'total'    => $result['total'],
                'page'     => $page,
                'per_page' => $perPage,
                'pages'    => ceil($result['total'] / $perPage),
            ],
        ];
    }

    public function detailAction(int $id): array
    {
        $service = new ProductService();
        $product = $service->getById($id);

        if (!$product) {
            $this->addError(new \Bitrix\Main\Error('Product not found', 404));
            return [];
        }

        return ['data' => $product];
    }
}
How to Ensure REST API Security?
Authentication is common source of problems. For server-to-server we use API keys: simple header X-Api-Key. For user requests (mobile app, SPA) — JWT. The firebase/php-jwt library is installed via Composer. Refresh tokens are stored in a custom ORM table bound to the user. This is more reliable than storing sessions in files.
More about JWT: JSON Web Token (Wikipedia).
Response format — consistency matters. We follow a unified template: status, data, meta for success, errors for errors. D7 controller generates response automatically, but we override processAfterAction for full control.
protected function processAfterAction(Action $action, $result)
{
    $response = \Bitrix\Main\Application::getInstance()->getContext()->getResponse();
    $response->addHeader('Content-Type', 'application/json; charset=utf-8');

    if ($this->getErrors()) {
        echo json_encode([
            'status' => 'error',
            'errors' => array_map(fn($e) => [
                'code'    => $e->getCode(),
                'message' => $e->getMessage(),
            ], $this->getErrors()),
        ], JSON_UNESCAPED_UNICODE);
    } else {
        echo json_encode([
            'status' => 'ok',
            'data'   => $result,
        ], JSON_UNESCAPED_UNICODE);
    }

    exit;
}
CORS — if the API is called from a different domain, we must add headers and handle OPTIONS requests. Otherwise the browser blocks requests.
Rate limiting — protection from overload. We use Redis or, for low load, b_option. For example, 1000 requests per hour per key.
| Authentication method |
Application |
Implementation ease |
Security |
| API key |
Server-to-server |
High |
Medium (key in header) |
| JWT |
User-to-server (mobile, SPA) |
Medium |
High (with refresh tokens) |
| Basic Auth |
Legacy systems |
High |
Low (password sent) |
How to Test the API?
Write integration tests with PHPUnit. Use SQLite instead of MySQL for isolation. Check not only successful scenarios but also edge cases: invalid parameters, missing resources, exceeding limits. Example test for listAction:
public function testListReturnsPaginationMeta(): void
{
    $controller = new ProductController();
    $result = $controller->listAction(1, 10);
    $this->assertArrayHasKey('meta', $result);
    $this->assertArrayHasKey('total', $result['meta']);
}
What's Included
We don't just write code. Each project includes:
- Technical specification with endpoint prototypes.
- Architectural module diagram.
- Implementation of controllers, services, transformers.
- OpenAPI 3.0 documentation (Swagger).
- Rate limiting and CORS configuration.
- Deployment instructions and one month of support.
Estimated Timelines
| Task |
Timeline |
| Basic REST API (3-5 resources, API key, JSON responses) |
1.5-2 weeks |
| API with JWT authentication, user permissions, documentation |
3-5 weeks |
| Full API with versioning, rate limiting, tests, CI |
6-10 weeks |
REST API on Bitrix is built from standard blocks — controllers, ORM, cache. The complexity is not in technology but in design: correct endpoints, consistent response formats, handling edge cases. If you need a reliable REST API for your Bitrix site, contact us — we'll evaluate your project in one day. Order REST API development and get ready-made Swagger documentation included.
Official Bitrix D7 documentation
1C-Bitrix Module Development and Setup
The main trap of Bitrix is init.php. You add an OnBeforeIBlockElementUpdate handler there, then another one — a year later the file is 2000 lines, and on every hit all that code executes. We move business logic into full-fledged modules with D7 ORM, custom tables, and administrative interface. The module can be disabled, transferred to another project, covered with tests — none of that is possible with init.php. Our team has 10+ years of Bitrix experience, certified specialists, and a 6-month code guarantee. Request a consultation — we'll explain how to migrate legacy code to a modular architecture.
Why is init.php the worst place for business logic?
Init.php does not support class autoloading, lacks an isolated namespace, cannot be unit tested, and cannot be disabled without editing the file itself. Every handler written there runs on every request, even if not needed. In a module, you register handlers through EventManager, and they only execute when the event occurs. Performance difference: up to 3x with 10+ handlers.
Standard Modules: Typical Problems and Solutions
Information blocks. IBlock architecture is the first thing we review on any project. A classic mistake: one catalog infoblock with 80 properties, 30 of which are multiple. The b_iblock_element_property table swells to millions of rows, and CIBlockElement::GetList with filtering on three properties does a full scan. We move reference data to Highload-blocks, eliminate multiple properties where possible, and design the structure for 5x growth.
e-Store (sale). Cart business rules are a separate story. We set discount priorities to prevent two campaigns from giving 60% instead of 30%, connect payment handlers, and write custom validation via OnSaleOrderBeforeSaved.
Search. The built-in search module with morphology works up to 10–15 thousand elements. Beyond that — Elasticsearch. We configure it via the Bitrix search module API, indexing through CSearchFullText or custom indexers.
Highload-blocks for dictionaries, logs, user data — instead of bloated IBlocks. Direct queries via Bitrix\Highloadblock\HighloadBlockTable, custom tables instead of the EAV structure of standard infoblocks. A million records — no degradation.
Mail events. Configuration is not just templates in b_event_message. The key is SPF, DKIM, DMARC on the DNS, otherwise transactional emails go to spam. We check deliverability and set up bounce handling.
How to Design Infoblocks for Performance?
We use Highload-blocks for reference data (colors, sizes, manufacturers) that are not involved in complex queries. For SKUs — a separate infoblock with linking via IBLOCK_ELEMENT_PROPERTY. Enable INDEX_PROPERTY for frequently filtered properties. Tagged caching: when an element changes, only the related cache is cleared. Highload-blocks process up to 10x faster than infoblocks with multiple properties on volumes of 100,000 records.
Custom Module Development
Each module follows the structure /local/modules/vendor.modulename/:
-
install/index.php — setup class, create tables via $DB->RunSQLBatch()
-
lib/ — D7 ORM classes, extending Bitrix\Main\ORM\Data\DataManager
-
admin/ — administrative pages using CAdminList, CAdminForm
-
include.php — autoloading, event handler registration via EventManager::getInstance()->registerEventHandler()
- REST API endpoints via
\Bitrix\Rest\RestManager
The module registers in the system, appears in the "Installed Solutions" list, and has its own settings at /bitrix/admin/settings.php?mid=vendor.modulename. It can be enabled, disabled, and updated through UpdateSystem or custom migration mechanics.
Examples of implemented tasks:
- Campaign management — visual condition builder via
CAdminCalendar, timers via agents (CAgent::AddAgent), analytics linked to the sale module
- Cost calculator — React widget on the frontend, REST API in the module, formulas stored in a Highload-block
- Booking system — real-time calendar, locking via
$DB->StartTransaction() / $DB->Commit() on concurrent requests, integration with channel manager via webhook
Components and Composite Cache
Component customization via result_modifier.php and component_epilog.php, not by editing template.php of the standard template. This way core updates are painless.
Composite cache ("Composite Site" technology) — the server sends ready HTML, bypassing PHP routing. Dynamic areas (cart, authorization) are loaded via CBitrixComponent::setFrameMode(true) and AJAX. TTFB drops to 30–50 ms. But there are caveats: not all components are compatible, $APPLICATION->ShowPanel() breaks composite, and careful markup of <div id="bx-composite-..."> is required.
What to Check Before Installing a Marketplace Module?
Before installing a module from the marketplace, an audit is mandatory. We check: SQL queries without prepared statements (hello SQL injection), direct use of $_REQUEST without filtering, use of outdated kernel API instead of D7, conflicts with the composite cache module. A module with no updates for over a year and a few dozen installations is likely a problem on the next PHP update. A typical case: a module calls CIBlockElement::GetList with no cache reset — the site crashes with 5000 elements.
Migration to D7
When upgrading PHP or switching to a new edition — refactor outdated calls:
-
CIBlockElement::GetList() → Bitrix\Iblock\Elements\ElementTable::getList()
-
CSaleOrder::GetList() → Bitrix\Sale\Order::getList()
-
CModule::IncludeModule() → Bitrix\Main\Loader::includeModule()
Testing on staging, rollback via git on issues.
According to official 1C-Bitrix documentation, D7 ORM is the recommended tool for working with data, providing type safety and automatic query generation.
Comparison: Init.php vs Module
| Criterion |
Init.php |
Module with D7 ORM |
| Performance |
Executes on every hit |
Executes only on event |
| Testability |
No autoloading, tests impossible |
Full PHPUnit support |
| Maintainability |
Codebase grows uncontrollably |
Isolated structure, versioning |
| Migrations |
None |
Custom tables, managed via install |
| Caching |
Does not support auto-invalidation |
Tagged caching, event-based clearing |
Module Development Scope and Cost
What is included in module development?
- Technical specification and architectural plan
- Code following PSR-4 and Bitrix code style
- Unit tests (PHPUnit) for business logic
- Integration tests for events and REST API
- Installation, configuration, and API documentation
- Repository and documentation access
- Administrator training for module usage
- 6-month warranty support
Estimated timelines and complexity:
| Complexity |
Examples |
Timeline |
| Simple |
Callback widget, banner system, simple calculator |
3–5 days |
| Medium |
Booking system, product configurator, review module with moderation |
1–2 weeks |
| Complex |
Multi-regionality, custom loyalty program, ERP integration |
2–4 weeks |
| Enterprise |
Marketplace platform, complex business processes with multiple roles |
1–3 months |
Cost is calculated individually — contact us for a project estimate.
Module Testing
Unit tests via PHPUnit cover business logic: discount calculation, validation, document generation. Mocks for Bitrix\Main\Application::getConnection() allow tests to be DB-independent. Integration tests verify event handlers on a real database — OnAfterIBlockElementAdd, OnSaleOrderSaved, etc. REST API endpoints are tested via curl or PHPUnit HTTP client. Critical for modules working with b_sale_order, b_catalog_price — where errors cost money.
Compatibility is checked on PHP 7.4, 8.0, 8.1, 8.2 and editions: Standard, Small Business, Business. We check conflicts with popular marketplace modules — they often intercept the same events. Load testing: measurements on 10K, 100K, 1M records, profiling via Xdebug for memory leaks and N+1 queries.
Practical Examples
Campaign module for an electronics chain. The built-in sale module discounts did not cover scenarios like "2+1", a gift with purchase over a certain amount, or combined conditions. We built a visual builder: marketers create rules via drag-and-drop without development tickets. Campaign calendar, auto-deactivation via agents, analytics linked to b_sale_order — conversion, average check, usage count. Time to launch a new campaign dropped from two days to half an hour.
Calculator for builders. Parameters (area, materials, number of floors) → formula → preliminary estimate → lead to CRM via CRest::call('crm.lead.add'). Regional coefficients and seasonal markups from a Highload-block, material prices from 1C exchange. The number of target leads increased by a third: clients see a breakdown before calling a manager.
Booking for a hotel chain. Real-time availability via AJAX requests to a custom table vendor_booking_slots, seasonal tariff calculation, synchronization with Booking.com via channel manager API. Room locking on concurrent booking via SELECT ... FOR UPDATE in transactions. Timezones handled via \DateTimeZone — a guest from Vladivostok and a manager from Moscow see the same picture.
We will evaluate your project within one day. Write to us — we'll tell you what is included in turnkey development. Contact us for a consultation on your project. Order a custom module development — get a ready solution with documentation and support.